
Hello everyone and Happy Thursday!!
I am a DT for Fairy Stamper Hugs!
It is the #1 USA Retailer for Fairy Hugs Stamps
Check out the store here!!

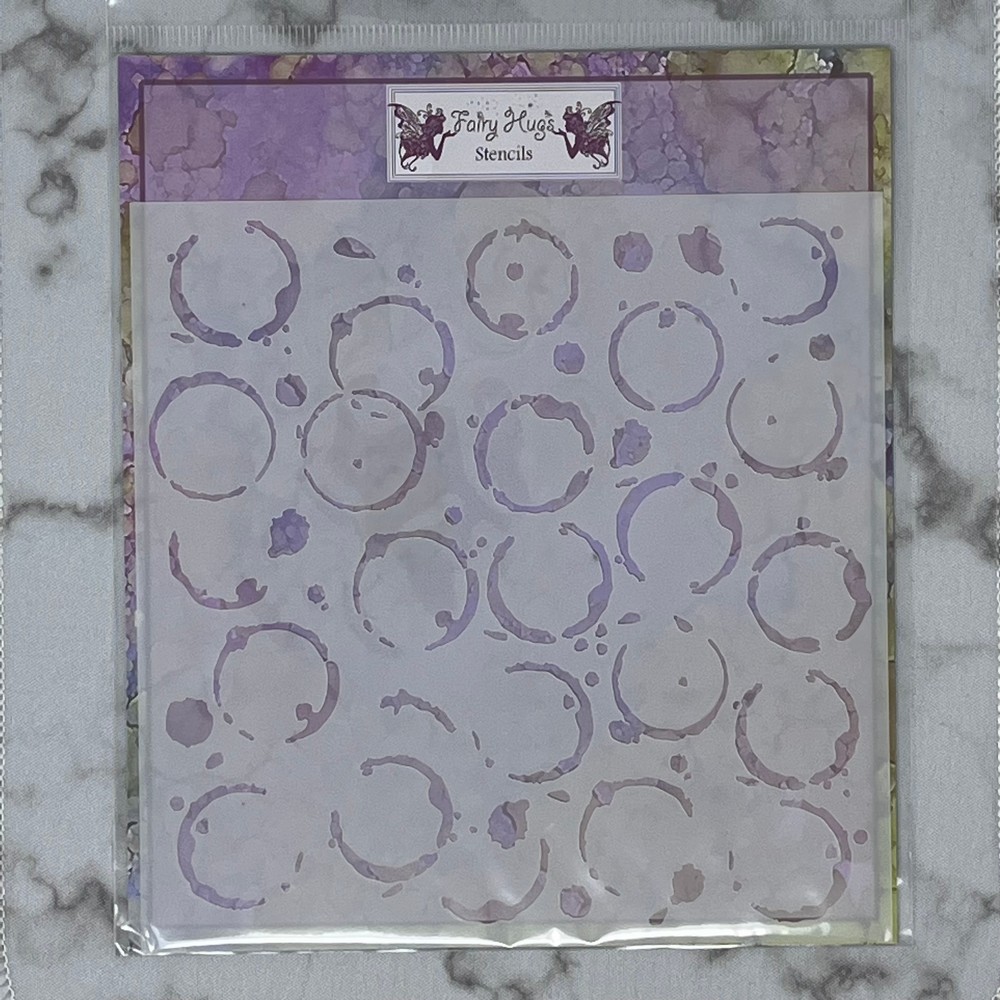
For this card, i created yet another tea bag shaped card. I just cut the top corners at a diagonal. Next I cut a piece just a bit smaller. Next thing i did was stamp the images, Fairy Hugs - Nigel, Fairy Hugs - Stacked Teacups and Fairy Hugs - Gingko Leaves on to Fairy Hugs NEW paper - Thunderglow. I then colored in the images with Prismacolor Pencils and a Gold sparkly gel pen. Before i adhere this to the the card base, i decided to add a stencil. I am using the NEW Fairy Hugs Stencil - Water Stains. I used molding paste and Distress Oxide Embossing Glaze - Salty Ocean by putting the glaze on top of the molding paste while it was wet. I waited for it to semi-dry and then i heat set it to get the glaze look.
I can now adhere this to the card base. Last thing i did was make the tiny tea bag. I used a coffee filter and stamped it with Fairy Hugs Sentiment - Tea Word Collage. I folded it up like a tea bag and hole punched the top of the bag to tie a string on. I hand cut the small piece at the top of the card to help with the tea bag card shape and stapled the end of the tea bag string to it. I used double sided foam tape and adhered that to the top of the card. For a little sparkle, i used some Acrylic Glitter Hologram paint..and painted the top of the stamped tea bag and parts of the inside of the stencil water stains.
Fairy Stamper Store Supplies:


Like us on Facebook
Follow us on Instagram: Fairy Stamper Hugs
Join our NEW Fairy Stamper Hugs Facebook Group here
Follow us on Instagram: Fairy Stamper Hugs
Join our NEW Fairy Stamper Hugs Facebook Group here
Don't forget to include #fairystamperhugs on your projects and tag us at @FairyStamperHugs so we can be sure to see and comment on your projects!


No comments:
Post a Comment
I love receiving comments...it makes me so very happy!