Pages

Showing posts with label Fairy Hugs - Witches Inn. Show all posts

Thursday, August 25, 2022

Fairy Hugs - Ed having fun with Fairy Hugs - Witches Inn!

 Hello everyone and Happy Thursday!! 

I am a DT for Fairy Stamper Hugs!
It is the #1 USA Retailer for Fairy Hugs Stamps
Check out the store here!!


One of my favorites i created for Halloween. I loved combining Fairy Hugs - Ed with the Witches Inn. 
So for this card, i started out with Fairy Hugs Craft Paper - PetalShimmer.  I should have made a mask of the Fairy Hugs - Witches Inn and i didn't.  However, if i made this card again, i would make a Witches Inn mask. So i stamped the Witches Inn and then i stamped Fairy Hugs - Lucinda.  Lucinda's stamping messed up the broom handle so i stamped the handle again from a scrap from this card and hand cut it out and placed it on top of the Witches Inn handle, i had stamped already. Next i stamped Ed and all of the spiderwebs and spiders. I masked out an area for the moon and used Distress Oxide Ink -  Chipped Sapphire to make the outline.  Next i used Fairy Hugs Stencil - Woody to add more interest to the background and a bit of grounding for the Witches Inn and Ed using torn paper and Distress Oxide Ink - Chipped Sapphire.  Last, i colored in the images or highlighted them with Prismacolor pencils and Pentel Sparkly Gold Gel Pen.
 
Fairy Stamper Store Supplies:
 Don't forget to include #fairystamperhugs on your projects and tag us at @FairyStamperHugs so we can be sure to see and comment on your projects!

Sign up to receive Fairy Stamper Newsletters at the Fairy Stamper store.

Monday, October 18, 2021

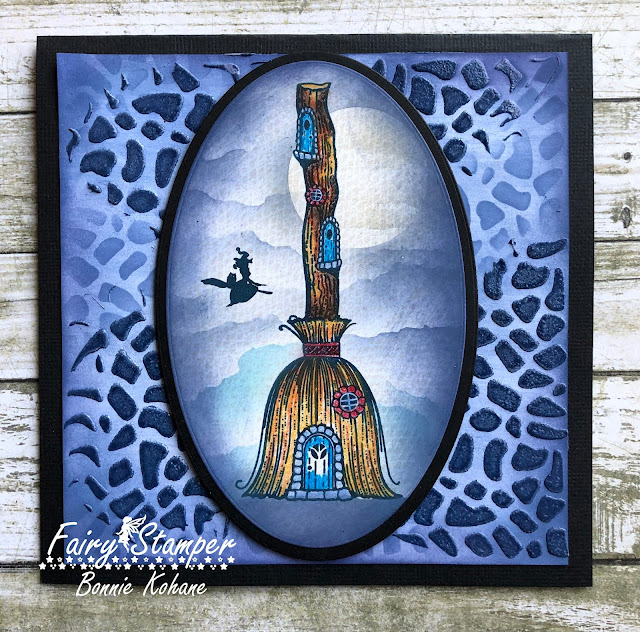
Fairy Hugs - Witches Inn

 Hello everyone and Happy Monday!! 

I am a DT for Fairy Stamper Hugs!
It is the #1 USA Retailer for Fairy Hugs Stamps
Check out the store here!!
 

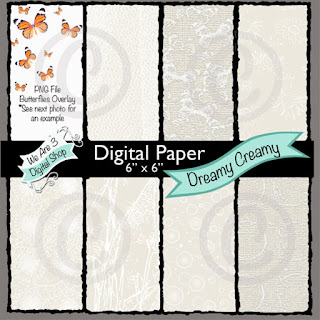
I started this card in a bit different order than i normally do.  I did stamp Fairy Hugs - Witches Inn on some We Are 3 Digital Paper - Dreamy Creamy that i cut into an oval.  It is really subtle but gives the texture look in the back ground.  I colored the Witches Inn with Prismacolor Pencils.  Then i took some Distress Oxide Ink and a circle to make the moon.  Next i used some torn paper to make the cloudy background.  Last, i stamped one of the Fairy Hugs - Witchy Dweller. I matted the oval onto a black oval.  Now for background layer....First, i inked up the background with Distress Oxide.  I did this lightly, by using my blending brush that i had misted with water and then picked up the ink from the pad. 
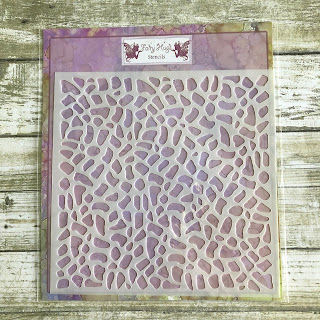
Once that dried, i used the Fairy Hugs stencil - Rocks with the same ink in the traditional way of using a stencil.  Next, i used the stencil again but this time i used molding paste and Distress Embossing glaze that matched the Distress Oxide ink i used.  I let the molding paste dry and then i used my heat embossing gun to heat the embossing glaze.. which gives a ceramic glaze look.  *Tip i only stenciled and used molding paste on the outside area of this layer because the Oval would be covering it up anyway.

Fairy Stamper Store Supplies:


I also used:


Like us on Facebook
Follow us on Instagram: Fairy Stamper Hugs
Join our NEW Fairy Stamper Hugs Facebook Group here

 Don't forget to include #fairystamperhugs on your projects and tag us at @FairyStamperHugs so we can be sure to see and comment on your projects!

Sign up to receive Fairy Stamper Newsletters at the Fairy Stamper store.