Pages

Showing posts with label Tutti Designs - 213 Nesting Stitched Tags. Show all posts

Saturday, March 18, 2023

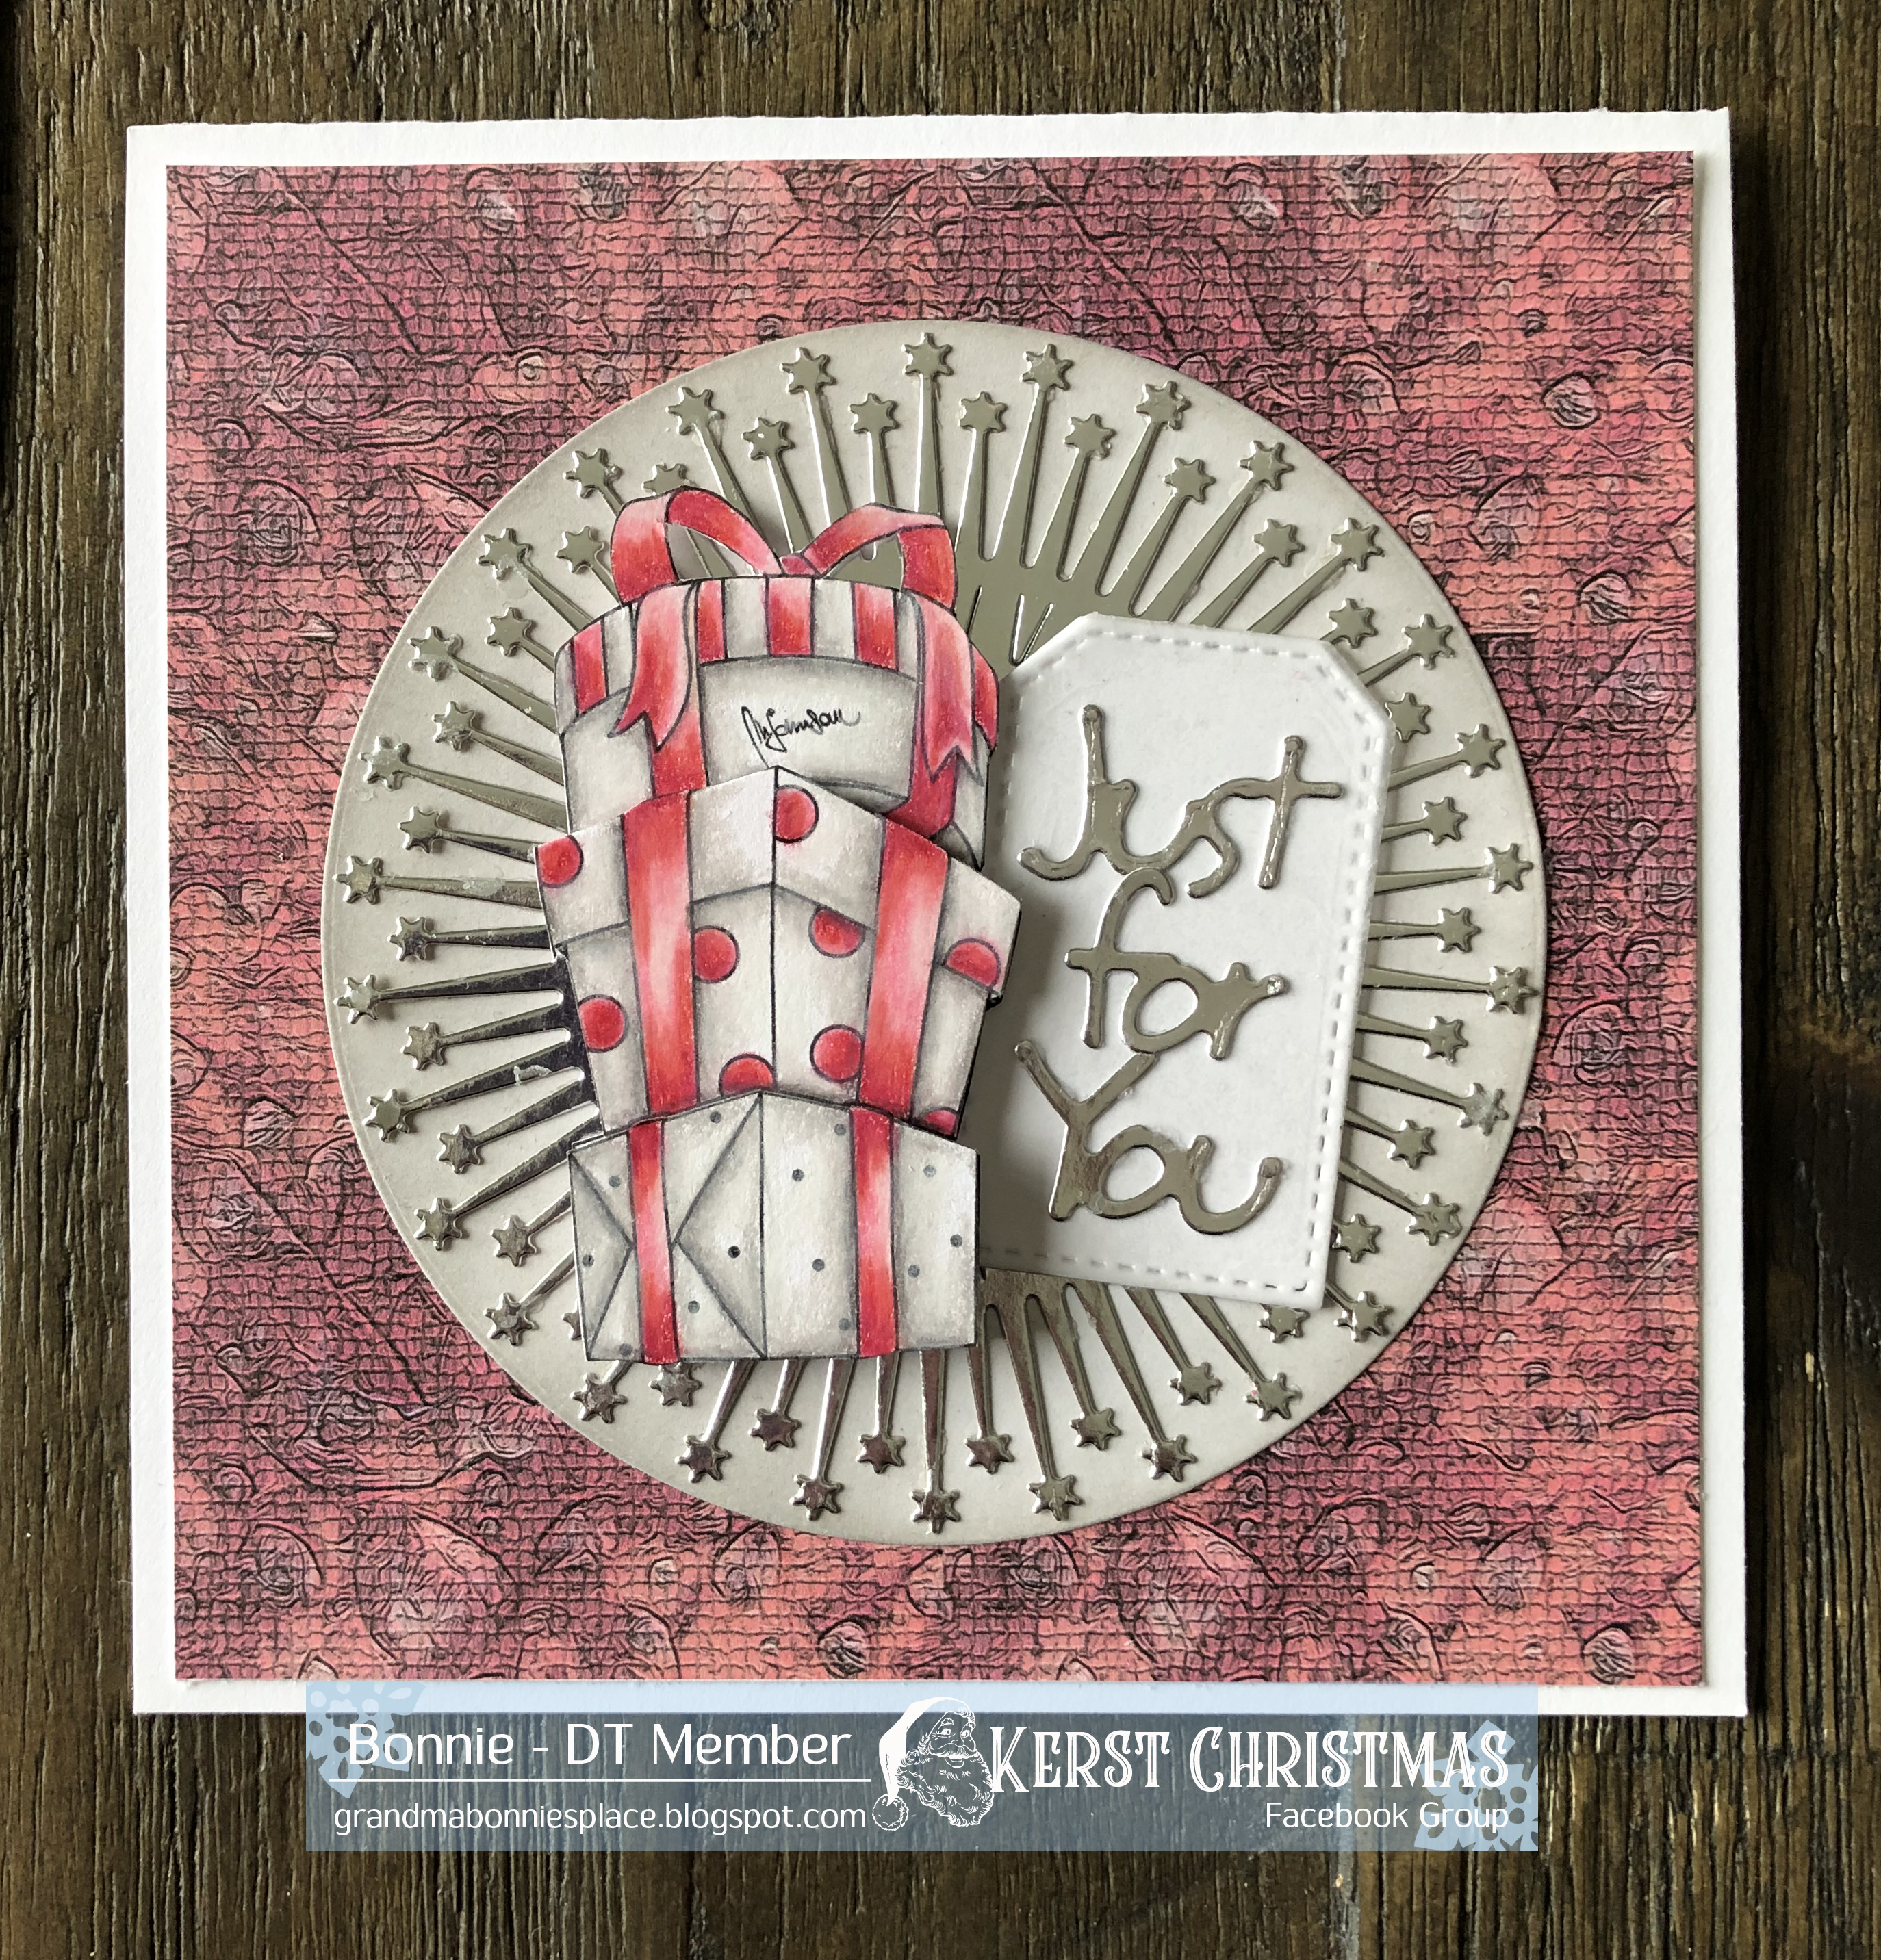
Mirtillamente - Victoria Xmas

I love seeing Christmas cards every day, do you?

Kerst Christmas Facebook Group has a challenge monthly.
You can share ANY Christmas cards and have a chance to win prizes, too!

Kerst Christmas Facebook Sponsors this month

Here is my DT card using - Victoria Christmas (without Victoria)


Dies used
Craft Emotions - Stans
Marianne Designs - Just For You
Tutti Designs - Stitched Nesting Tags


Please visit us at Kerst Christmas Facebook Group here

I am the owner of We Are 3 Digital Shop 
and would love to invite you to We Are 3 Digital Shop Facebook Group!


Sunday, August 28, 2022

Tutti Designs - 762 Snowflake Garland

Hello!  Let's see what you can create with Tutti Designs today!


For this gift bag, i started with a 4" x 5" white bag. What made this card so easy was the paper i used, Fairy Hugs Craft Paper - ThunderGlow.  I love how it has shades of red and pink. 
Tutti Designs - 762 Snowflake Garland fits perfectly across this bag! Next, i die cut  just the words, Merry Christmas from Tutti Designs - 769 Christmas Star Frame.  I placed Merry Christmas on top of Tutti Designs - 213 Nesting Stitched Tag.  I added a hole at the top and added some ribbon.  Then i attached that to the bag with some double sided foam tape.

I have used:


Be sure to visit Tutti Designs
for LOTS more fabulous dies and
come back again for more Tutti Designs inspiration!

Here are some Tutti Designs quick links:

Also used:

Saturday, July 2, 2022

Sneak Peek! Tutti Designs - 751 Modern Christmas Tree

Hello!  Let's see what you can create with Tutti Designs today!

Sneak Peek - NEW Tutti Designs Release - July 5th

Watch Tutti Designs on Create and Craft - July 4th!


oh what a fun card...  I LOVE this new Tutti Designs - 751 Modern Christmas Tree!
I started with a black card stock layer and dry embossed it. Next, i diecut a Tutti Designs - 213 Nesting Stitched Tag in white card stock.  Then i die cut 2 different sizes/paper Tutti Designs - 214 Nesting Stitched Banners out of silver Mirror/Metallic paper and red glitter paper as shown. I cut the Modern Christmas tree out of silver mirror/metallic paper as well. I layered up the card as shown placing the tag off of the front, before i attached it to the card base, i cut the part of the tag hanging off the side. 
Adhere all of the layers and then you can decorate the tree. 
Now for the fun part..i used my gems and sequins to decorate the tree! 

I have used:
Tutti Designs -  751 Modern Christmas Tree


Be sure to visit Tutti Designs
for LOTS more fabulous dies and
come back again for more Tutti Designs inspiration!

Here are some Tutti Designs quick links:


Wednesday, June 22, 2022

What's the Buzz? Tutti Designs - Honey Bee Hexagon says "hello"!

Hello!  Let's see what you can create with Tutti Designs today!

For this card i started out with some We Are 3 Digital Paper - Background Textures. 
Next i cut out Tutti Designs - 746 Honey Bee Hexagon in black card stock.  I also cut out sections from some watercolor paper to create the flower arrangement and random hexagons. For the bee, i painted the wings and the paper under the wings with an acrylic hologram paint and i added some opaque black facetted gems. I used the same gems to the random hexagons outside of the die. I had used the word "hello" on another card and kept the negative part and made it into a tag.

I have used:


Be sure to visit Tutti Designs
for LOTS more fabulous dies and
come back again for more Tutti Designs inspiration!

Here are some Tutti Designs quick links:

Also used:
Friday, June 3, 2022

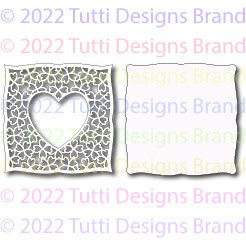
Tutti Designs - 742 Hearts Clovers Frame ... so in love!

Hello!  Let's see what you can create with Tutti Designs today!


For this card, I started out with some We Are 3 Digital Paper - Spring Butterflies Too, We Ae 3 Digital Paper - Sentimental Canvas and then i used an off-white paper and mirror/metallic paper.
Simple card with several dies. To start i printed off the purple butterfly paper and in the center i die cut a Tutti Designs - 216 Nesting Stitched Heart and a Tutti Designs -  213 Nesting Stitched Tag.  I adhered the purple butterfly paper (it has the die cut holes in the center.. but don't worry i will cover it up with the top layers). 
Next i cut out the main die from Tutti Designs - 742 Heart Clovers Frame from the off white paper. I printed off the purple canvas paper and die cut it from the back layer of the Heart clovers. I adhered both of those together and then i figured out the size of mirror/metallic mat i needed. I die cut Tutti Designs - 741 Bell Flowers from the center of the mirror/metallic mat i just made and i also cut out Tutti Designs - 232 Word Set Love, tiny heart from Tutti Designs - 216 Nesting Stitched Heart and the tiny tag from Tutti Designs -  213 Nesting Stitched Tags.  
Now we have all the pieces and we can start layering.
You can now place the mirror/metallic paper in the center covering up the die cut even though you are covering them with yet another paper with die cut holes.  Now, you can place the Tutti Designs - Heart Clovers down and it totally covers up the die cut holes. :).  I placed the Bell Flowers on the left side of the heart.  And layered the two small hearts to put in the center of the heart cut out from the Heart Clovers.  I used a small piece of the off-white paper and made a tag large enough for the Love Word to go diagonal.  I added a brad to the center of the tiny mirrored tag and arranged the tags using double sided foam tape. 
Looks simple, just takes a bit of time.

I have used:
Be sure to visit Tutti Designs
for LOTS more fabulous dies and
come back again for more Tutti Designs inspiration!

Here are some Tutti Designs quick links:

Also used: