Pages

Showing posts with label Tutti Designs - 705 Snowflake Village. Show all posts

Friday, December 9, 2022

Kerst Christmas Facebook Challenge - Tutti Designs Sponsor - Snowflake Village

I love seeing Christmas cards every day, do you?

Kerst Christmas Facebook Group has a challenge monthly.
You can share ANY Christmas cards and have a chance to win prizes, too!

Kerst Christmas Facebook Sponsors this month


For this card, i started with We Are 3 Digital Paper - Frosty Days for the backgrounds.  Next, i used We Are 3 Digital Paper - Pastel Burlap for the houses, by making a small square to fit 2 of the houses.  I cut the entire die from white card stock and cut out the white houses (to save for other cards).  I trimmed the pastel houses to fit under the snow hill. I also left the hearts and dots in the white tree.  
I adhered the die and houses to the We are 3 Digital - Frosty Days paper and then i framed it and used some old Fiskars decorative scissors for an edge.  Last two things, i enlarged the same digital paper to use as a mat behind the framed scene and i added some gems to the snowflakes and ornaments.


Please visit us at Kerst Christmas Facebook Group here

I am the owner of We Are 3 Digital Shop 
and would love to invite you to We Are 3 Digital Shop Facebook Group!


Sunday, August 14, 2022

Tutti Designs - 143 Snowglobe Expressions "Joy"

Hello!  Let's see what you can create with Tutti Designs today!


For this gift bag, i started out with a 4" x 5" white gift bag (from Hobby Lobby).  Next i used the new Tutti Designs Craft Papers - Holiday Wishes and cut out the red check paper from Tutti Designs - 217 Nesting Stitched Rectangles. Next i cut out the banners from white card stock and gold shiny paper, using Tutti Designs - 214 Nesting Stitched Banners.  I cut out the word "Joy" (saving the inside of the "o") from the gold shiny paper.  I glued the gold shiny paper including the inside of the "o" onto the white card stock banner.  Looking at my example i used double sided foam tape and adde the banner. Next i cut out Tutti Designs - 716 Holiday Foliage and Tutti Designs - 468 Snow Flurries.  Set those aside for a minute.  I wanted one house from Tutti Designs - 705 Snowflake Village, so i fussy "die cut" that from the die.  Now i arranged the dies around and on top of the banner.  I added a few gems.  It makes a really cute bag.  You could do this with a larger bag or a card front easily. 

I have used:


Be sure to visit Tutti Designs
for LOTS more fabulous dies and
come back again for more Tutti Designs inspiration!

Here are some Tutti Designs quick links:


Friday, June 17, 2022

Tutti Designs - 739 Moon Dragon - Baby Style

Hello!  Let's see what you can create with Tutti Designs today!


For this card,  i started with the gingham paper in the background from We Are 3 Digital Paper - At the Beach, then i cut a small strip of dotted paper from We Are 3 Digital Paper - Rainbow Skies.
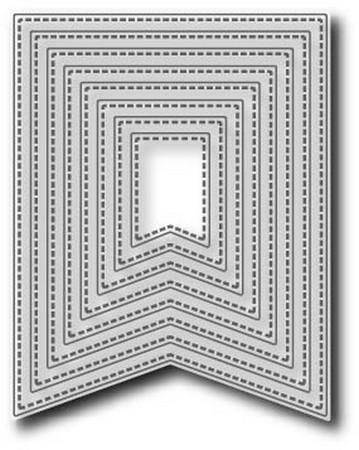
Next, i used some Tim Holtz Mirror/Metallic paper (blue) for the mat of the gingham.  From the center of that i and die cut the Tutti Designs - 739 Moon Dragon,  fussy cutting the dragon parts and star.  and i cut just the ends of Tutti Designs - 214 Nesting Stitched Banners out of that matted piece as well.  **Tip, cut a square out of the mirror/metallic paper to cut the pieces out.  I then die cut the Moon Dragon from an ivory white card stock and glued the metallic/mirror card stock die cut pieces of the dragon on top.   Ok we have all the pieces we need to complete this card.  Put the mirror matted paper on the card base first.  You will then layer the gingham and dotted paper on top of the mirror paper.  Place the banner sections where the two papers are joined.  Before you add the Moon Dragon, cut out 2 houses from Tutti Designs - 705 Snowflake Village and cut the bottoms off so they can fit above the banners.  Position the houses and the Moon Dragon as shown (or as you like them) and glue them in place.  I added a few gems to the right side of the moon and where the star meets the dangly bit from the moon as shown. 

I have used:

Be sure to visit Tutti Designs
for LOTS more fabulous dies and
come back again for more Tutti Designs inspiration!

Here are some Tutti Designs quick links:

Also used:


Friday, May 6, 2022

Tutti Designs - 739 Dragon Moon

Hello!  Let's see what you can create with Tutti Designs today!


For this card, I started out with digital paper from We Are 3 Digital Shop.
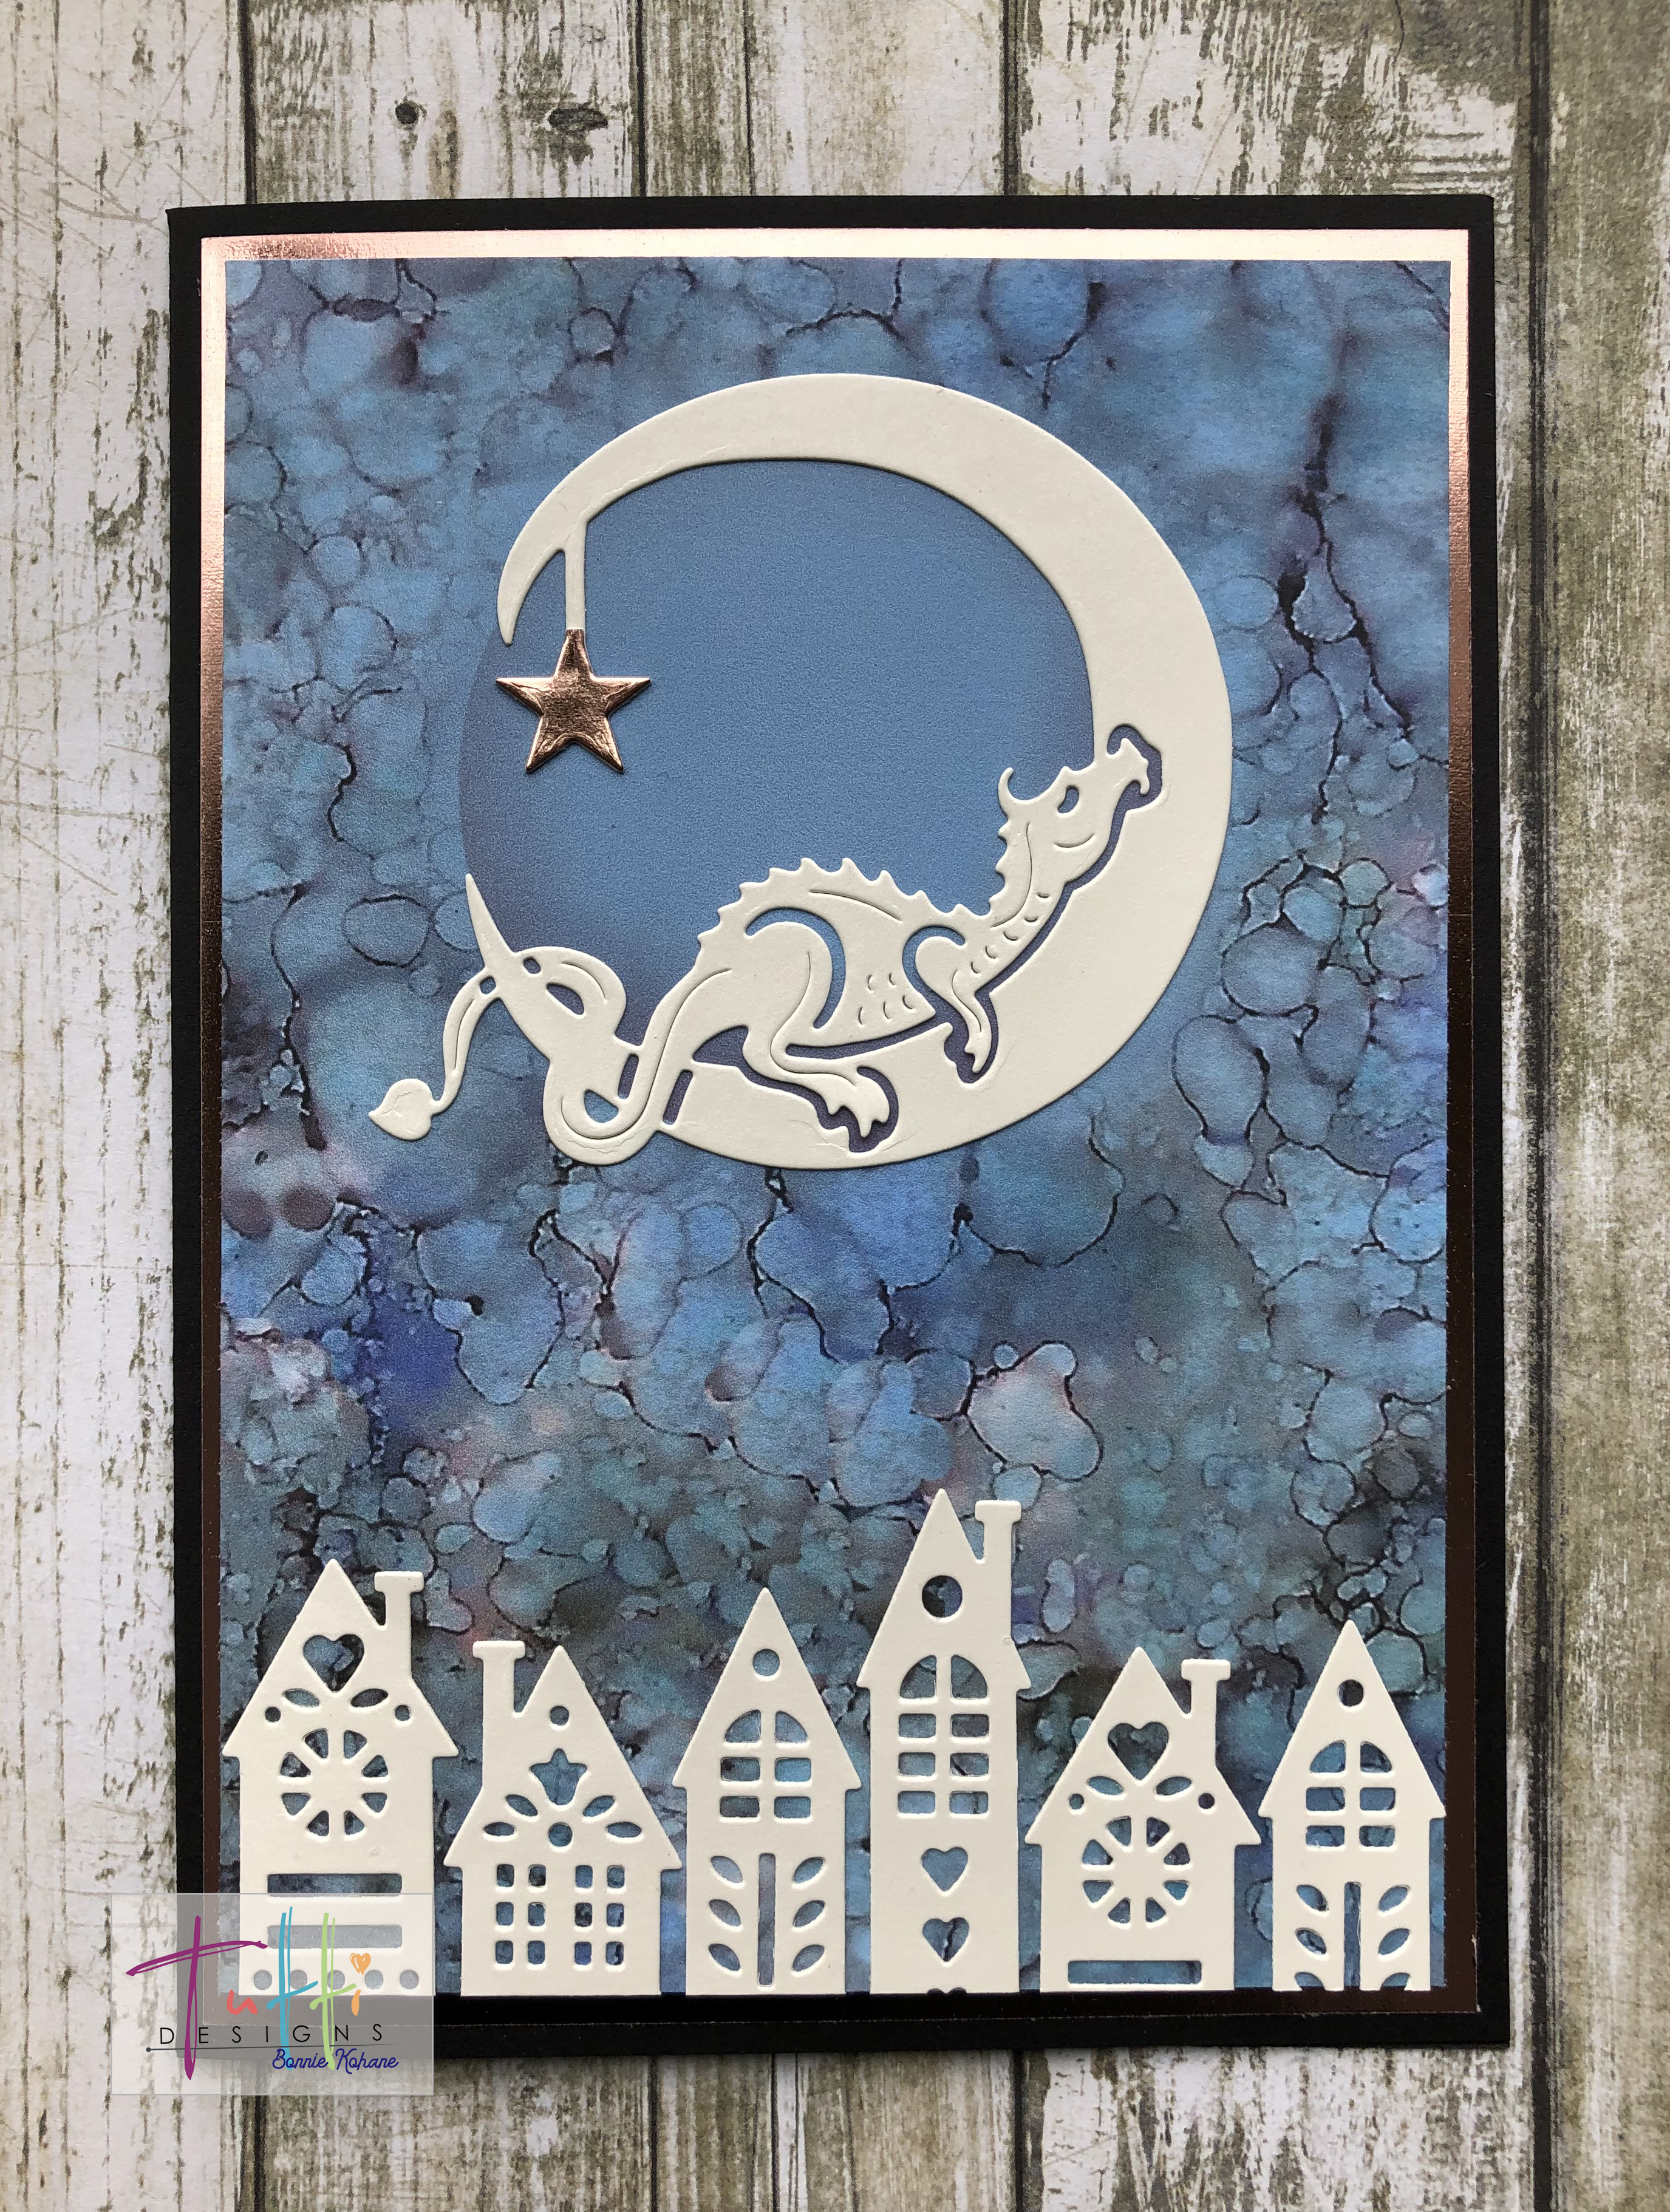
The rest of the card was pretty simple. I die cut Tutti Designs - Dragon Moon from an off white cardstock.  The i used a tiny scrap of rose gold metallic (mirror) card stock to cut out the star.  I did have to cut the top point by hand. Next, i used Tutti Designs - Snow Village and just die cut the row of houses.  You can see i cut some of the houses twice.  You can "fussy" die cut the houses.  Before i attached the card to the metallic/mirror mat, I arranged the houses at the bottom of the card and cut off the access hanging over the bottom.

I have used:

Be sure to visit Tutti Designs
for LOTS more fabulous dies and
come back again for more Tutti Designs inspiration!

Here are some Tutti Designs quick links:

Also used:

Friday, December 24, 2021

Warm and Cozy with Tutti Designs - 705 Snowflake Village

Hello!  Let's see what you can create with Tutti Designs today!

Here is the second card i made with the Snowflake Village!

There is something about a buffalo print that feels warm and cozy! 
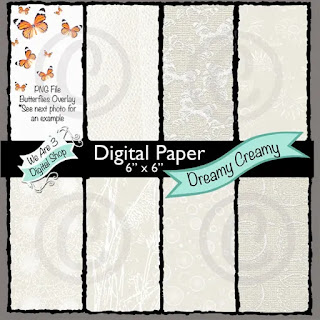
This is an easy card to create! First thing i did was work on the moon background paper. I used a textured paper from We Are 3 Digital Paper - Dreamy Creamy (net). Next i cut out a cardstock circle for a "mask" to create the moon.  I placed the mask in the center of the paper and using my blending brush i added some Distress Oxide Ink - Frayed Burlap.  If you want the faint clouds in the moon, you will need to tear some paper and lightly add the same ink to the center of the moon. Next, if you are following my posts you will notice i said i cut this die out using - We Are 3 Digital Paper - Winter Plaid and saved the negative hearts, circles and rectangles for a previously posted card.  Today, i am sharing the die i used.  All you need to do is glue the plaid die to the moon paper that was created.  Now add that to another mat and place it on a card base.  I finished it off by adding clear gems to the center of the snowflakes.

I have used:

Be sure to visit Tutti Designs
for LOTS more fabulous dies and
come back again for more Tutti Designs inspiration!

Here are some Tutti Designs quick links:


Tuesday, December 21, 2021

Time for Gingerbread Houses!! Tutti Designs - 705 Snowflake Village

Hello!  Let's see what you can create with Tutti Designs today!

This reminds me of Gingerbread Houses or a village of chalets

This was so fun to create..and i ended up with two cards!!
First i die cut the snowflake village from We Are 3 Digital Paper - Fairy Delight (wood grain paper) because i wanted a white core paper so i could sand the die to make it look "rustic".
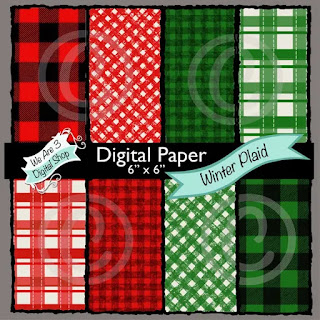
Next i die cut the snowflake village again from We Are 3 Digital Paper - Winter Plaid because i could reduce the size of the buffalo print to fit the size i wanted.  I saved the buffalo print paper for another card, but i saved the hearts, circles and rectangles for this card.  The background paper (blue) is also from We Are 3 Digital Paper - Textured Scenes.  I carefully sanded the snowflake village and glued that to the blue background. Next i layered the snowflake village on top of the buffalo print back ground. I embellished the village with the negative cut outs from the buffalo die cut and i added some tiny white pearls to tree.  Next i used a scrap of green buffalo print to cut out the green you see on the card.  I didn't cut the whole die out..just those sections so i could add those to the scene too.  I added some clear gems to the centers of the snowflakes. 
I will be sharing the buffalo card in another blog post. 

I have used:

Be sure to visit Tutti Designs
for LOTS more fabulous dies and
come back again for more Tutti Designs inspiration!

Here are some Tutti Designs quick links:

Having the right paper at your fingertips is always nice.. that's why i like digital paper!