Pages

Monday, October 25, 2021

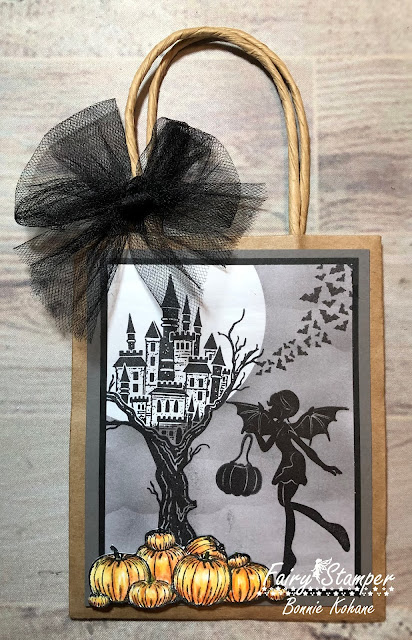
Fairy Hugs - Opal on Halloween Gift Bag

Hello everyone and happy Monday!! 
It’s time for a new Fairy Stamper YouTube featuring Fairy Hugs stamps.
      
Every week you will see 
Fairy Stamper YouTube Tutorial Videos by the Fairy Stamper Design Team

Please subscribe so you won't miss a video!

How about we make a simple Halloween Treat Bag?

You can follow along with me creating this bag at Fairy Stamper's YouTube Channel here:

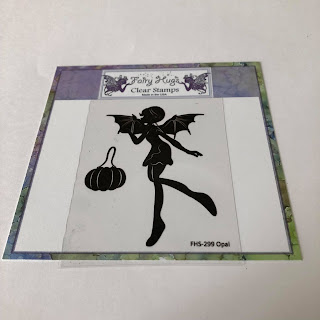
I used 4 Fairy Hugs stamps and one piece of Fairy Hugs paper to create this bag.
Super fun and easy!

Fairy Stamper Products Used 
 Fairy Stamper store: https://fairystamper.com/


 Store ** Facebook Challenge ** Facebook** Instagram ** YouTube

Like us on Facebook
Follow us on Instagram: Fairy Stamper


Saturday, October 23, 2021

Tutti Designs - 707 Sunburst Madonna

Hello!  Let's see what you can create with Tutti Designs today!


This is a beautiful die and so easy to make into a lovely card!
First, i die cut Tutti Designs - Sunburst Madonna using silver mirrored card.
I saved a few of the negative pieces to add back into the die. (check out the photo to see which pieces i saved/used). Next i glued the die and the negative pieces to We Are 3 Digital Paper - Bokeh Blends.  I thought it gave a bit of a stained glass look in a modern way. I trimmed around the excess paper off of the sides.  This would make a beautiful ornament as well.  *The outside is symmetrical so you could die cut another Madonna and paper and add it to the back.
Next i used my favorite die - Elegant Poinsettia to frame Sunburst Madonna. I cut out one more die - Stitched Postage and embossed it with a snowflake embossing folder to frame the entire design. Now all you need to do is layer everything on the paper base layer.


I have used:


Be sure to visit Tutti Designs
for LOTS more fabulous dies and
come back again for more Tutti Designs inspiration!

Here are some Tutti Designs quick links:


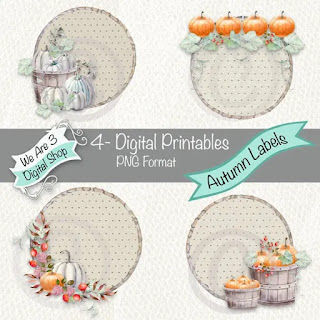
We Are 3 Digital Printables - Pumpkin Labels

Do you love playing with paper?
Every other Saturday, Outlawz Challenges has a "Paper a La Mode" challenge
that will inspire you to use your paper!
This two week theme is: (XX)

Outlawz Challenges - Paper a La Mode's sponsor this month is:
You can find this shop by clicking here!

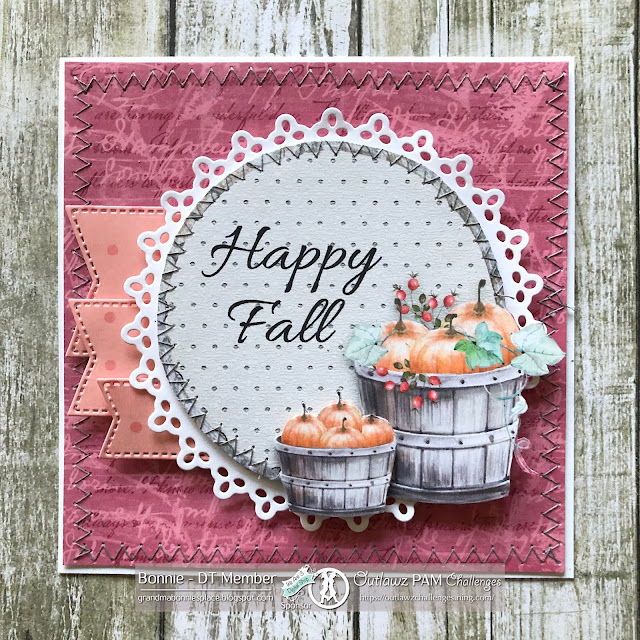
Here is my card for you today using We Are 3 Digital Printables - Pumpkin Labels

This card is really simple with a bit of fussy cutting, sewing and a few dies!
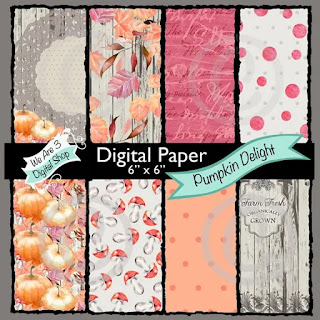
I printed off the background paper to 5.4" square and sewed around it using gray thread and a zig-zag stitch.  Next i printed off a 4" square of the orange paper and die cut 3 different size stitched banners.
Next i added the sentiment to the top of the Pumpkin Basket label 4.25" and then i printed it off.  (save the Pumpkin label size on your computer printing program..  you will use it again)  I fussy cut that out and stitched around the edge using the same thread color and stitch as the background paper.
One more thing i did, was to use the saved Pumpkin label so i could make a 3D pumpkin basket. All you do is make sure the label is the same size as the first one you printed.  Then you crop just the part you need to make a 3D part.  I am using just the smallest pumpkin basket.  So i printed that out and fussy cut it and attached it to the Pumpkin label with foam tape.
** Tip- to make this a one page print out put all of the above items on one page and print it out.  If you change the sizes they might not all fit on one page to print out.  :)


You can find the current Outlawz Saturday Paper a La Mode challenge here
Outlawz Challenges also have a Facebook Fan Club
Visit us here!


Challenges:
Friday, October 22, 2021

Sheepski Designs - Winter Bird

I love seeing Christmas cards every day, do you?

Kerst Christmas Facebook Group has a challenge monthly.
You can share ANY Christmas cards and have a chance to win prizes, too!

Kerst Christmas Facebook Sponsor this month

Here is my DT card using Sheepski Designs - Winter Bird

Dies used:
Marianne Designs - Holly Leaves
Sizzix Tim Holtz 3D Impresslits - Snowflake


Visible Image Sentiment - Go to Christmas Words

Please visit us at Kerst Christmas Facebook Group here

I am the owner of We Are 3 Digital Shop 
and would love to invite you to We Are 3 Digital Shop Facebook Group!

Thursday, October 21, 2021

Fairy Hugs - Raven and Topaz

  Hello everyone and Happy Thursday!! 

Let's see what we can make using Fairy Hugs Store supplies! 

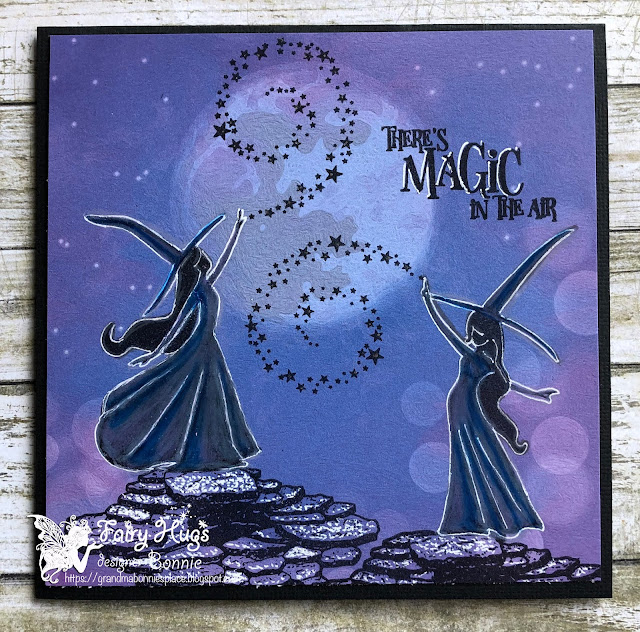
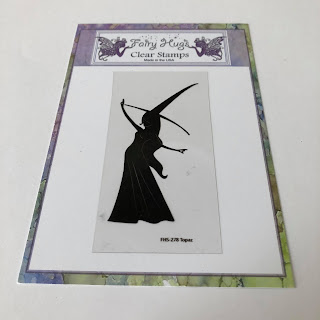
I am using Fairy Hugs - Raven and Topaz

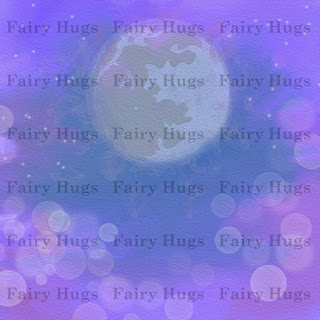
Very fun and simple card! If you'd like to create this card you will need Fairy Hugs paper - Dreamy Sky.
Next you will position the stamps on the paper using the acetate photos from the stamp packaging.
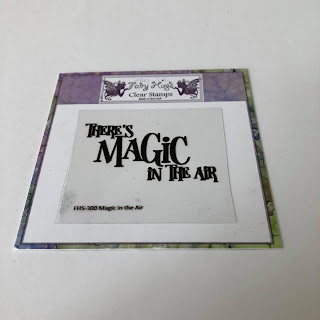
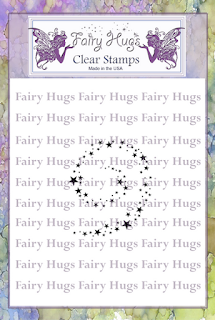
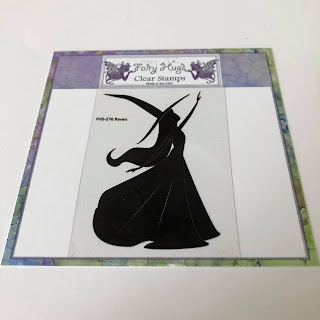
I stamped the Fairy Hugs - Stone Stages first.  Then i stamped Fairy Hugs - Raven and Topaz on top of the Stone Stages. I wanted Raven up higher so i stamped the stone stage up a bit higher.  Using the acetate from the packaging allows me to see how the stamps will fit on the paper so i have enough room. The next stamp i stamped was Fairy Hugs - Stardust.  Last i stamped Fairy Hugs sentiment - Magic in the Air.
I decided to color in the witches with Prismacolor Pencils and white gel pen.  I used the white gel pen on the stone stage and highlighted the sentiment too.
 
Fairy Hugs Store Supplies:


Like us on Facebook
Follow us on Instagram: Fairy Hugs Store
 Join our Fairy Hugs Facebook Group here

 Don't forget to include #FairyHugsStore on your projects and tag us at @FairyHugstore so we can be sure to see and comment on your projects!

Sign up to receive Fairy Hugs Newsletters at the Fairy Hugs store.

 
Thanks for stopping by!

Wednesday, October 20, 2021

Ching Chou Kuik - Snowdrop, for Halloween?

Ching Chou Kuik's  October Facebook Challenge is almost finished.
The theme this month is Halloween Colors

You can find the Facebook challenge 
by visiting the Ching Chou Kuik Facebook group here.

Here is my card using Ching Chou Kuik image, 

I have used  Copics and Prismacolor Pencils to color this image.


You can see all of Ching Chou Kuik's beautiful images at her Etsy Store called, Gjzcck.
Click here to visit her store!

I am also using:

Dies used:
Cheery Lynn (spider corner)


Thank you for stopping by today!

Monday, October 18, 2021

Fairy Hugs - Witches Inn

 Hello everyone and Happy Monday!! 

I am a DT for Fairy Stamper Hugs!
It is the #1 USA Retailer for Fairy Hugs Stamps
Check out the store here!!
 

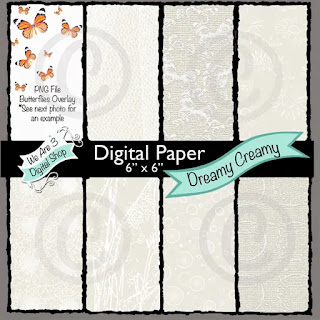
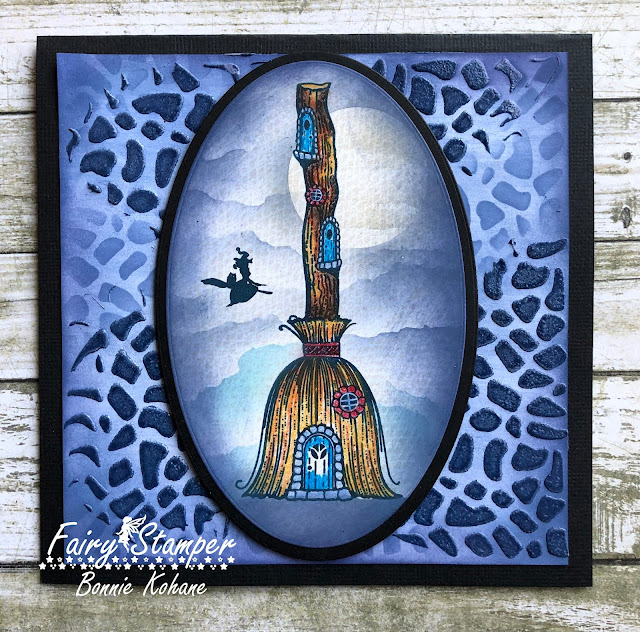
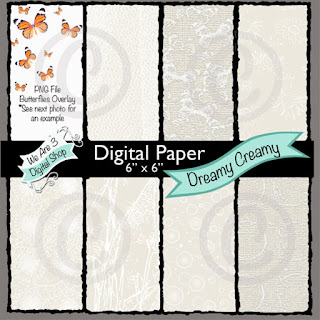
I started this card in a bit different order than i normally do.  I did stamp Fairy Hugs - Witches Inn on some We Are 3 Digital Paper - Dreamy Creamy that i cut into an oval.  It is really subtle but gives the texture look in the back ground.  I colored the Witches Inn with Prismacolor Pencils.  Then i took some Distress Oxide Ink and a circle to make the moon.  Next i used some torn paper to make the cloudy background.  Last, i stamped one of the Fairy Hugs - Witchy Dweller. I matted the oval onto a black oval.  Now for background layer....First, i inked up the background with Distress Oxide.  I did this lightly, by using my blending brush that i had misted with water and then picked up the ink from the pad. 
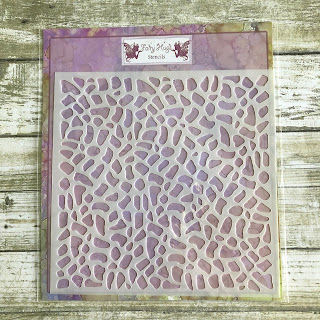
Once that dried, i used the Fairy Hugs stencil - Rocks with the same ink in the traditional way of using a stencil.  Next, i used the stencil again but this time i used molding paste and Distress Embossing glaze that matched the Distress Oxide ink i used.  I let the molding paste dry and then i used my heat embossing gun to heat the embossing glaze.. which gives a ceramic glaze look.  *Tip i only stenciled and used molding paste on the outside area of this layer because the Oval would be covering it up anyway.

Fairy Stamper Store Supplies:


I also used:


Like us on Facebook
Follow us on Instagram: Fairy Stamper Hugs
Join our NEW Fairy Stamper Hugs Facebook Group here

 Don't forget to include #fairystamperhugs on your projects and tag us at @FairyStamperHugs so we can be sure to see and comment on your projects!

Sign up to receive Fairy Stamper Newsletters at the Fairy Stamper store.