Pages

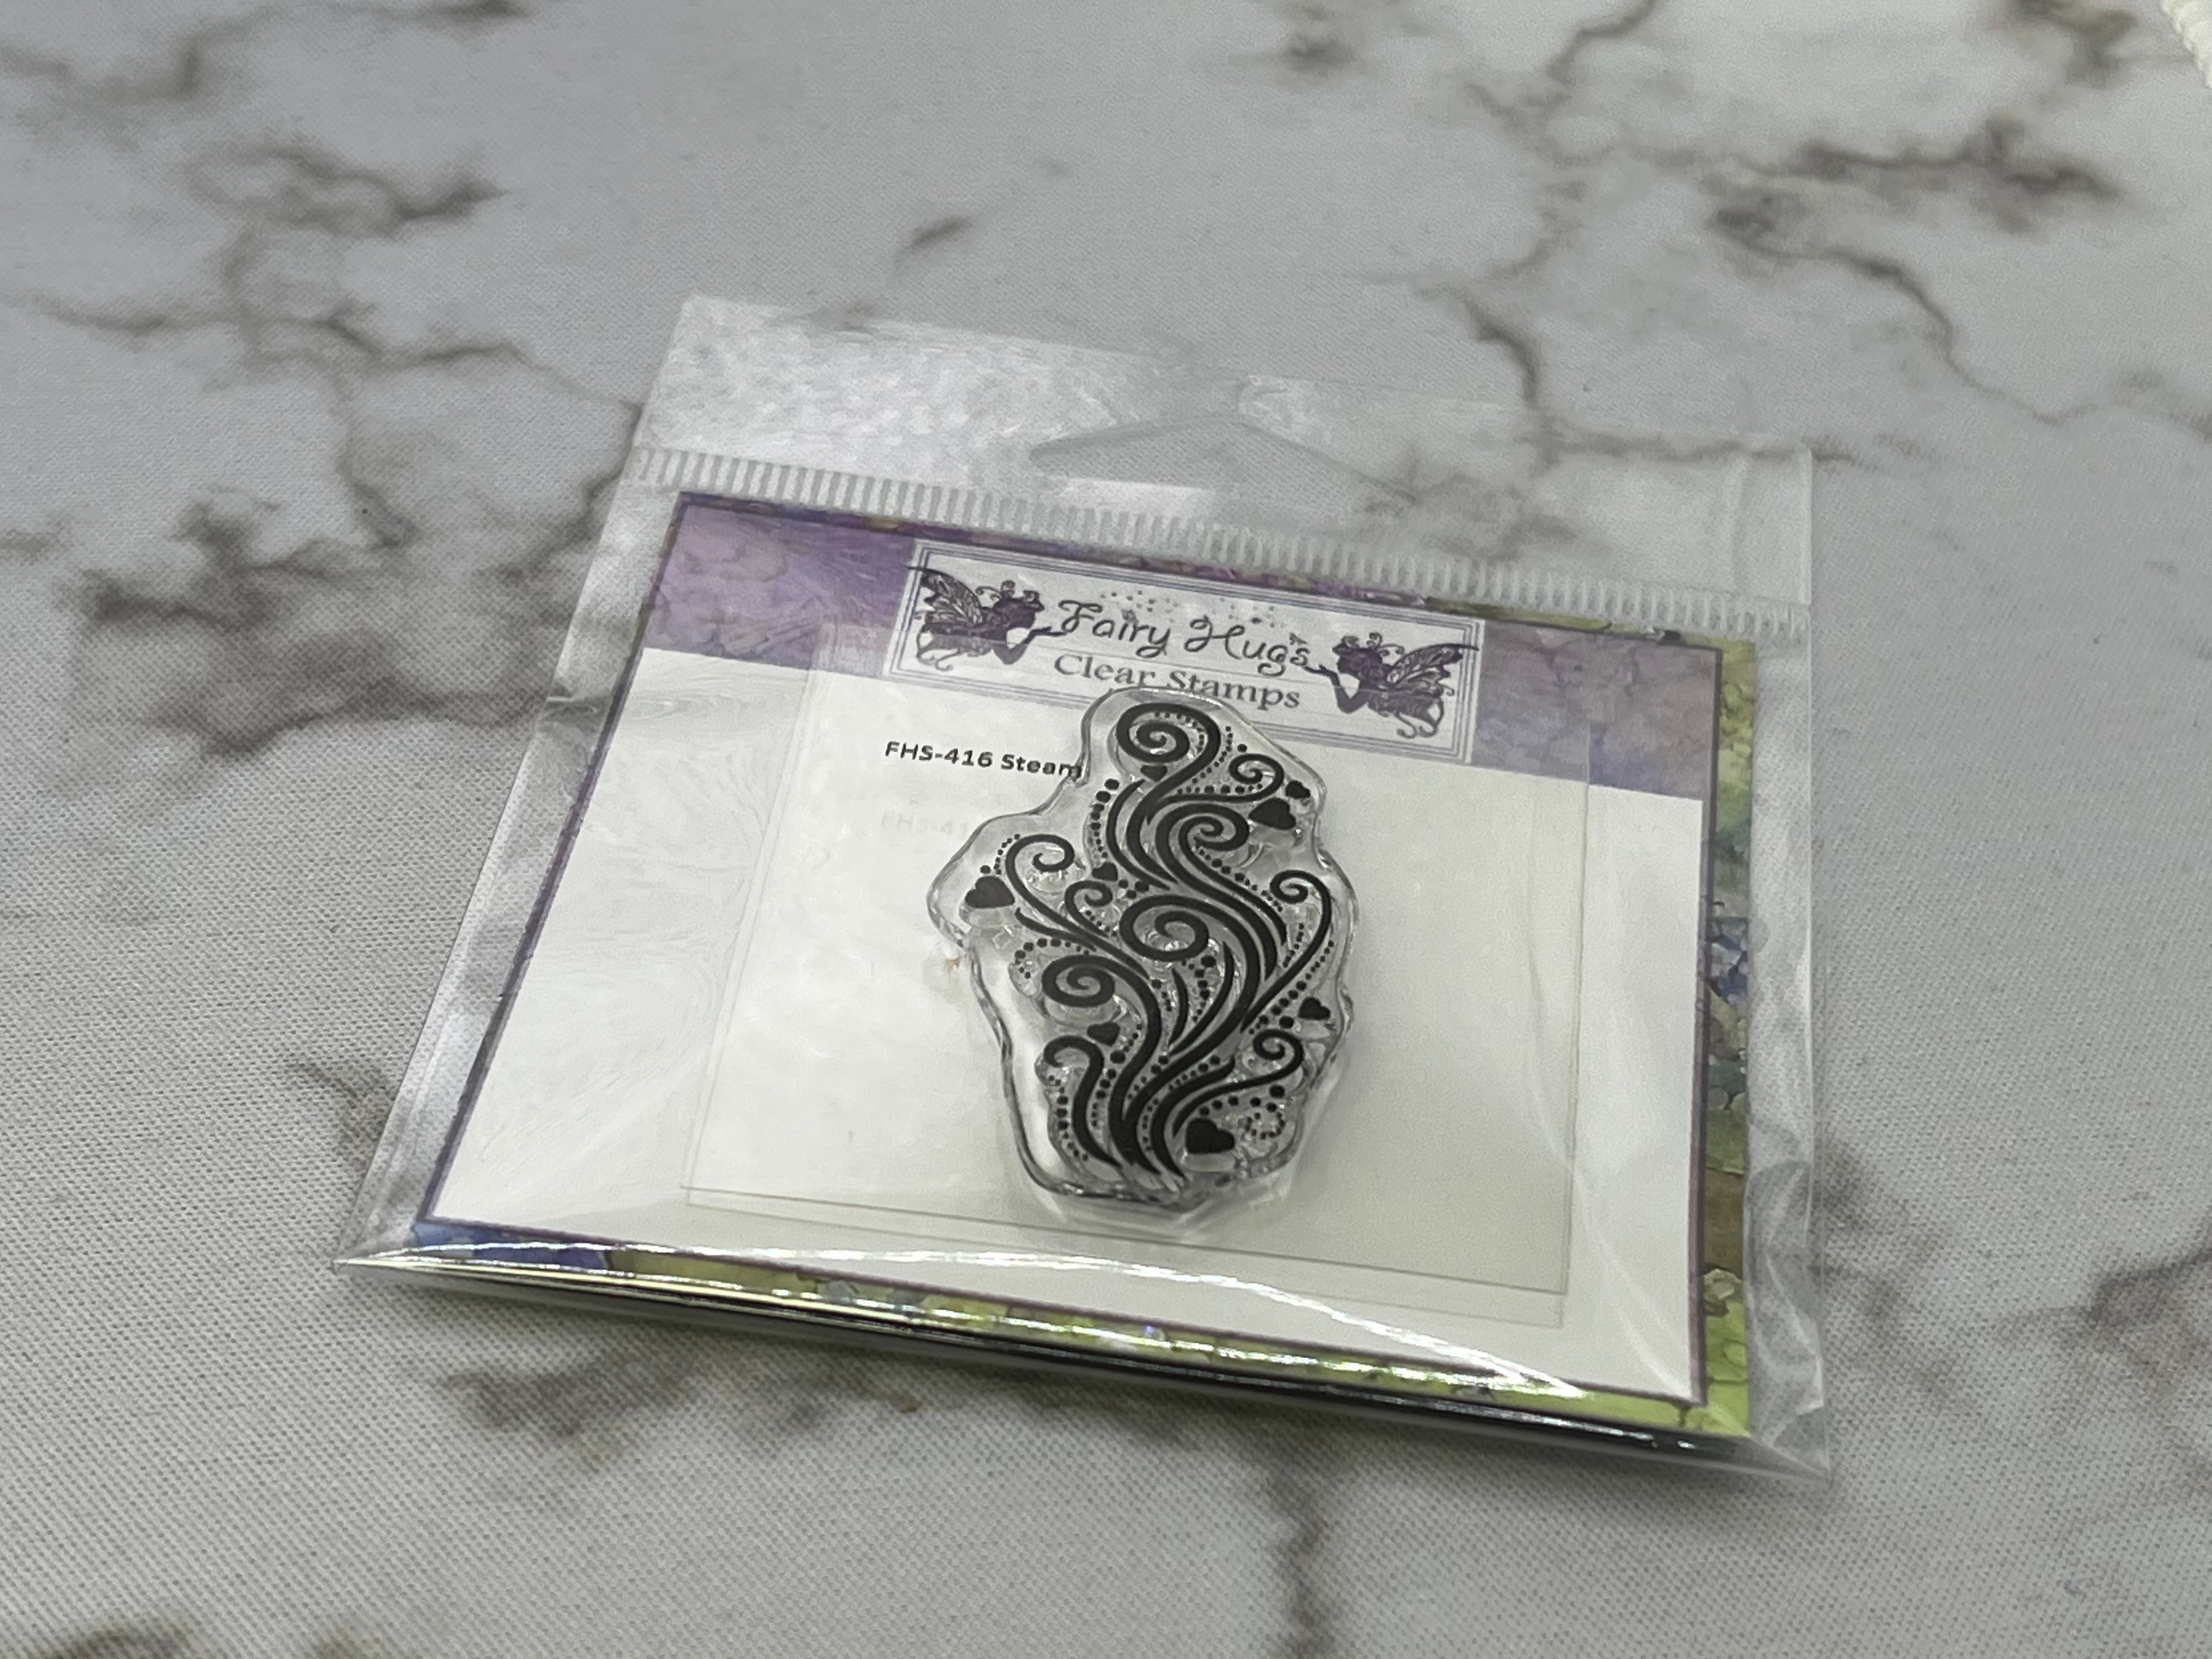
Showing posts with label Fairy Hugs - Steam. Show all posts

Monday, May 15, 2023

Fairy Hugs - Teapot Cottage with Magnolia Branch

Hello Monday!

Let's see what we can make using supplies from Fairy Hugs Store 

I am using Fairy Hugs - Teapot Cottage with Magnolia Branch


For this card,  i am sharing a photo tutorial.  You will see how things evolved differently than originally planned! 
To start with i wanted to make a half circle stamped design.  So i cut out a large circle and and smaller circle i didn't use the large circle itself.. i wanted the large circle outline so that i could put a circle inside of it, leaving a donut space to stamp into.  Masking paper would have been perfect for this but i didn't want to waste the large sheets for this project so i used computer paper.

You can see how the outside and the circle made the "mask".

Before i removed the "mask" i also added some Distress Oxide Ink - Tumbled Glass and Broken China.

Next i masked off the strip to stamp the words and i also had the circle shown with that strip mask, but didn't take a photo of that. 
What you are seeing is the circle mask left in place so that i can make a halo for the moon.


And this is where things started to change.  First, you can see i added a strip of foliage along side of the stamped words.. they don't show up in the end.  I didn't like that i didn't use the moon mask at the very start of my masking when i made the "tube" mask because the edge of the tube masking showed up in the moon.  So i die cut out a circle the size of the moon i wanted to use and replaced it (inset it) in the die cut" with another moon  that i had inked up.  I could have just layered it on top.. but i didn't.  So the next mishap was when i took off the moon mask i pulled some of the paper off.  So i made a second moon to cover that up.  Now it is starting to look really magical with 2 moons. 

I decided to add some star swirls.  This stamp is Fairy Hugs - Moon Dust (i have two of these stamps because i cut one apart so i could stamp the "swirls" without the moon)


I planned all along to stamp Fairy Hugs - Teapot Cottage w/ Fairy Hugs Steam as one stamp and then hand cut it out to place on top of the background design.  My first attempt was to color the entire cottage, but it just didn't work with the background, so i stamped it again and just colored in the door.
As you can see with the end result, the words didn't show up except at the top and bottom.  I totally didn't like just seeing the "Sweet Jasmine" unfinished at the top, so i covered it up with a banner that i stamped out the words "With Love"  from Fairy Hugs - Love at Christmas, again a stamp i cut apart to make a new sentiment. 

Fairy Hugs Store Supplies:


Fairy Hugs - Tea Collage (not shown in the end result)


Like us on Facebook
Follow us on Instagram: Fairy Hugs Store
 Join our Fairy Hugs Facebook Group here
 Don't forget to include #FairyHugsStore on your projects and tag us at @FairyHugstore so we can be sure to see and comment on your projects!

Sign up to receive Fairy Hugs Newsletters at the Fairy Hugs store.

Fairy Hugs Retailers:
 
Thanks for stopping by!

Thursday, May 5, 2022

Fairy Hugs - Bathing Thomas and "tea time".

 Hello everyone and Happy Thursday!! 

I am a DT for Fairy Stamper Hugs!
It is the #1 USA Retailer for Fairy Hugs Stamps
Check out the store here!!
 

  For this card i wanted to go with a teabag type theme for the card base.  So i made a card and cut the corners at an angle and then i cut a piece to fit at the top to look like the top of a teabag. The paper i used for the card is from Fairy Hugs Craft Papers - Thunderglow.
 One more thing was to add a teabag too!  This is how i made the hanging teabag.  I cut a piece of coffee filter into a rectangle and stamped it with the Fairy Hugs Sentiment - Tea Word Collage.  I folded it in half lengthwise and then again horizontally.  At the bottom i made another fold like an old fashioned teabag. At the top i folded in the sides and hole punched it so i could add a string.  The end of the string got stapled to the piece at the top of the card before i attached it.
Next i needed to cut a piece to fit on the front of the card.  Once i did that i stamped Fairy Hugs - Bathing Thomas with VersaFine Clair Ink - Nocturne.  I also added Fairy Hugs - Steam to the cup.  I stamped out Fairy Hugs - Tea Word Collage one more time and fussy cut the sentiment within the collage "Tea is like a hug in a mug" and matted it with a blue glitter paper.  For fun i die cut a small heart from the blue glitter paper as well.  Last thing, i did was color in the stamped image with Prismacolor pencils.  To put the card together, i just added the colored image layer and then i added the "tea bag" flap at the top with double sided foam tape and then i positioned the handmade teabag and glued that down.

Fairy Stamper Store Supplies:


Like us on Facebook
Follow us on Instagram: Fairy Stamper Hugs
Join our NEW Fairy Stamper Hugs Facebook Group here

 Don't forget to include #fairystamperhugs on your projects and tag us at @FairyStamperHugs so we can be sure to see and comment on your projects!

Sign up to receive Fairy Stamper Newsletters at the Fairy Stamper store.

Monday, May 2, 2022

Fairy Hugs - Ann Marie with Fairy Teacup

  Hello everyone and Happy Monday! 

Let's see what we can make using Fairy Hugs Store supplies! 

I am using Fairy Hugs - Ann Marie!

For this card,  I used Fairy Hugs Craft Paper - Bumbletwinkle.  First thing i did was use the Fairy Hugs Stencil - Spirals with molding paste and embossing glitter.  I heat set that after i allowed the paste to dry slightly.  I also stamped the Fairy Hugs Sentiment - Coffee Word Collage in VersaFine Clair - Pinecone. Then i made a mask of Fairy Hugs - Ann Marie.  Next, i stamped Fairy Hugs - Ann Marie with VersaFine Clair - Nocturne.  I put the Ann Marie mask on top of Ann Marie, so that i could stamp the Fairy Hugs - Fairy Teacup to make it look like she was sitting on top of the cup but with her legs to the side.  Because Ann Marie's hands are raised slightly, i decided to use Fairy Hugs - Steam to make it look like she is warming her hands.  I did stamp Fairy Hugs - Coffee Word Collage one more time out of VersaFine Clair - Pinecone onto a cream paper and hand cut the one line out as another sentiment for under the cup.  I matted the sentiment in a black cardstock.  Last thing i did was color in the images with Prismacolor Pencils. 

Fairy Hugs Store Supplies:


Like us on Facebook
Follow us on Instagram: Fairy Hugs Store
 Join our Fairy Hugs Facebook Group here

 Don't forget to include #FairyHugsStore on your projects and tag us at @FairyHugstore so we can be sure to see and comment on your projects!

Sign up to receive Fairy Hugs Newsletters at the Fairy Hugs store.

 
Thanks for stopping by!

Tuesday, April 26, 2022

New Fairy Hugs Release! Featuring - Teapot Cottage

Hello everyone and Happy Release day! 

Fairy Hugs New release will be on Create and Craft on April 26 & 27
and in the Fairy Hugs store on April 26.
If you are in the UK, Fairy Hugs can be found at Julia Watts Crafts

Let's see what we can make using Fairy Hugs Store supplies! 

I am using Fairy Hugs - Teapot Cottage

For this card, i started out with Fairy Hugs Craft Paper - Petalshimmer. Next i made a mask for Fairy Hugs - Teapot Cottage and cut it out.  I figured out the stamp placements and stamped the Teapot Cottage. Next i stamped Fairy Hugs - Sunflower Table (just the top of it) so it looks like an umbrella for the Teapot Cottage. Next, i stamped Fairy Hugs Sentiment - Coffee Friends. I added the Fairy Hugs - Steam to the spout of the teapot. I pulled out an older stamp set called, Fairy Hugs - Fairy Dwellers and stamped them on the Teapot cottage and below on a torn paper "hill" i made with Distress Oxide Ink - Chipped Sapphire.  Last i colored the images in with Prismacolor pencils and a gold sparkly gel pen.

Fairy Hugs Store Supplies:


Like us on Facebook
Follow us on Instagram: Fairy Hugs Store
 Join our Fairy Hugs Facebook Group here

 Don't forget to include #FairyHugsStore on your projects and tag us at @FairyHugstore so we can be sure to see and comment on your projects!

Sign up to receive Fairy Hugs Newsletters at the Fairy Hugs store.

 
Thanks for stopping by!

Monday, April 25, 2022

Fairy Hugs NEW Release! Fairy Hugs Craft Paper Pad - Petalshimmer

  Hello everyone and Happy Sneak Peek Release day! 

Fairy Hugs New release will be on Create and Craft on April 26 & 27
and in the Fairy Hugs store on April 26.
If you are in the UK, Fairy Hugs can be found at Julia Watts Crafts

Let's see what we can make using Fairy Hugs Store supplies! 

I am using Fairy Hugs - Fairy Hugs NEW Release - PetalShimmer Craft Paper Pad!

For this card,  I started with a sheet of paper from Fairy Hugs Craft Paper Pad - Petalshimmer.   Shwu-Miin Tang (Fairy Hugs designer) designed this paper and it is gorgeous!
I made a mask for Fairy Hugs - Nigel.  Each Fairy Hugs stamp comes with an acetate photo of the actual stamp.  This acetate works well to figure out placement of your stamps. I made a layout with the acetate photos so i would know where to stamp the images. First, i stamped Fairy Hugs Nigel and placed the mask on top of him.  Then i stamped the hanging Fairy Hugs - Fairy Teacup, so it looked like Nigel was resting against it. I kept the mask on Nigel and also stamped Fairy Hugs - Stacked Teacups. Now i took off the mask.  Next, i stamped Fairy Hugs - Ginkgo Branch.  Next i made a mask of the top (flower and part of the stem) of Fairy Hugs - Sunflower Table.  I positioned the top of the Sunflower table stamp just under the base of the stacked teacups.  Now, i put the mask on top of the Sunflower i just stamped.  Then i and stamped two more times using the Sunflower Table stamp on each side of the middle Sunflower i just stamped.  This way there isn't any overlapping petals.  I put the mask on the left flower i just stamped and proceeded to stamp Fairy Hugs - Teacup Flowers.  I did the same thing for the right Sunflower Table bloom and just stamped one of the Fairy Hugs - Teacup Flowers.  I pulled out Fairy Hugs - Steam and stamped that above the last Teacup flower i stamped.  Last thing i stamped is the Fairy Hugs Sentiment - Returning to You. Now for some Prismacoloring.  This paper works well for stamping and pencil coloring! I also added some Pentel Gold Sparkly Gel Pen!

Fairy Hugs Store Supplies:
Fairy Hugs - Nigel

Fairy Hugs - Fairy Teacup

Fairy Hugs - Stacked Teacups

Fairy Hugs - Sunflower Table

Fairy Hugs - Steam

Fairy Hugs - Ginkgo Branch

Fairy Hugs Sentiment - Returning to You

Fairy Hugs Craft Paper - Petalshimmer

Like us on Facebook
Follow us on Instagram: Fairy Hugs Store
 Join our Fairy Hugs Facebook Group here

 Don't forget to include #FairyHugsStore on your projects and tag us at @FairyHugstore so we can be sure to see and comment on your projects!

Sign up to receive Fairy Hugs Newsletters at the Fairy Hugs store.

 
Thanks for stopping by!