Pages

Monday, June 20, 2022

Fairy Hugs - Music Tree and Peony Card Tutorial

Hello everyone and happy Monday!! 
It’s time for a new Fairy Stamper YouTube featuring Fairy Hugs stamps.
      
Every week you will see 
Fairy Stamper YouTube Tutorial Videos by the Fairy Stamper Design Team

Please subscribe so you won't miss a video!


You can see how i created this card by watching this YouTube Tutorial:

Fairy Stamper Store Supplies:
 
 Store ** Facebook Challenge ** Facebook** Instagram ** YouTube

Like us on Facebook
Follow us on Instagram: Fairy Stamper

Saturday, June 18, 2022

Kerst Christmas Facebook Challenge - featuring Jan's Digi Shop - Holiday Gingerbread

I love seeing Christmas cards every day, do you?

Kerst Christmas Facebook Group has a challenge monthly.
You can share ANY Christmas cards and have a chance to win prizes, too!

Kerst Christmas Facebook Sponsor this month

Here is my DT card using Jan's Digi Shop - Holiday Gingerbread


Dies used
Tutti Designs - Nesting Stitched Tag


Please visit us at Kerst Christmas Facebook Group here

I am the owner of We Are 3 Digital Shop 
and would love to invite you to We Are 3 Digital Shop Facebook Group!


Fairy Hugs New Enchanted Die Release - Garden Cottage

Hello everyone and Happy Sneak Peek Day! 

Fairy Hugs will be releasing a brand NEW product to the Fairy Hugs line on June 20th!
Fairy Hugs Enchanted Dies!!

Let's see what we can make using Fairy Hugs Store supplies! 

I am using Fairy Hugs Enchanted Die - Garden Cottage!

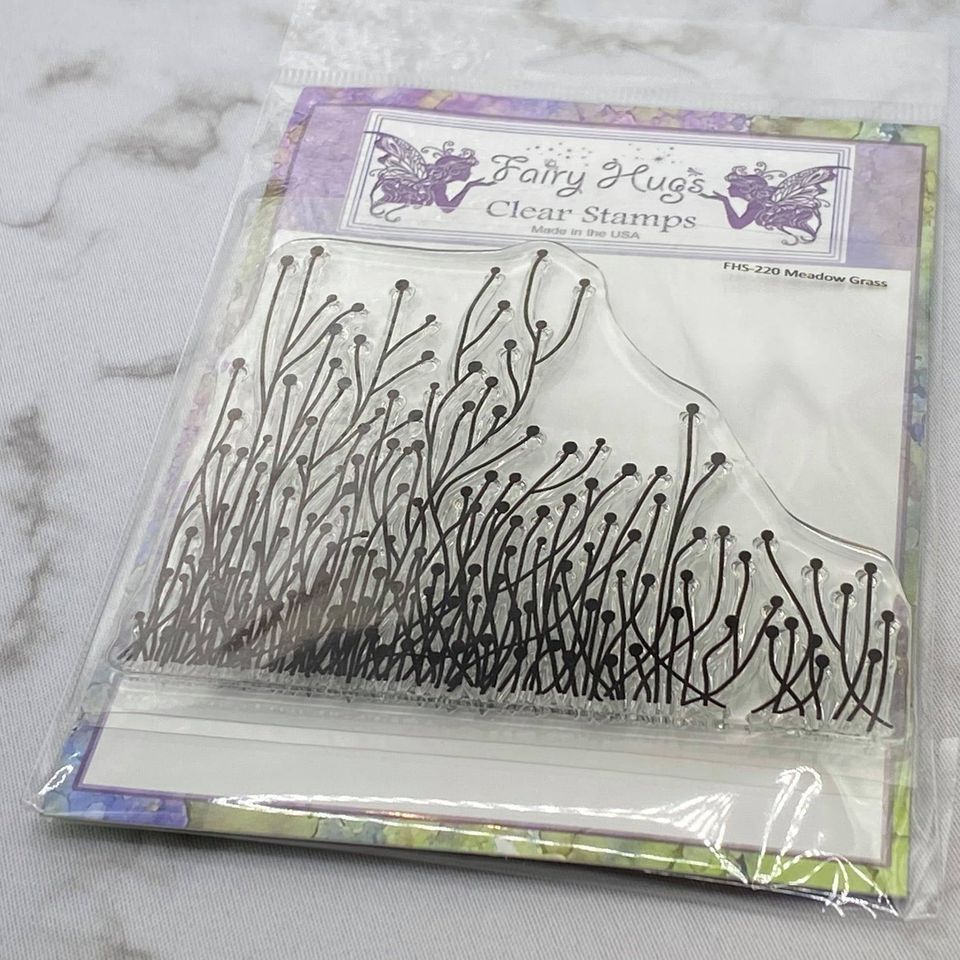
For this card,  I started with the brand NEW Fairy Hugs Craft Papers - TumbleShine.  I then used another NEW Fairy Hugs Craft Papers - WinkleBush to cut out the Garden Cottage.  I cut the Garden Cottage out 3 times.  One in the purple and another in the brown from WinkleBush. Then i used a green paper i had in my stash. I saved all of the negative pieces to use in other Garden Cottage die cuts.  For this card, i used the purple for the main die cut and the brown negative pieces from the brown die cut.  I used the green for my base and built on top of that.  I fussy cut the purple flowers and adhered them on top of the green base flowers. When i cut out the door it was die cut all the way around except for the threshold.  I decided i wanted my door to open so, i decided to cut along the threshold and re-attach the door on the right with double sided tape.  Before i attached the door i hole punched the handle and added a brad.  So before i glued the garden cottage on the background paper, i figured out the placement of Fairy Hugs - Meadow Grass and the fairy, Fairy Hugs - Mordibella and then i stamped the fairy with VersaFine Clair Ink Nocturne and the grass and sentiment with VersaFine Clair Ink - Rain Forest.  Now i added the Garden Cottage and did some torn paper inking for the grass.  I colored in the fairies wings using colors to match the papers.

Fairy Hugs Store Supplies:
Fairy Hugs Enchanted Die - Garden Cottage


Fairy Hugs Craft Paper - TumbleShine

Like us on Facebook
Follow us on Instagram: Fairy Hugs Store
 Join our Fairy Hugs Facebook Group here

 Don't forget to include #FairyHugsStore on your projects and tag us at @FairyHugstore so we can be sure to see and comment on your projects!

Sign up to receive Fairy Hugs Newsletters at the Fairy Hugs store.

 
Thanks for stopping by!

Friday, June 17, 2022

Sneak Peek! Fairy Hugs Enchanted Dies - Magical Hollow

  Hello everyone and Happy Friday! 

Hello everyone and Happy Sneak Peek Day! 

Fairy Hugs will be releasing a brand NEW product to the Fairy Hugs line on June 20th!
Fairy Hugs Enchanted Dies!!

Let's see what we can make using Fairy Hugs Store  New Release supplies! 

I am using Fairy Hugs New Release Enchanted Die - Magical Hollow

Not going to lie.. this is my absolute favorite die.. and to just let you know.. it is going to fly off the shelves when it is first introduced on June 20th! 
For this card, i used the Brand New Fairy Hugs Enchanted Die - Magical Hollow. 
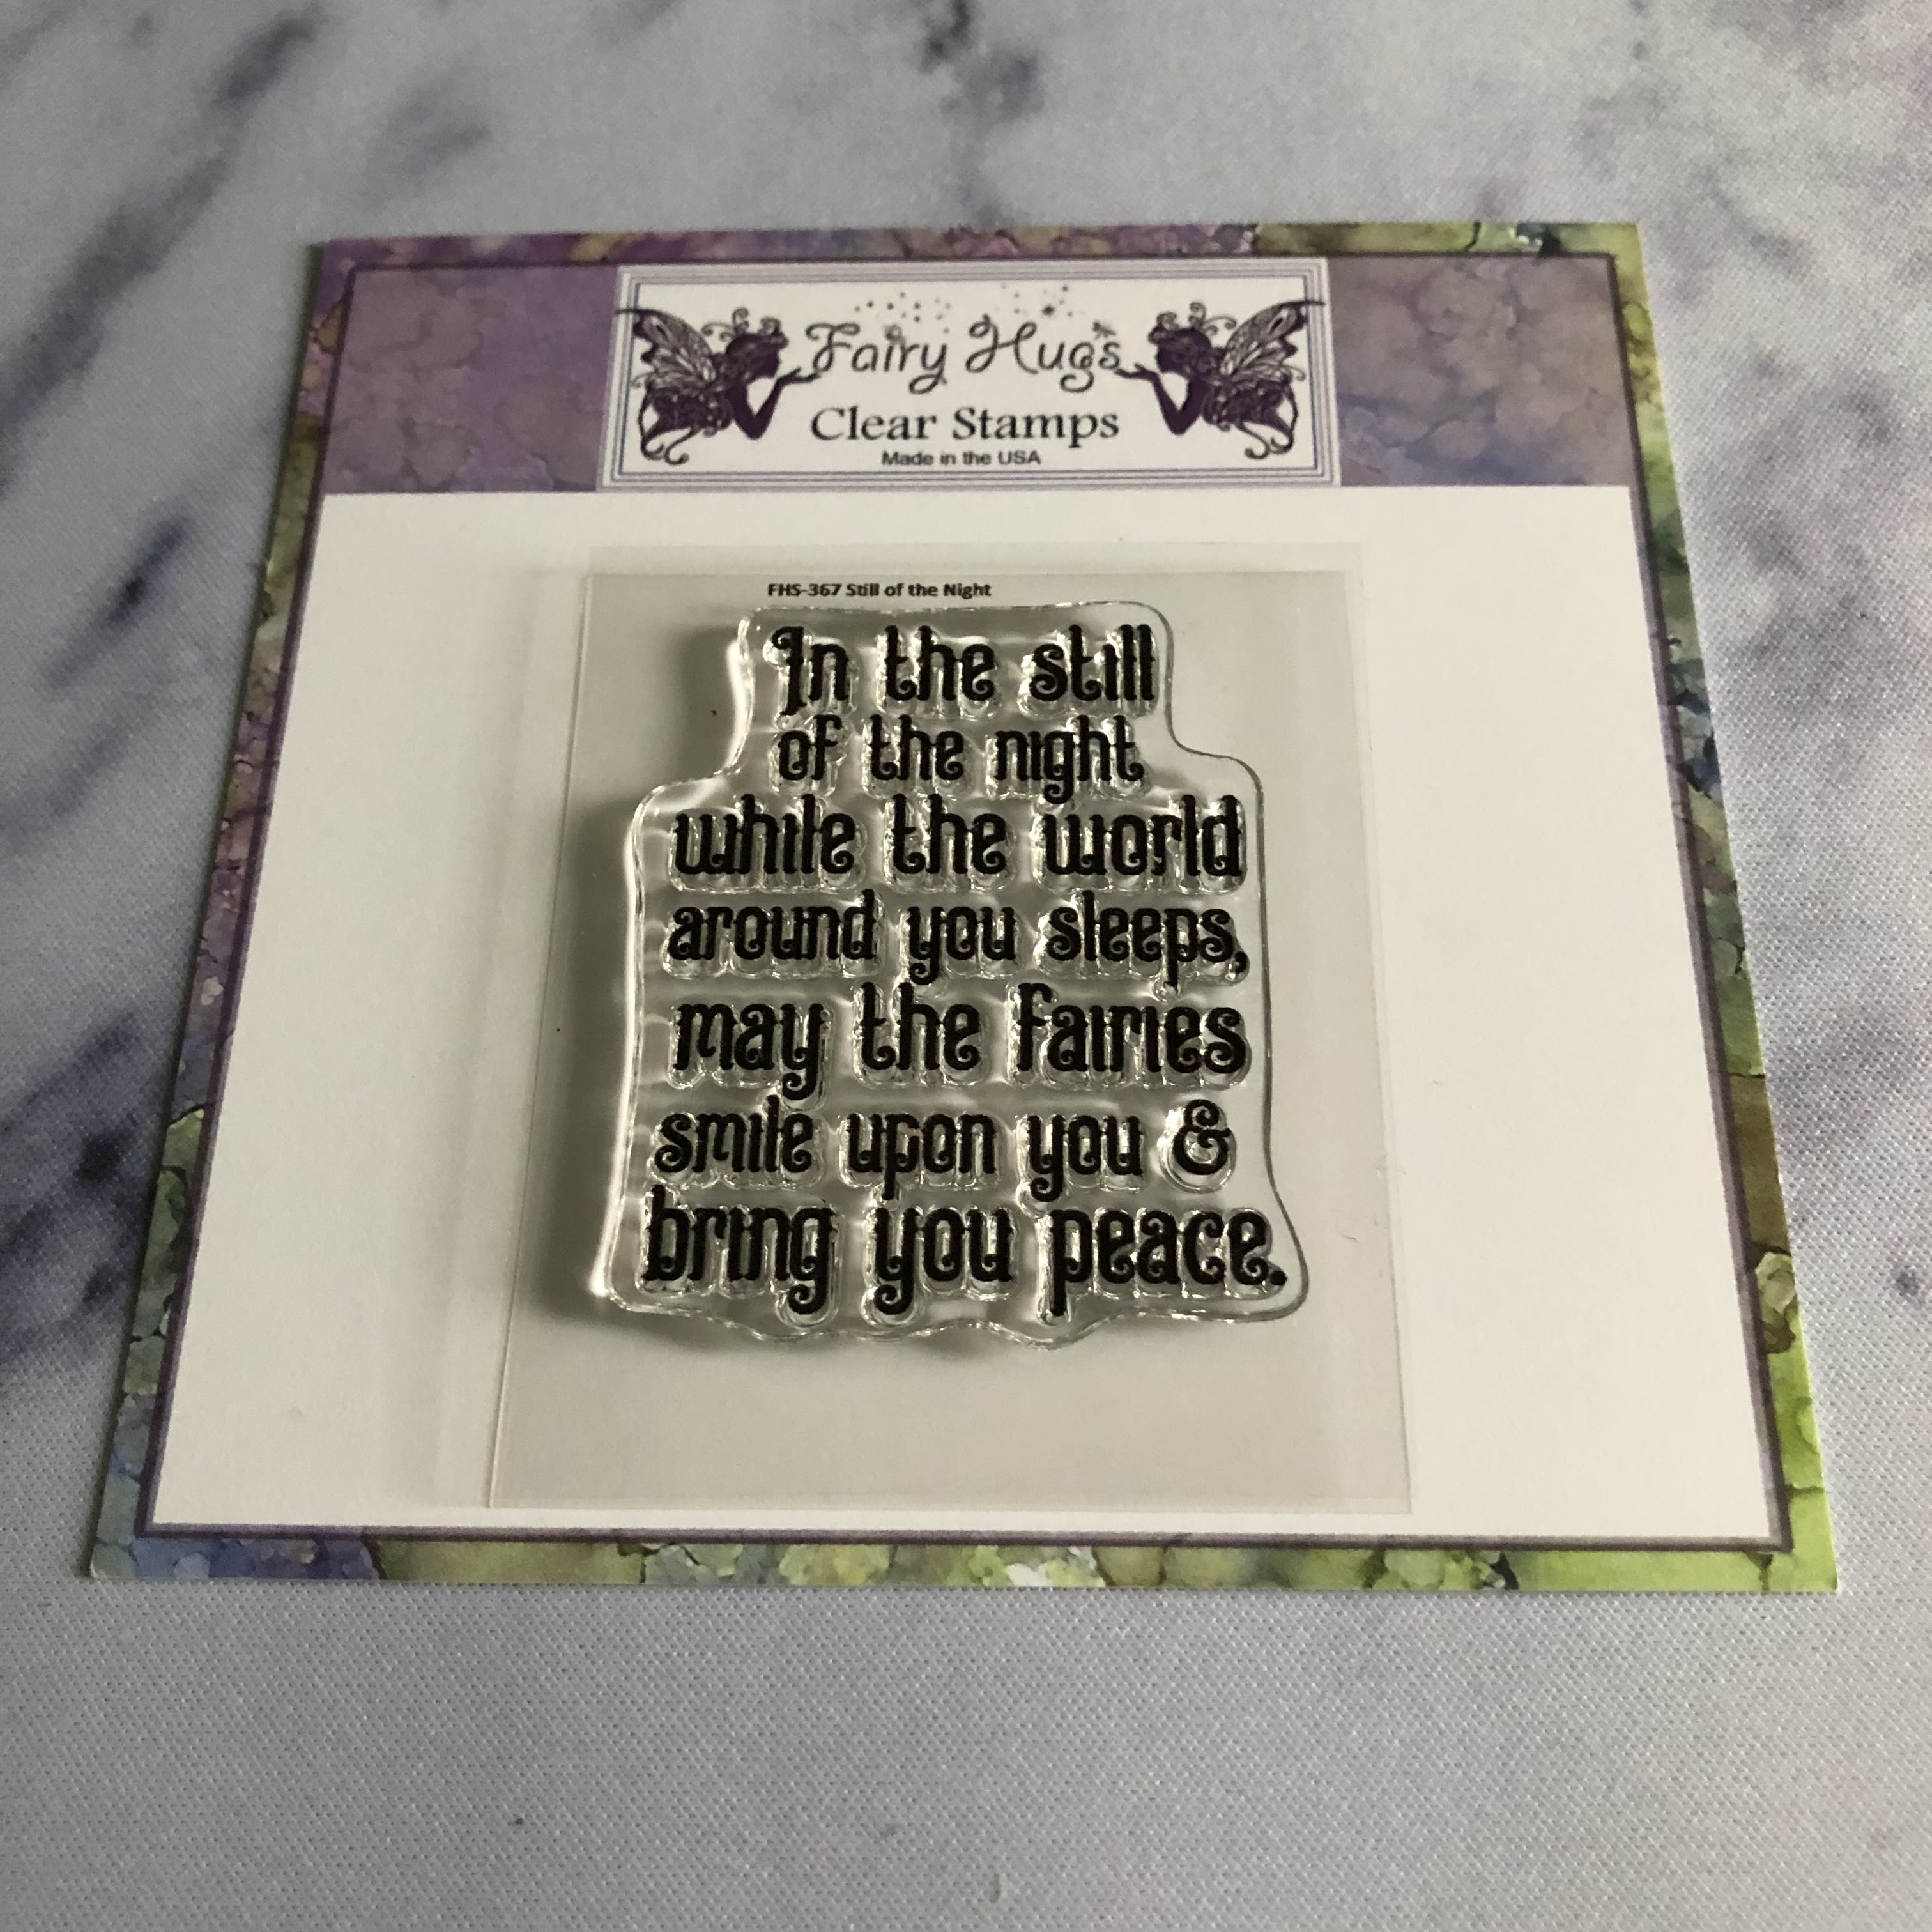
I cut it out of black card stock and highlighted it with white pencil.  I have also used the Brand NEW Fairy Hugs Craft Paper - TumbleShine.  I actually die cut the circle from another paper in the pack so i could frame the one behind. On the framed on, i stamped Fairy Hugs - Meadow Grass.  Then i die cut out the circle to use on another card.  I tore the edges and inked them with Distress Oxide Ink - Chipped Sapphire.  On the background paper i stamped - Bryla and then i colored her in with Prismacolor pencils. I also stamped Fairy Hugs Sentiment - Still of the Night.  Last thing i layered everything up.  Background paper with Bryla first, then the framed circle with Meadow Grass and then i added the die. 

Fairy Hugs Store Supplies:
Fairy Hugs Enchanted Die - Magical Hollow


Fairy Hugs Craft Paper - TumbleShine

Like us on Facebook
Follow us on Instagram: Fairy Hugs Store
 Join our Fairy Hugs Facebook Group here

 Don't forget to include #FairyHugsStore on your projects and tag us at @FairyHugstore so we can be sure to see and comment on your projects!

Sign up to receive Fairy Hugs Newsletters at the Fairy Hugs store.

 
Thanks for stopping by!

Tutti Designs - 739 Moon Dragon - Baby Style

Hello!  Let's see what you can create with Tutti Designs today!


For this card,  i started with the gingham paper in the background from We Are 3 Digital Paper - At the Beach, then i cut a small strip of dotted paper from We Are 3 Digital Paper - Rainbow Skies.
Next, i used some Tim Holtz Mirror/Metallic paper (blue) for the mat of the gingham.  From the center of that i and die cut the Tutti Designs - 739 Moon Dragon,  fussy cutting the dragon parts and star.  and i cut just the ends of Tutti Designs - 214 Nesting Stitched Banners out of that matted piece as well.  **Tip, cut a square out of the mirror/metallic paper to cut the pieces out.  I then die cut the Moon Dragon from an ivory white card stock and glued the metallic/mirror card stock die cut pieces of the dragon on top.   Ok we have all the pieces we need to complete this card.  Put the mirror matted paper on the card base first.  You will then layer the gingham and dotted paper on top of the mirror paper.  Place the banner sections where the two papers are joined.  Before you add the Moon Dragon, cut out 2 houses from Tutti Designs - 705 Snowflake Village and cut the bottoms off so they can fit above the banners.  Position the houses and the Moon Dragon as shown (or as you like them) and glue them in place.  I added a few gems to the right side of the moon and where the star meets the dangly bit from the moon as shown. 

I have used:

Be sure to visit Tutti Designs
for LOTS more fabulous dies and
come back again for more Tutti Designs inspiration!

Here are some Tutti Designs quick links:

Also used:


Thursday, June 16, 2022

Look who is peeking in to say "hi".... Fairy Hugs - Peeking Alfred!

 Hello everyone and Happy Thursday!! 

I am a DT for Fairy Stamper Hugs!
It is the #1 USA Retailer for Fairy Hugs Stamps
Check out the store here!!
 

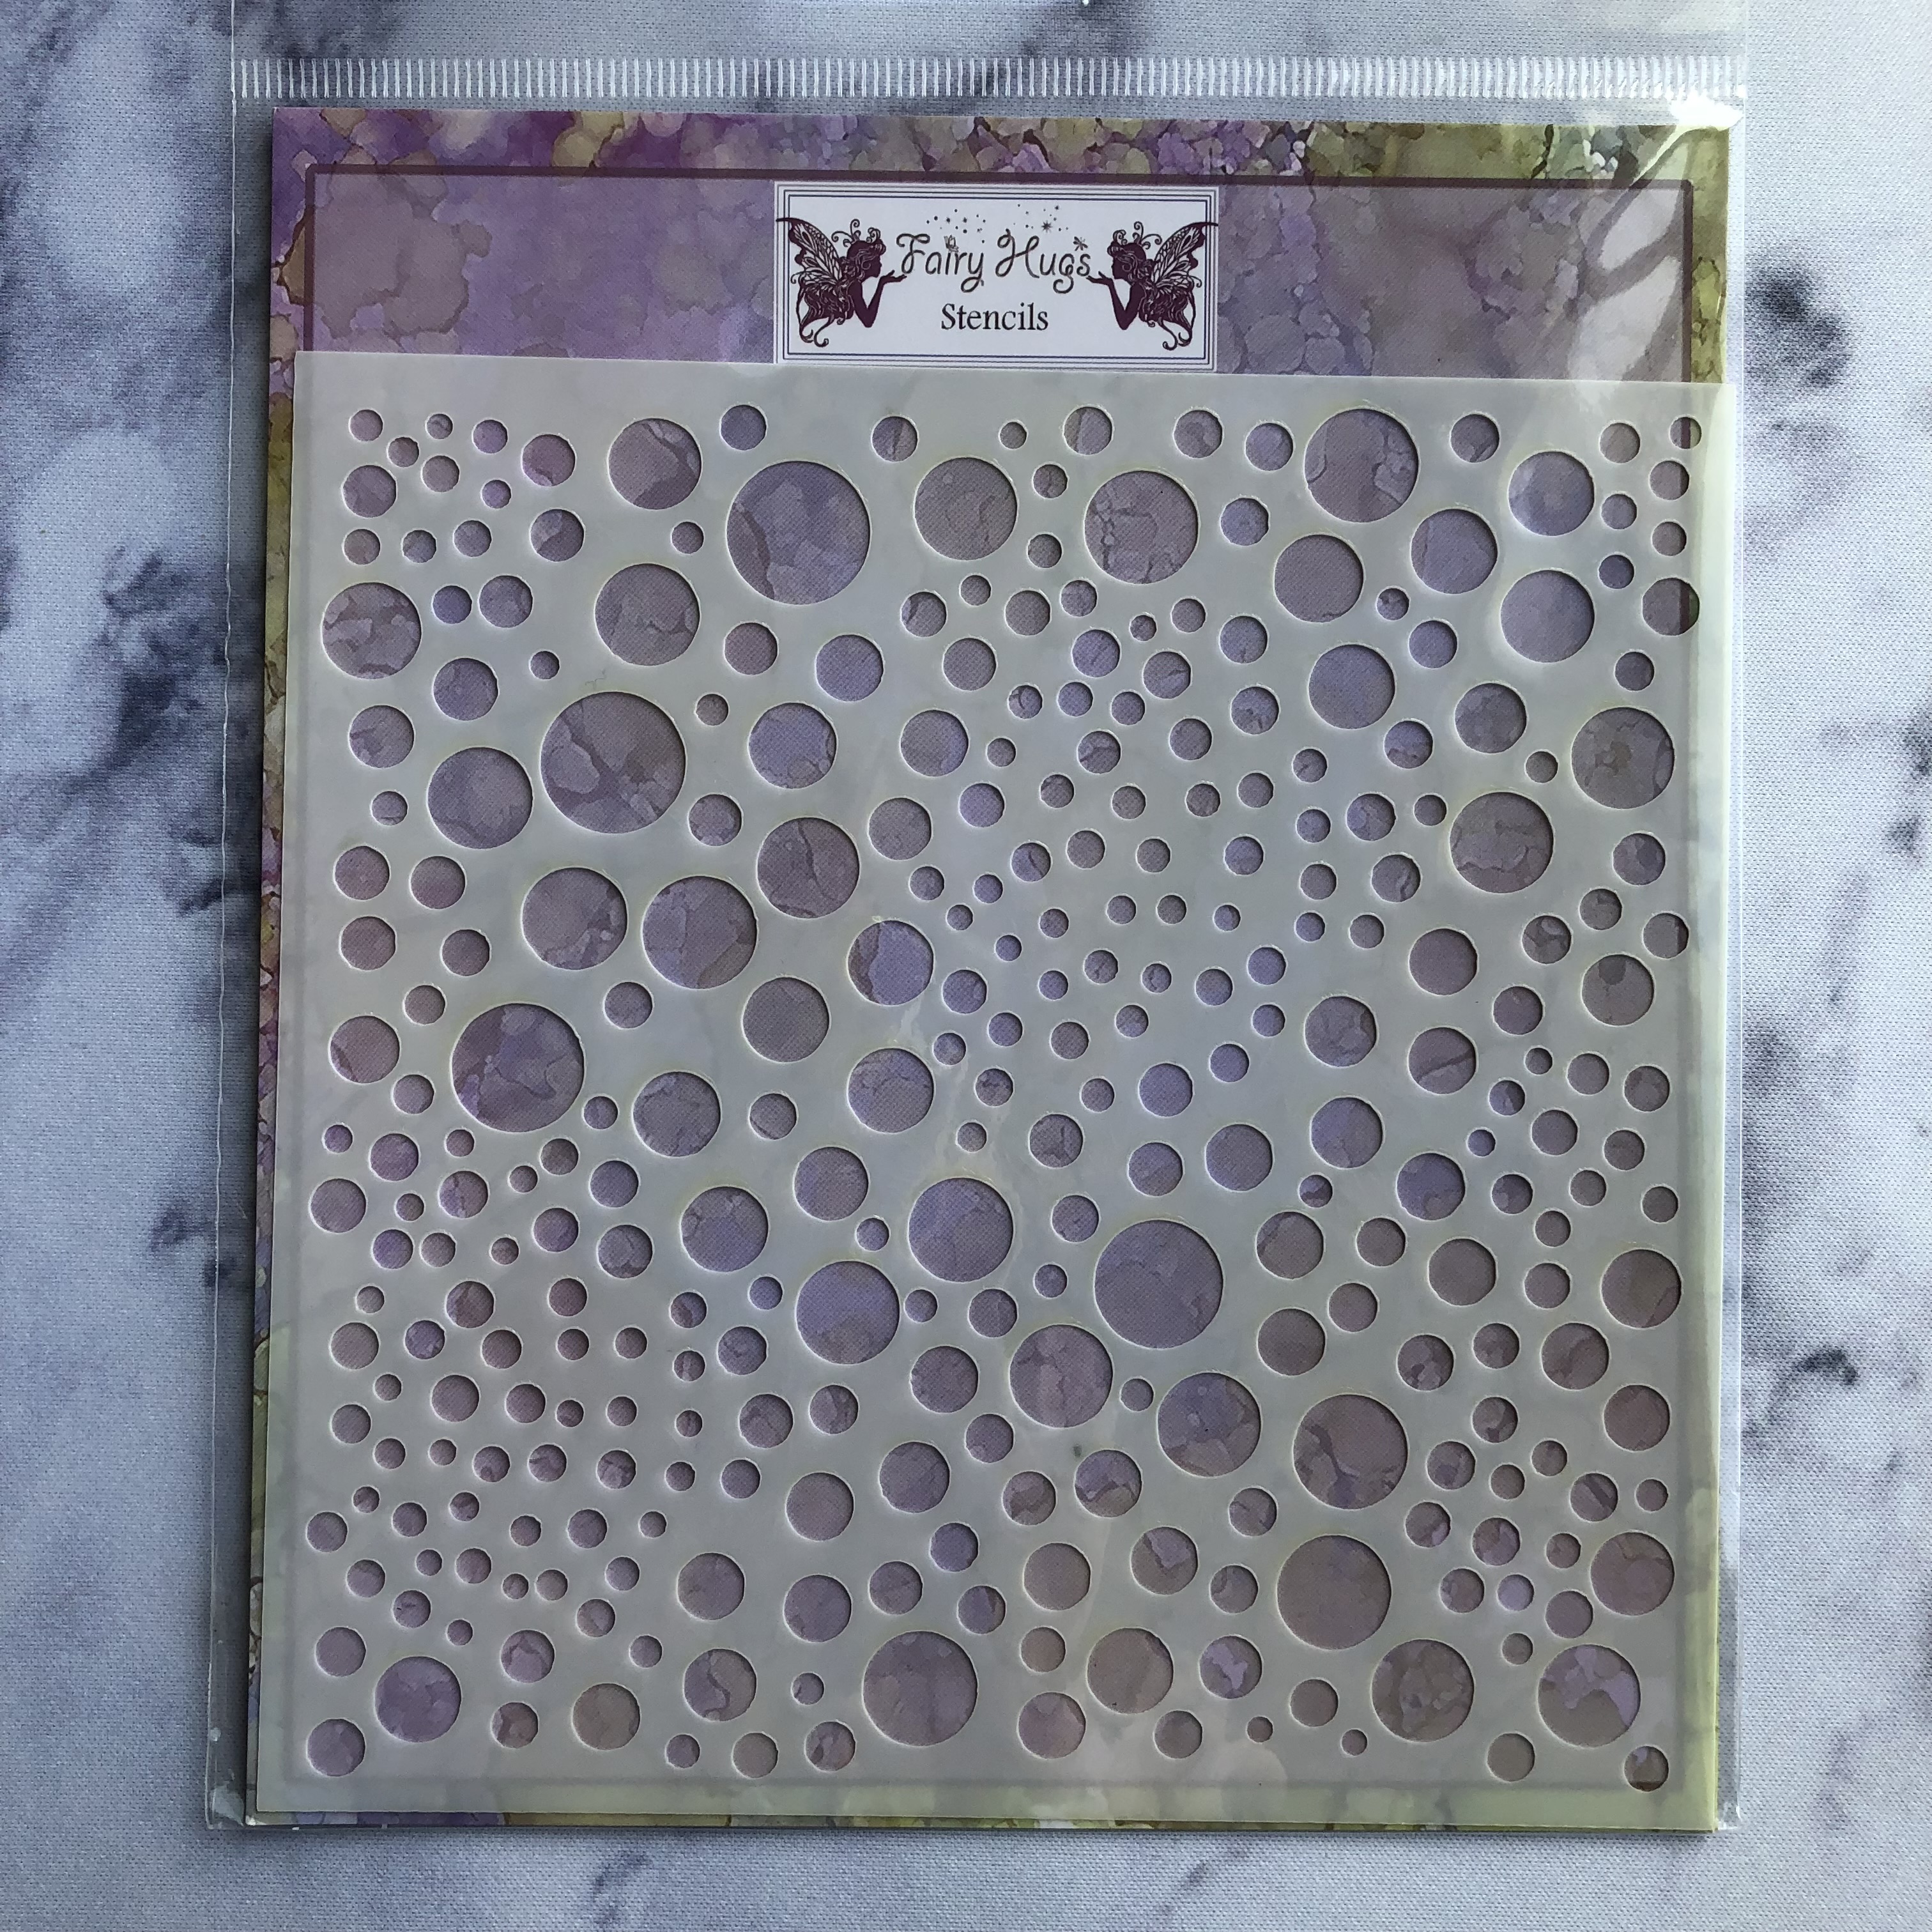
So what a fun story to tell about this card.  It was a happy accident!  I knew i wanted Fairy Hugs - Peeking Alfred to peek out of a window.. and then i started looking at my scraps and found this great piece that i had cut out an oval.  So then everything started to come together. I stamped Peeking Alfred on top of a light blue paper and fussy cut him out. Next i stamped Fairy Hugs - Ginkgo Branches on the framed scrap and colored the branches in with colors matching the background.  I glued Alfred's claws and the bottom of his wings to the oval opening.  I set that aside.  Next i pulled out this background paper from Fairy Hugs Craft Papers - Thunderglow.  I decided to do a bit of stenciling and pulled out Fairy Hugs Stencil - Pebble Beach.  To get this look i used molding paste and Tim Holtz Embossing Glaze and heat set it.  Next,  positioned the framed Alfred to see what i could stamp Fairy Hugs - Mini Castle.  Once it was stamped it was just a matter of layering everything on top of my card base.  I did use double sided foam tape for "framed Alfred".
 
Fairy Stamper Store Supplies:
 Don't forget to include #fairystamperhugs on your projects and tag us at @FairyStamperHugs so we can be sure to see and comment on your projects!

Sign up to receive Fairy Stamper Newsletters at the Fairy Stamper store.

Wednesday, June 15, 2022

Happy Sneak Peek Day! Fairy Hugs NEWEST release - June 20th - Fairy Hugs Enchanted Dies!!

Hello everyone and Happy Sneak Peek Day! 

Fairy Hugs will be releasing a brand NEW product to the Fairy Hugs line on June 20th!
Fairy Hugs Enchanted Dies!!

Let's see what we can make using Fairy Hugs Store  New Release supplies! 

I am using Fairy Hugs Enchanted Die - Best Friends

For this card,  i started with the Brand NEW Fairy Hugs Paper called - ShimmerGust for the background.
Then i cut the Brand New Fairy Hugs Enchanted Die - Best Friends from another Fairy Hugs Paper - WinkleBush.  I also used a watercolor scrap to cut out just the fairy and glue her on top of the brown paper. Next i cut out Fairy Hugs Enchanted Dies - Best Friends one more time out of mirrored/metallic paper (copper) and inlaid the sections shown back into the design.
Last, i did some stamping using some coordinating Fairy Hugs stamps!

Fairy Hugs Store Supplies:
Fairy Hugs Enchanted Die - Best Friends


Fairy Hugs Craft Paper - ShimmerGust

Fairy Hugs Craft Paper - WinkleBush

Like us on Facebook
Follow us on Instagram: Fairy Hugs Store
 Join our Fairy Hugs Facebook Group here

 Don't forget to include #FairyHugsStore on your projects and tag us at @FairyHugstore so we can be sure to see and comment on your projects!

Sign up to receive Fairy Hugs Newsletters at the Fairy Hugs store.

 
Thanks for stopping by!