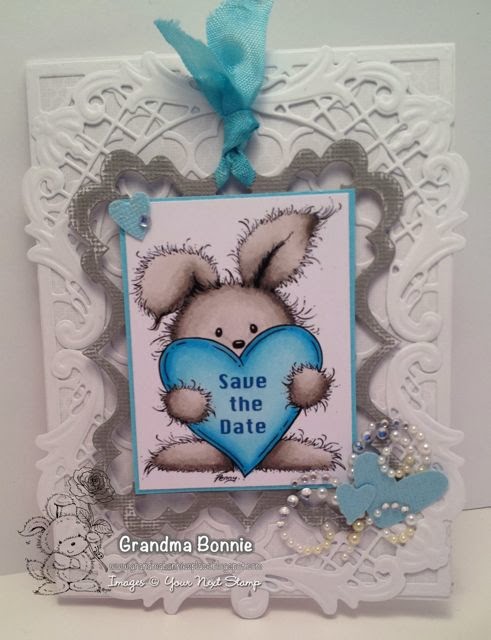
Hi all, it is my special day at Your Next Stamp's Blog. I would like to share one of my Tips/Tricks i use when using Your Next Stamps digital images.
Sometimes, when you look at an digital image, you might think it is seasonal and you can only use it for that season. I try to look beyond the season to see how i can get more usage out of a digital image.
This month for the Your Next Stamp Challenge Blog, i will be using this Tip/Tricks for all of my Design Team cards. Last Friday, i used the digital image "Kiss Me" and just used the little girl. Did you wonder how i did that?
Using the image "Autumn Leaves" i will show you how, first here is the finished card using the current YNS Challenge Blog sketch:
 First of all, here is the original image Autumn Leaves found here:

1. If you like a white background instead of fussy cutting, i take the digital image to my program that will erase lines, i use Photo Shop.
2. For fussy cutting or if i want a white background, I crop the image to what i will be using. In this case just around the puppy's head and birds.
3. Then using the eraser, i erase all of the background that i don't want.
*Tip- You will want to make sure that you don't leave any bits of lines that you don't want because if you prefer a white background instead of fussy cutting this will be important.
4. If you are a fussy cutter instead of using a white background, you will not need to erase any lines. (I am sure there are other ways of removing the background, for now, this is how i've been doing it)
5. I then, bring the image to Word after i crop and erase the background so that i can get the size i want and position it on the paper i am using. Again, i am sure all of that can be done in Photoshop too.
*Tip- I made this image 3" high.
6. Color your image and in my case i fussy cut it out.
7. Now you have an image that can be used for ANY season or occasion.
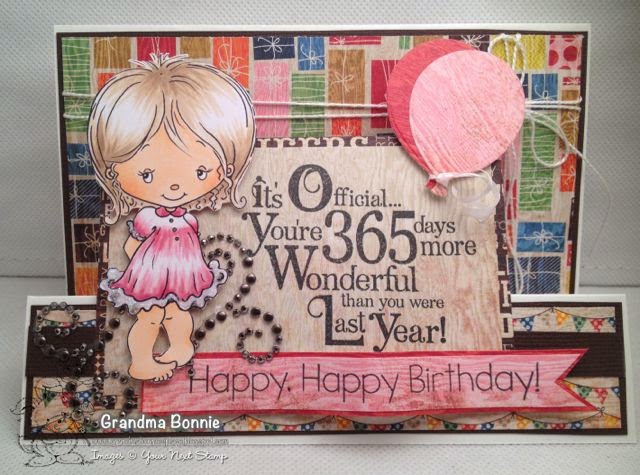
Another example of changing the seasonal images to any season or occasion using the image "Kiss Me":

I hope you enjoyed my Tips/Tricks today.. If any of you have a tip for erasing the backgrounds, i'd love to know! Thanks!
Challenges:
Scrap-Creations Going Grey- Animals
Inky Chicks- Photo inspiration
Fan-Tastic Tuesday- Anything Goes
Sometimes, when you look at an digital image, you might think it is seasonal and you can only use it for that season. I try to look beyond the season to see how i can get more usage out of a digital image.
This month for the Your Next Stamp Challenge Blog, i will be using this Tip/Tricks for all of my Design Team cards. Last Friday, i used the digital image "Kiss Me" and just used the little girl. Did you wonder how i did that?
Using the image "Autumn Leaves" i will show you how, first here is the finished card using the current YNS Challenge Blog sketch:
1. If you like a white background instead of fussy cutting, i take the digital image to my program that will erase lines, i use Photo Shop.
2. For fussy cutting or if i want a white background, I crop the image to what i will be using. In this case just around the puppy's head and birds.
3. Then using the eraser, i erase all of the background that i don't want.
*Tip- You will want to make sure that you don't leave any bits of lines that you don't want because if you prefer a white background instead of fussy cutting this will be important.
4. If you are a fussy cutter instead of using a white background, you will not need to erase any lines. (I am sure there are other ways of removing the background, for now, this is how i've been doing it)
5. I then, bring the image to Word after i crop and erase the background so that i can get the size i want and position it on the paper i am using. Again, i am sure all of that can be done in Photoshop too.
*Tip- I made this image 3" high.
6. Color your image and in my case i fussy cut it out.
7. Now you have an image that can be used for ANY season or occasion.
Another example of changing the seasonal images to any season or occasion using the image "Kiss Me":
I hope you enjoyed my Tips/Tricks today.. If any of you have a tip for erasing the backgrounds, i'd love to know! Thanks!
Challenges:
Scrap-Creations Going Grey- Animals
Inky Chicks- Photo inspiration
Fan-Tastic Tuesday- Anything Goes