Pages

Showing posts with label Fairy Hugs - Fairy Flower. Show all posts

Saturday, March 18, 2023

Fairy Hugs - Spring Fairy Garden

Hello everyone!! 

Let's see what we can make using Fairy Hugs Store supplies! 


Like us on Facebook
Follow us on Instagram: Fairy Hugs Store
 Join our Fairy Hugs Facebook Group here

 Don't forget to include #FairyHugstore on your projects and tag us at @FairyHugStore so we can be sure to see and comment on your projects!

Sign up to receive Fairy Hugs Newsletters at the Fairy Hugs store.

 
Thanks for stopping by!


Friday, December 16, 2022

Fairy Hugs - Make a Wish!

Save the Date!  Fairy Hugs will be featured on Let Leonie Loose on Create and Craft 

December 21 at 11am and 3pm (6am and 10am EST)

Let's see what we can make using supplies from Fairy Hugs Store 

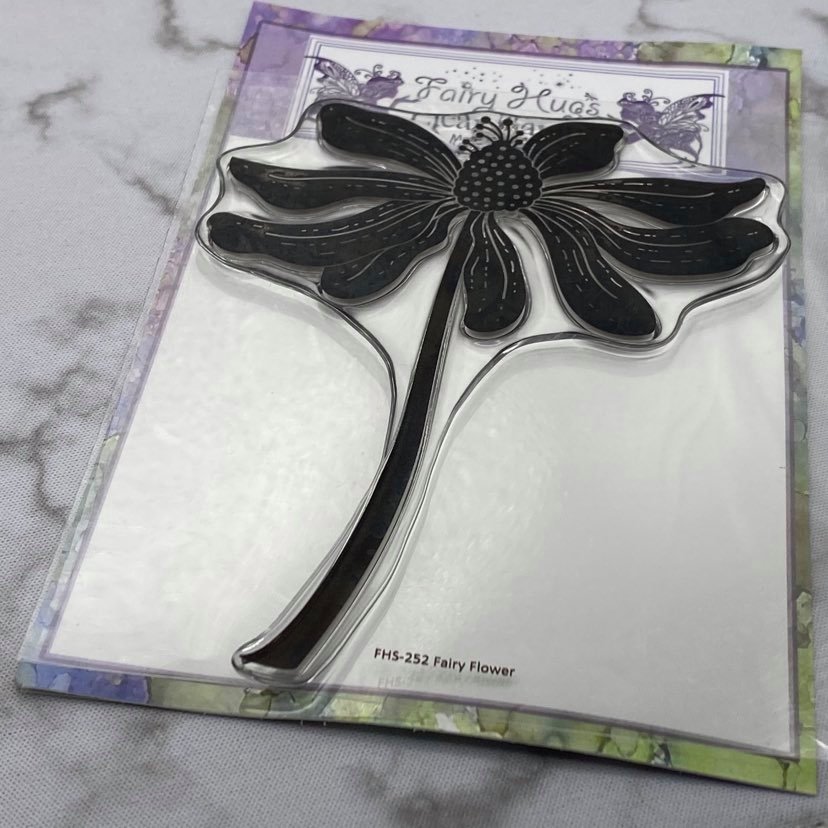
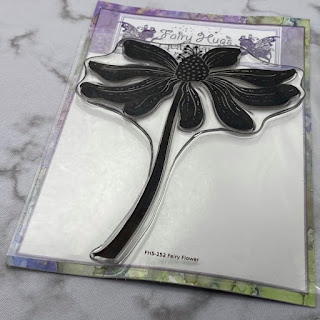
I am using Fairy Hugs - Fairy Flower

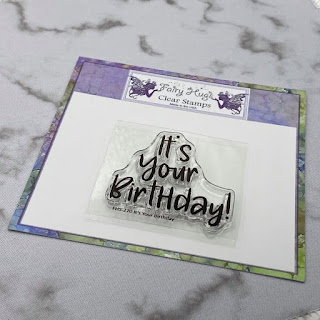
For this card, i started out using Fairy Hugs Craft Papers - TumbleShine.  This paper is really unique with a design or a scene in a circle.  That leaves the outside to be decorated or left plain.  I chose to use Fairy Hugs Stencil - Party Streamers with Distress Oxide Ink - Pumice Stone.  Fairy Hugs - Cara and the sentiment were stamped in VersaFine Clair Ink - Nocturne and the fairy was colored in with Prismacolor pencils and highlighted with a sparkly gold gel pen and the wings were painted with a hologram acrylic paint.  Next, i stamped the flower, flower accessories (hearts) and heart vines with VersaFine Clair Ink - Morning Mist.  And i also colored those in with Prismacolor pencils and gold gel pen and highlighted the top of the flower with the hologram paint.

Fairy Hugs Store Supplies:


Like us on Facebook
Follow us on Instagram: Fairy Hugs Store
 Join our Fairy Hugs Facebook Group here

 Don't forget to include #FairyHugsStore on your projects and tag us at @FairyHugstore so we can be sure to see and comment on your projects!

Sign up to receive Fairy Hugs Newsletters at the Fairy Hugs store.

 
Thanks for stopping by!

Thursday, February 24, 2022

Happy Planner Journal Page - Fairy Hugs - Bonnie

 Hello everyone and Happy Thursday!! 

I am a DT for Fairy Stamper Hugs!
It is the #1 USA Retailer for Fairy Hugs Stamps
Check out the store here!!
 

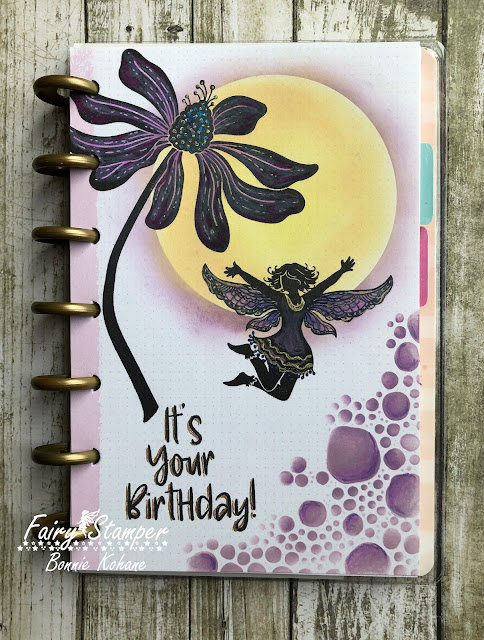
Happy Planner Birthday Page.  
I had purchased this Happy Planner (note journal) at Hobby Lobby on clearance.
I thought the price was good just for the binder clips.
Then, i decided to play.  So i pulled out some stamps and made this page. It could be a journal page as well..or a birthday card.
This is what i did:
I used a circle stencil i made from card stock to make the sun using Distress Oxide.
Then i took the circle and made the purple haze around the sun.
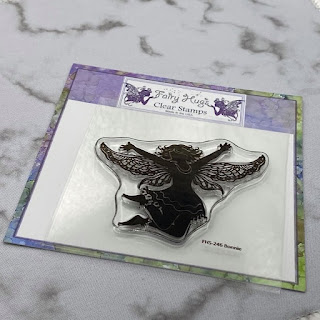
Next i stamped the flower, fairy and sentiment.
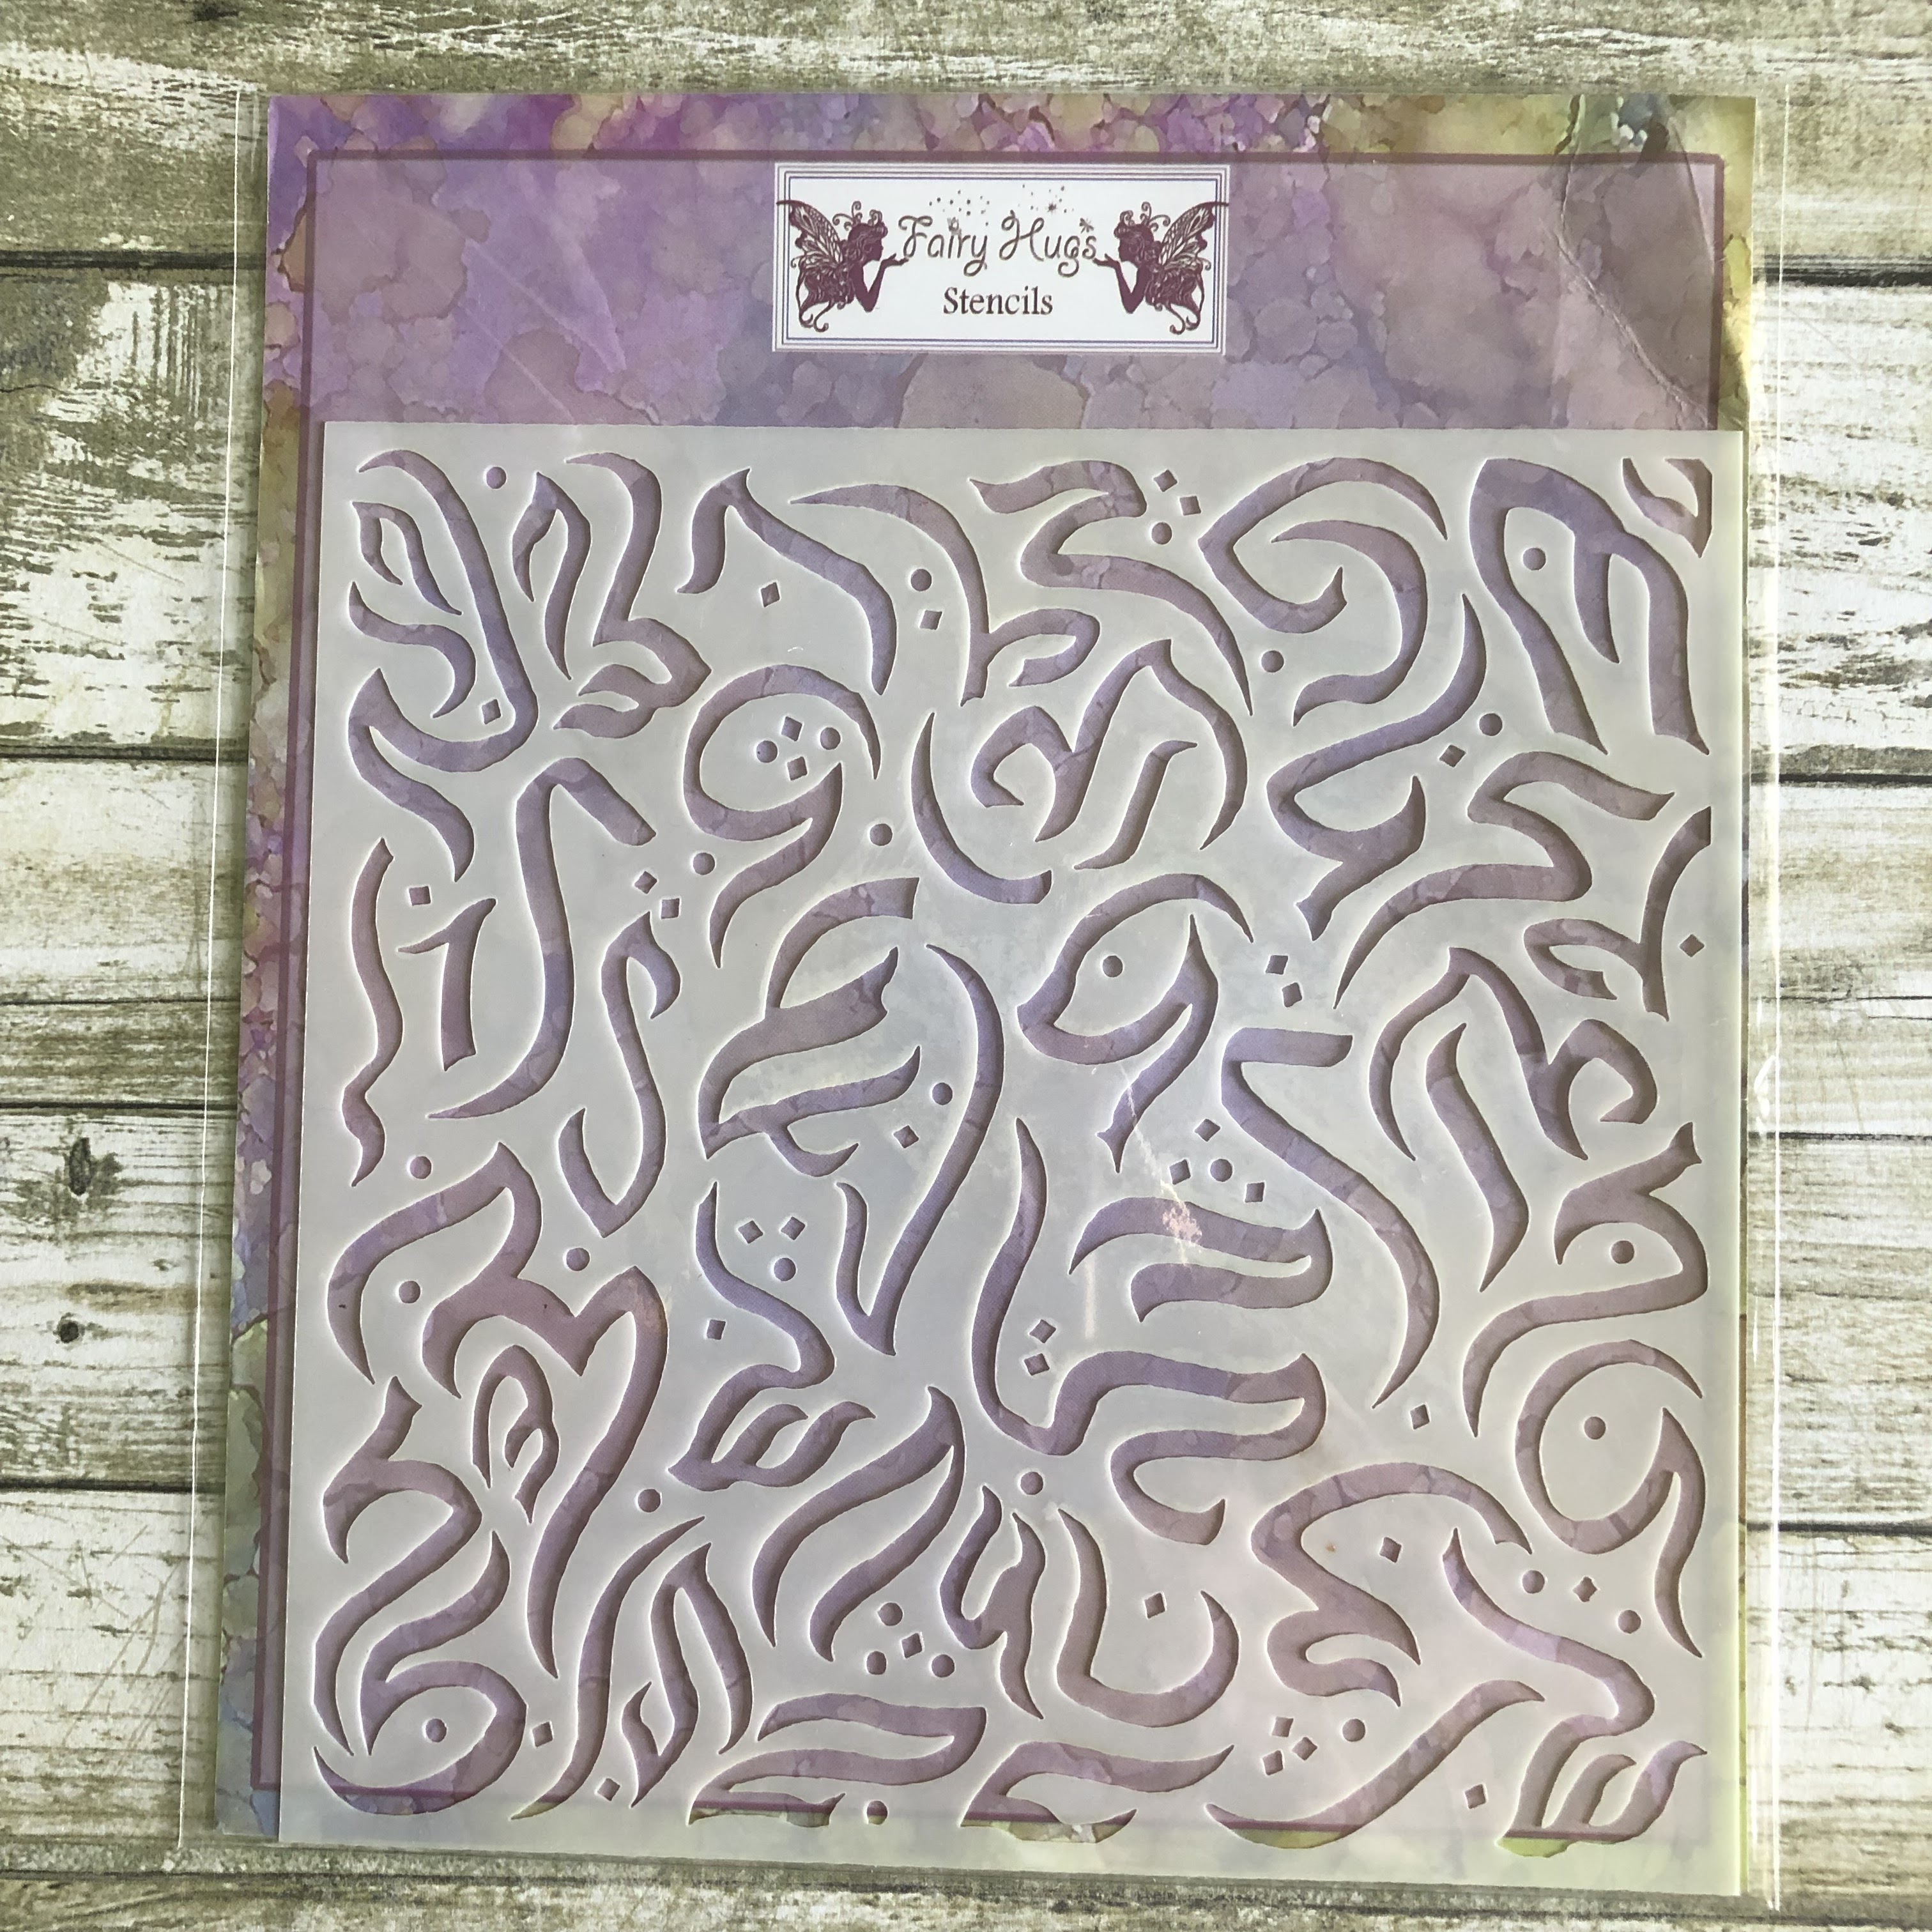
 Next i pulled out a Fairy Hugs Stencil and inked that up too.
 Last, i colored in the fairy, flower and highlighted the sentiment.
It took some time but it was rather simple!
 
Fairy Stamper Store Supplies:

 Don't forget to include #fairystamperhugs on your projects and tag us at @FairyStamperHugs so we can be sure to see and comment on your projects!

Sign up to receive Fairy Stamper Newsletters at the Fairy Stamper store.

Saturday, February 12, 2022

Fairy Hugs Sentiment Release - Sneak Peek - Fairy Whispers - Believe

 Hello everyone and Happy Saturday!! 

I have another post for you today featuring another Fairy Hugs Sentiment 
from the upcoming release on Feb. 15. 

Let's see what we can make using Fairy Hugs Store supplies! 

I am using Fairy Hugs Sentiment - Fairy Whispers (Believe).. 1 of 7 on line sentiments in this set.

For this card, i did some mixed media and a lot of inking.  
I started with a We Are 3 Digital Paper - Backgrounds Happen.  The only part of the digital paper you see is the flower.  I will explain.  I stamped the Fairy Flower onto the digital paper (it was pink and distressed) with clear embossing ink and powder.
Next, i used Distress Oxide - Mermaid Lagoon and Dusty Concord and inked the entire card.
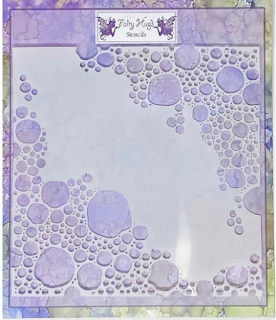
Next i took Fairy Hugs Stencil - Pebble Beach with some water on my blending brush and wiped some of the ink away to live the white type shadows.  I wanted more texture so i added molding paste to the stencil and put Distress Glaze - Kitsch Flamingo and Broken China on top of the wet paste and tapped underneath the card to make the two glazes mix. I waited a bit and then i heat embossed the glazed paste. This gives a china type finish.  I edged the card with Distress Oxide - Chipped Sapphire.
Now, i stamped the sentiment onto white cardstock and matted it in black.  I inked the top of that with Distress Oxide - Mermaid Lagoon.  I positioned the sentiment on top of the card so i could see where to stamp the fairies. I used Condo Dwellers for the fairies on this card. Now all i needed to do was adhere the sentiment to the card front and attach the card topper to the card base. 
 
Fairy Hugs Store Supplies:

Fairy Hugs Sentiment - Fairy Whispers (Believe) available Feb. 15


Like us on Facebook
Follow us on Instagram: Fairy Hugs Store
 Join our Fairy Hugs Facebook Group here

 Don't forget to include #FairyHugsStore on your projects and tag us at @FairyHugstore so we can be sure to see and comment on your projects!

Sign up to receive Fairy Hugs Newsletters at the Fairy Hugs store.

 
Thanks for stopping by!


Also used: