Pages

Showing posts with label Tutti Designs - 741 Bell Flowers. Show all posts

Thursday, February 23, 2023

Ching Chou Kuik - Then Fairy Rat

Ching Chou Kuik's  Facebook Challenge
 theme this month is  "Anything Goes"

You can find the Facebook challenge 
by visiting the Ching Chou Kuik Facebook group here.

Here is my card using Ching Chou Kuik image, 

I have used  Copics and Prismacolor Pencils to color this image.


You can see all of Ching Chou Kuik's beautiful images at her Etsy Store called, Gjzcck.
Click here to visit her store!

I am also using:


Thank you for stopping by today!

Wednesday, February 1, 2023

Sending a bouquet of Love to you!

Hello!  Let's see what you can create with Tutti Designs today!


For this card, i have created a simple photo tutorial
First, i die cut Tutti Designs - Garden Background from cream paper and then i cut a piece of the same color paper to back it.  I cut out 2 of Tutti Designs - Bell Flowers from We Are 3 Digital Paper - Romantic Garden.

Once the glue dried, i die cut a heart using Tutti Designs - Nesting Stitched Hearts
I will save the rest for another card.

I used Sizzix Tim Holtz 3D Folder - Woven for the background. I added Distress Ink - Kitsch Flamingo to the folder and spritzed the folder and the paper before running it through the machine.  You can see how i have added the flowers to the card and the ribbon.  Before i attached the heart i added some score tape to the top inside of the heart so that i could had a bit of cheese cloth. To attach the heart i used double sided foam tape around the side edges and i used two layers of double sided foam tape to the center of the heart to make it looked arched like a container holding the flowers. 
Last, if you look at the top photo, i added some red hearts and Tutti Designs - Word Set Love (in metallic antique gold)

I have used:


Be sure to visit Tutti Designs
for LOTS more fabulous dies and
come back again for more Tutti Designs inspiration!

Here are some Tutti Designs quick links:

Also used:


Friday, June 3, 2022

Tutti Designs - 742 Hearts Clovers Frame ... so in love!

Hello!  Let's see what you can create with Tutti Designs today!


For this card, I started out with some We Are 3 Digital Paper - Spring Butterflies Too, We Ae 3 Digital Paper - Sentimental Canvas and then i used an off-white paper and mirror/metallic paper.
Simple card with several dies. To start i printed off the purple butterfly paper and in the center i die cut a Tutti Designs - 216 Nesting Stitched Heart and a Tutti Designs -  213 Nesting Stitched Tag.  I adhered the purple butterfly paper (it has the die cut holes in the center.. but don't worry i will cover it up with the top layers). 
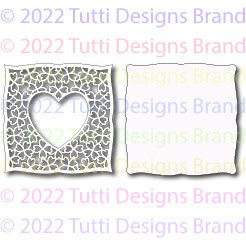
Next i cut out the main die from Tutti Designs - 742 Heart Clovers Frame from the off white paper. I printed off the purple canvas paper and die cut it from the back layer of the Heart clovers. I adhered both of those together and then i figured out the size of mirror/metallic mat i needed. I die cut Tutti Designs - 741 Bell Flowers from the center of the mirror/metallic mat i just made and i also cut out Tutti Designs - 232 Word Set Love, tiny heart from Tutti Designs - 216 Nesting Stitched Heart and the tiny tag from Tutti Designs -  213 Nesting Stitched Tags.  
Now we have all the pieces and we can start layering.
You can now place the mirror/metallic paper in the center covering up the die cut even though you are covering them with yet another paper with die cut holes.  Now, you can place the Tutti Designs - Heart Clovers down and it totally covers up the die cut holes. :).  I placed the Bell Flowers on the left side of the heart.  And layered the two small hearts to put in the center of the heart cut out from the Heart Clovers.  I used a small piece of the off-white paper and made a tag large enough for the Love Word to go diagonal.  I added a brad to the center of the tiny mirrored tag and arranged the tags using double sided foam tape. 
Looks simple, just takes a bit of time.

I have used:
Be sure to visit Tutti Designs
for LOTS more fabulous dies and
come back again for more Tutti Designs inspiration!

Here are some Tutti Designs quick links:

Also used:


Wednesday, May 25, 2022

Tutti Designs - 745 Happy Birthday Medley with a bit of sparkle!

Hello!  Let's see what you can create with Tutti Designs today!


For this card, i started with some beautiful glitter paper. I cut Tutti Designs - Happy Birthday Medley (top main die) from the the glitter paper and then i adhered the glitter paper to the card base. Next i used some Fairy Hugs Craft Paper - Thunderglow (Inky Background) and positioned my dies to see how i wanted to place them.  I adhered the Tutti Designs - Bell Flowers on the inky card base and then i got out some of my cream seam binding tap and put some of the ribbon horizontal on the card as shown so that it covered up the ends of the Bell Flowers. Next, i cut out the Tutti Designs - Happy Birthday Medley background layer out of a cream paper. I glued the glitter die to the background die layer. Now i can adhere the top (ink background layer) to the glitter base. I used double sided foam tape to add the Happy Birthday Medley backed die and made a cream ribbon. 

I have used:
Be sure to visit Tutti Designs
for LOTS more fabulous dies and
come back again for more Tutti Designs inspiration!

Here are some Tutti Designs quick links:

Also used:


Tuesday, April 26, 2022

Fairy Hugs NEW release in Stores! Mixed Media - Fairy Teacup

 Hello everyone and Happy Fairy Hugs Release day! 

Fairy Hugs New release will be on Create and Craft on April 26 & 27
and in the Fairy Hugs store on April 26.
If you are in the UK, Fairy Hugs can be found at Julia Watts Crafts

Let's see what we can make using Fairy Hugs Store supplies! 

I am using Fairy Hugs - Fairy Teacup!

For this card, I am using Fairy Hugs Craft Paper - Petalshimmer designed by Shwu-Miin Tang

I wanted to get as much use out of one paper as i could.  So i die cut a Tutti Designs - Stitched Nesting Tag from the paper and set the paper aside. Then I die cut a larger tag from cardstock and stamped it with Fairy Hugs - Coffee Word Collage and then i inked the edges with Distress Oxide Ink - Salvaged Patina.  Next i diecut out a circle that "just fit" inside of the tag.  I needed that circle so i could stamp Fairy Hugs - Fairy Teacup.  *note not all of the teacup handle fit on that circle..which is why i inked up some card stock with VersaFine Clair - Golden Meadow (it matches perfectly with this paper sheet) and stamped and fussy cut out the butterfly from Fairy Hugs - Thank you set.  Next, i wanted to pull in some more interest and color, so i inked up some card stock with Distress Oxide - Dusty Concorde and diecut Tutti Designs - Bell Flowers.  I cut those apart so i could put them on both sides of the Fairy Teacup.  But let me back up... i die cut a Marianne design doily to cover up the circle i cut from the tag and inked that with Distress Oxide Ink - Vintage Photo.  I then cut out another circle to mat the Fairy Teacup and inked the edges with Distress Oxide Ink - Dusty Concord and Chipped Sapphire. 
Okay, so let's layer up what we've made so far. *note i did used foam tape between the purple circle and the brown doily. The largest tag with the Coffee Word Collage, the Petalshimmer tag, the brown doily, (i placed the Tutti Designs Bell flower (left piece i cut off the main die) in between the dark circle and the doily) add the dark circle and the left side of Tutti Designs - Bell Flower. Next i colored up the Fairy Hugs - Fairy Teacup and put that on top of the layers.  Next i glued the butterflies on top.   
Set that aside and pull out the background Petalshimmer paper that has had the tag cut out of it. One the left hand side i have used a Fairy Hugs Stencil - Water Stains with Molding paste and Distress Oxide Embossing Glaze.  As soon as i lift off the stencil i add the Embossing glaze and let that set for a bit.. i don't want it completely dry before i heat emboss it.  I could have used a static powder, but i actually like the powder that way.. if you don't use the static powder before you get started with the molding paste.  I love the glaze look i get when i use the embossing glaze.  Ok, so i decided to stamp the entire Coffee Word Collage again and fussy cut out the one sentiment, distressed it with Distress Oxide Ink - Vintage Photo and used a piece of the Dusty Concord inked paper from the Bell Flowers to mat the sentiment.  Now for putting it all together.. adhere the stencilled paper to the card base.  Then adhere the tag combination to the stenciled paper.   
Next, i added the sentiment with foam tape and glued on some gold metal sequins.

Fairy Hugs Store Supplies:


Fairy Hugs - Thank you Set (from retailer Fairy Stamper)


Like us on Facebook
Follow us on Instagram: Fairy Hugs Store
 Join our Fairy Hugs Facebook Group here

 Don't forget to include #FairyHugsStore on your projects and tag us at @FairyHugstore so we can be sure to see and comment on your projects!

Sign up to receive Fairy Hugs Newsletters at the Fairy Hugs store.

 
Thanks for stopping by!

Tuesday, April 19, 2022

Tutti Designs - Bell Flowers

Hello!  Let's see what you can create with Tutti Designs today!


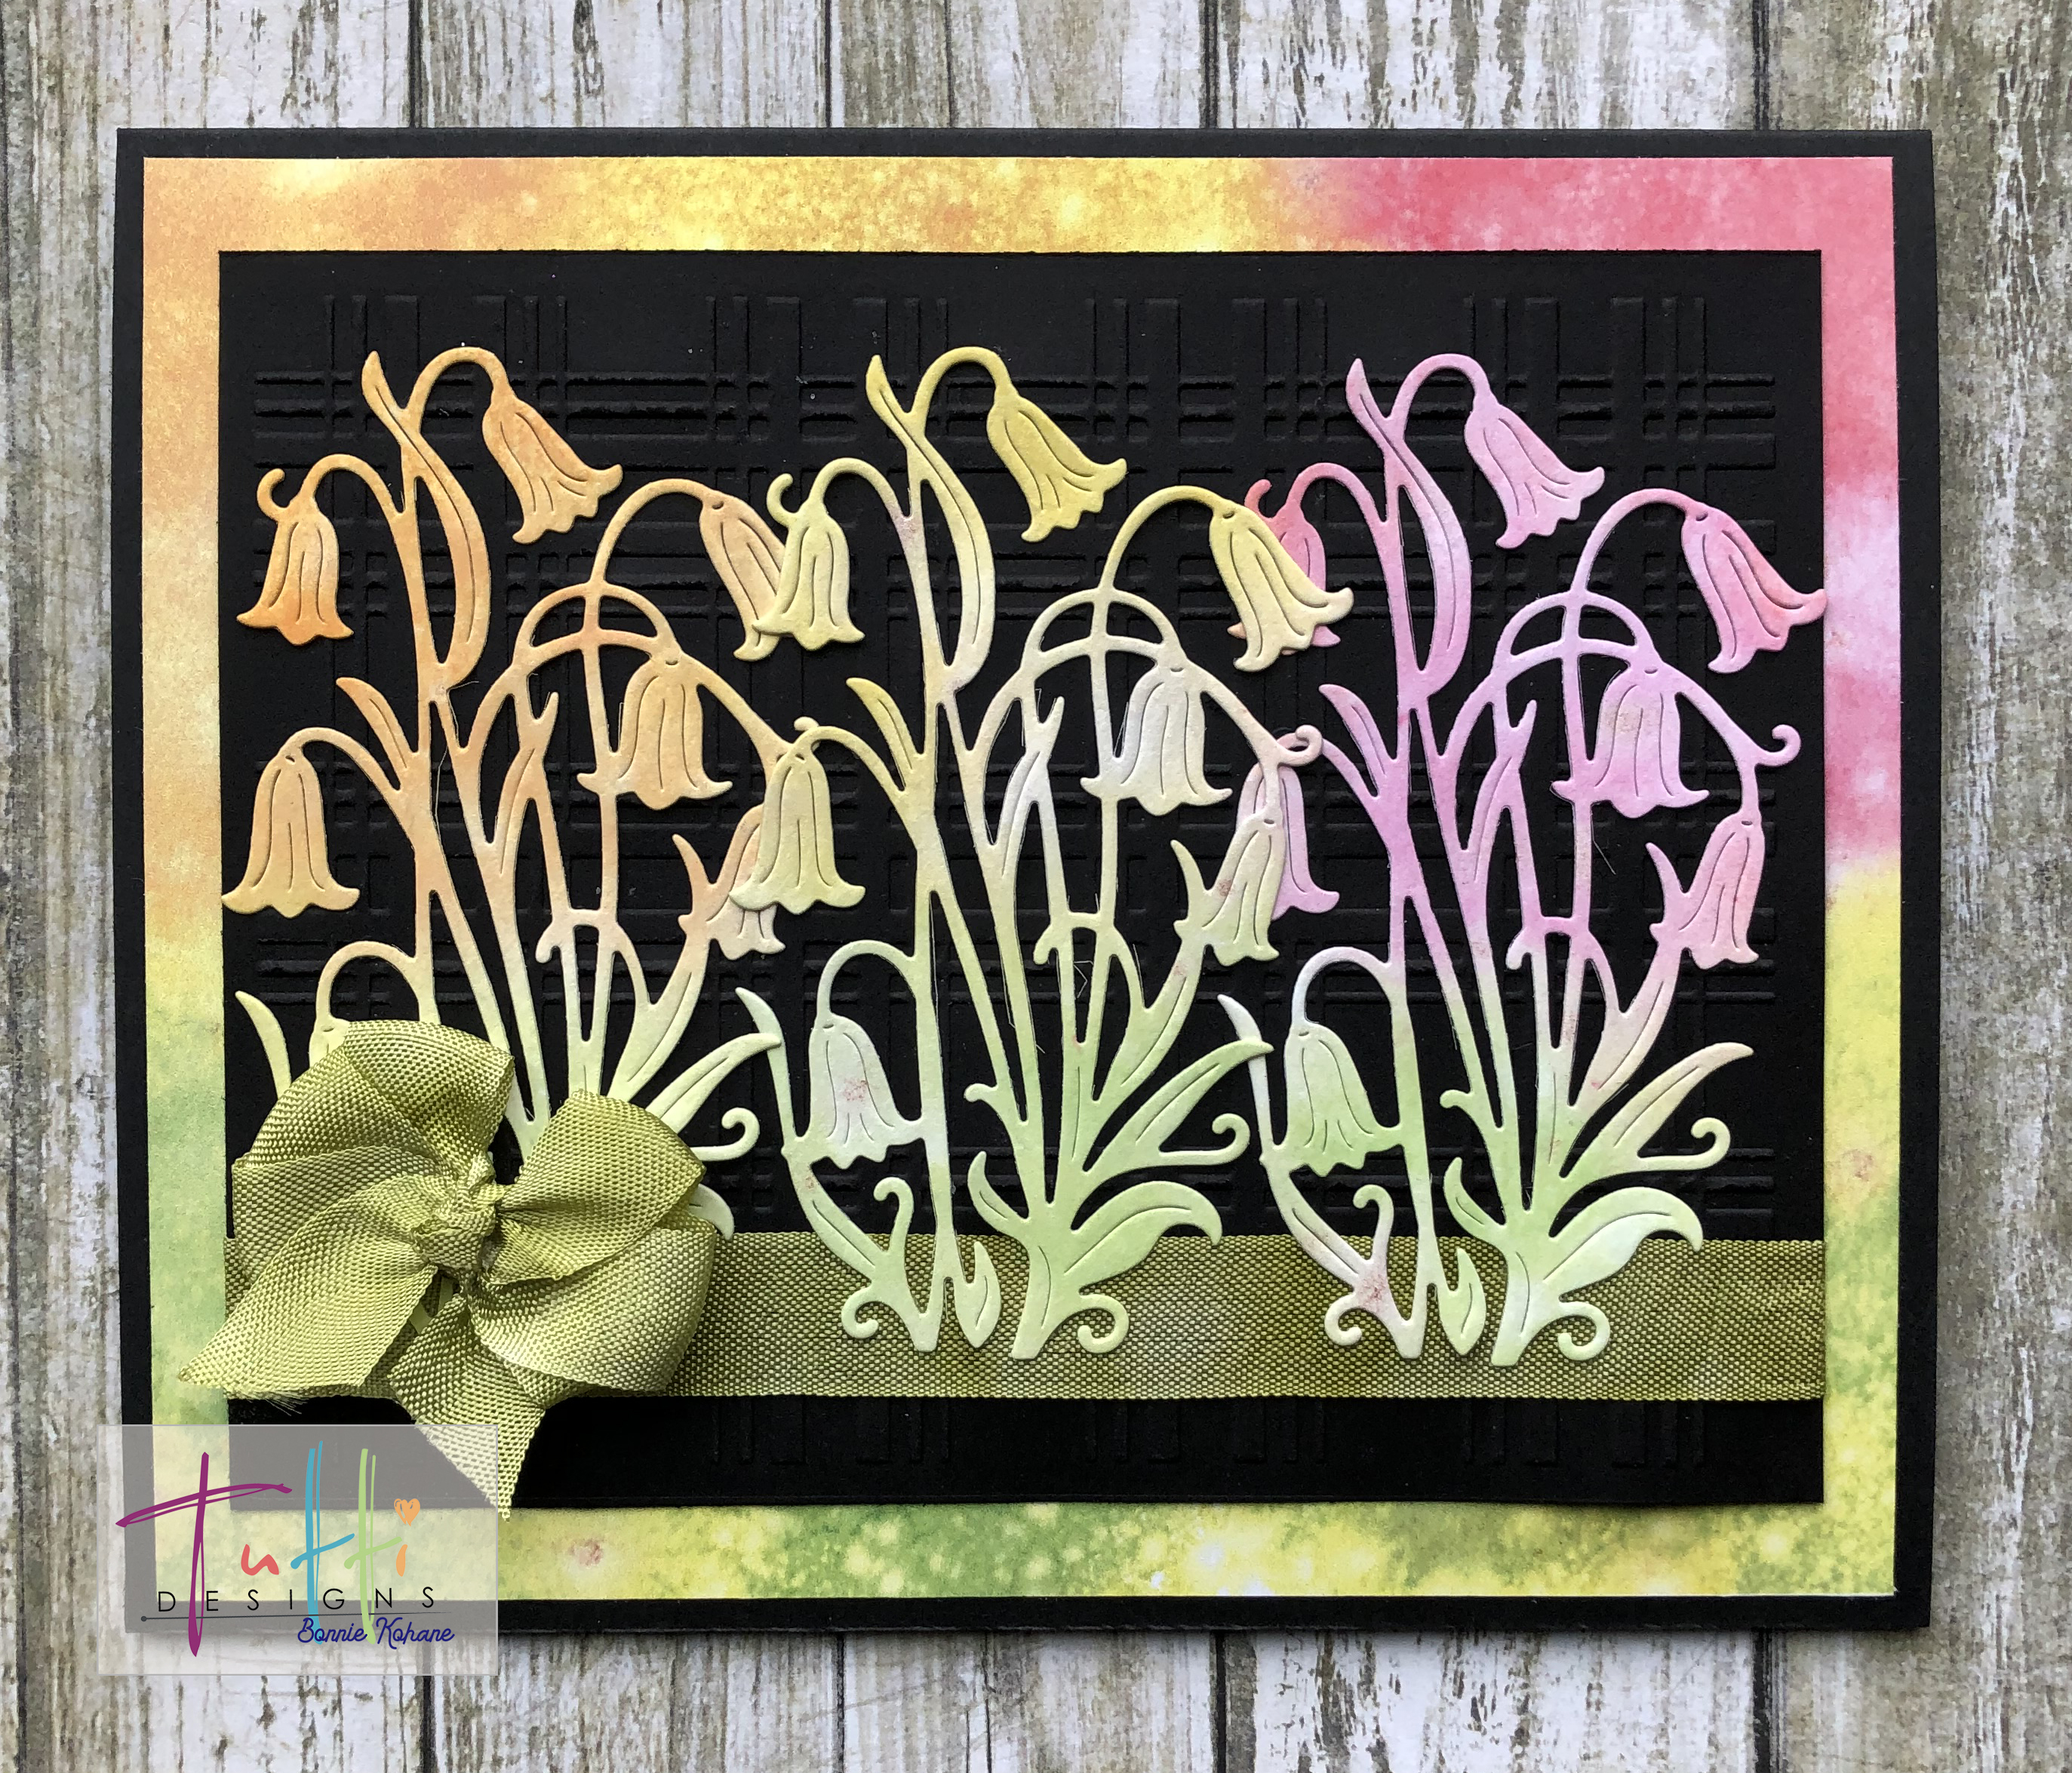
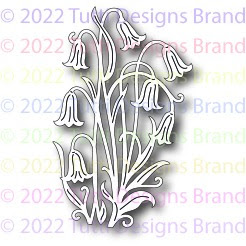
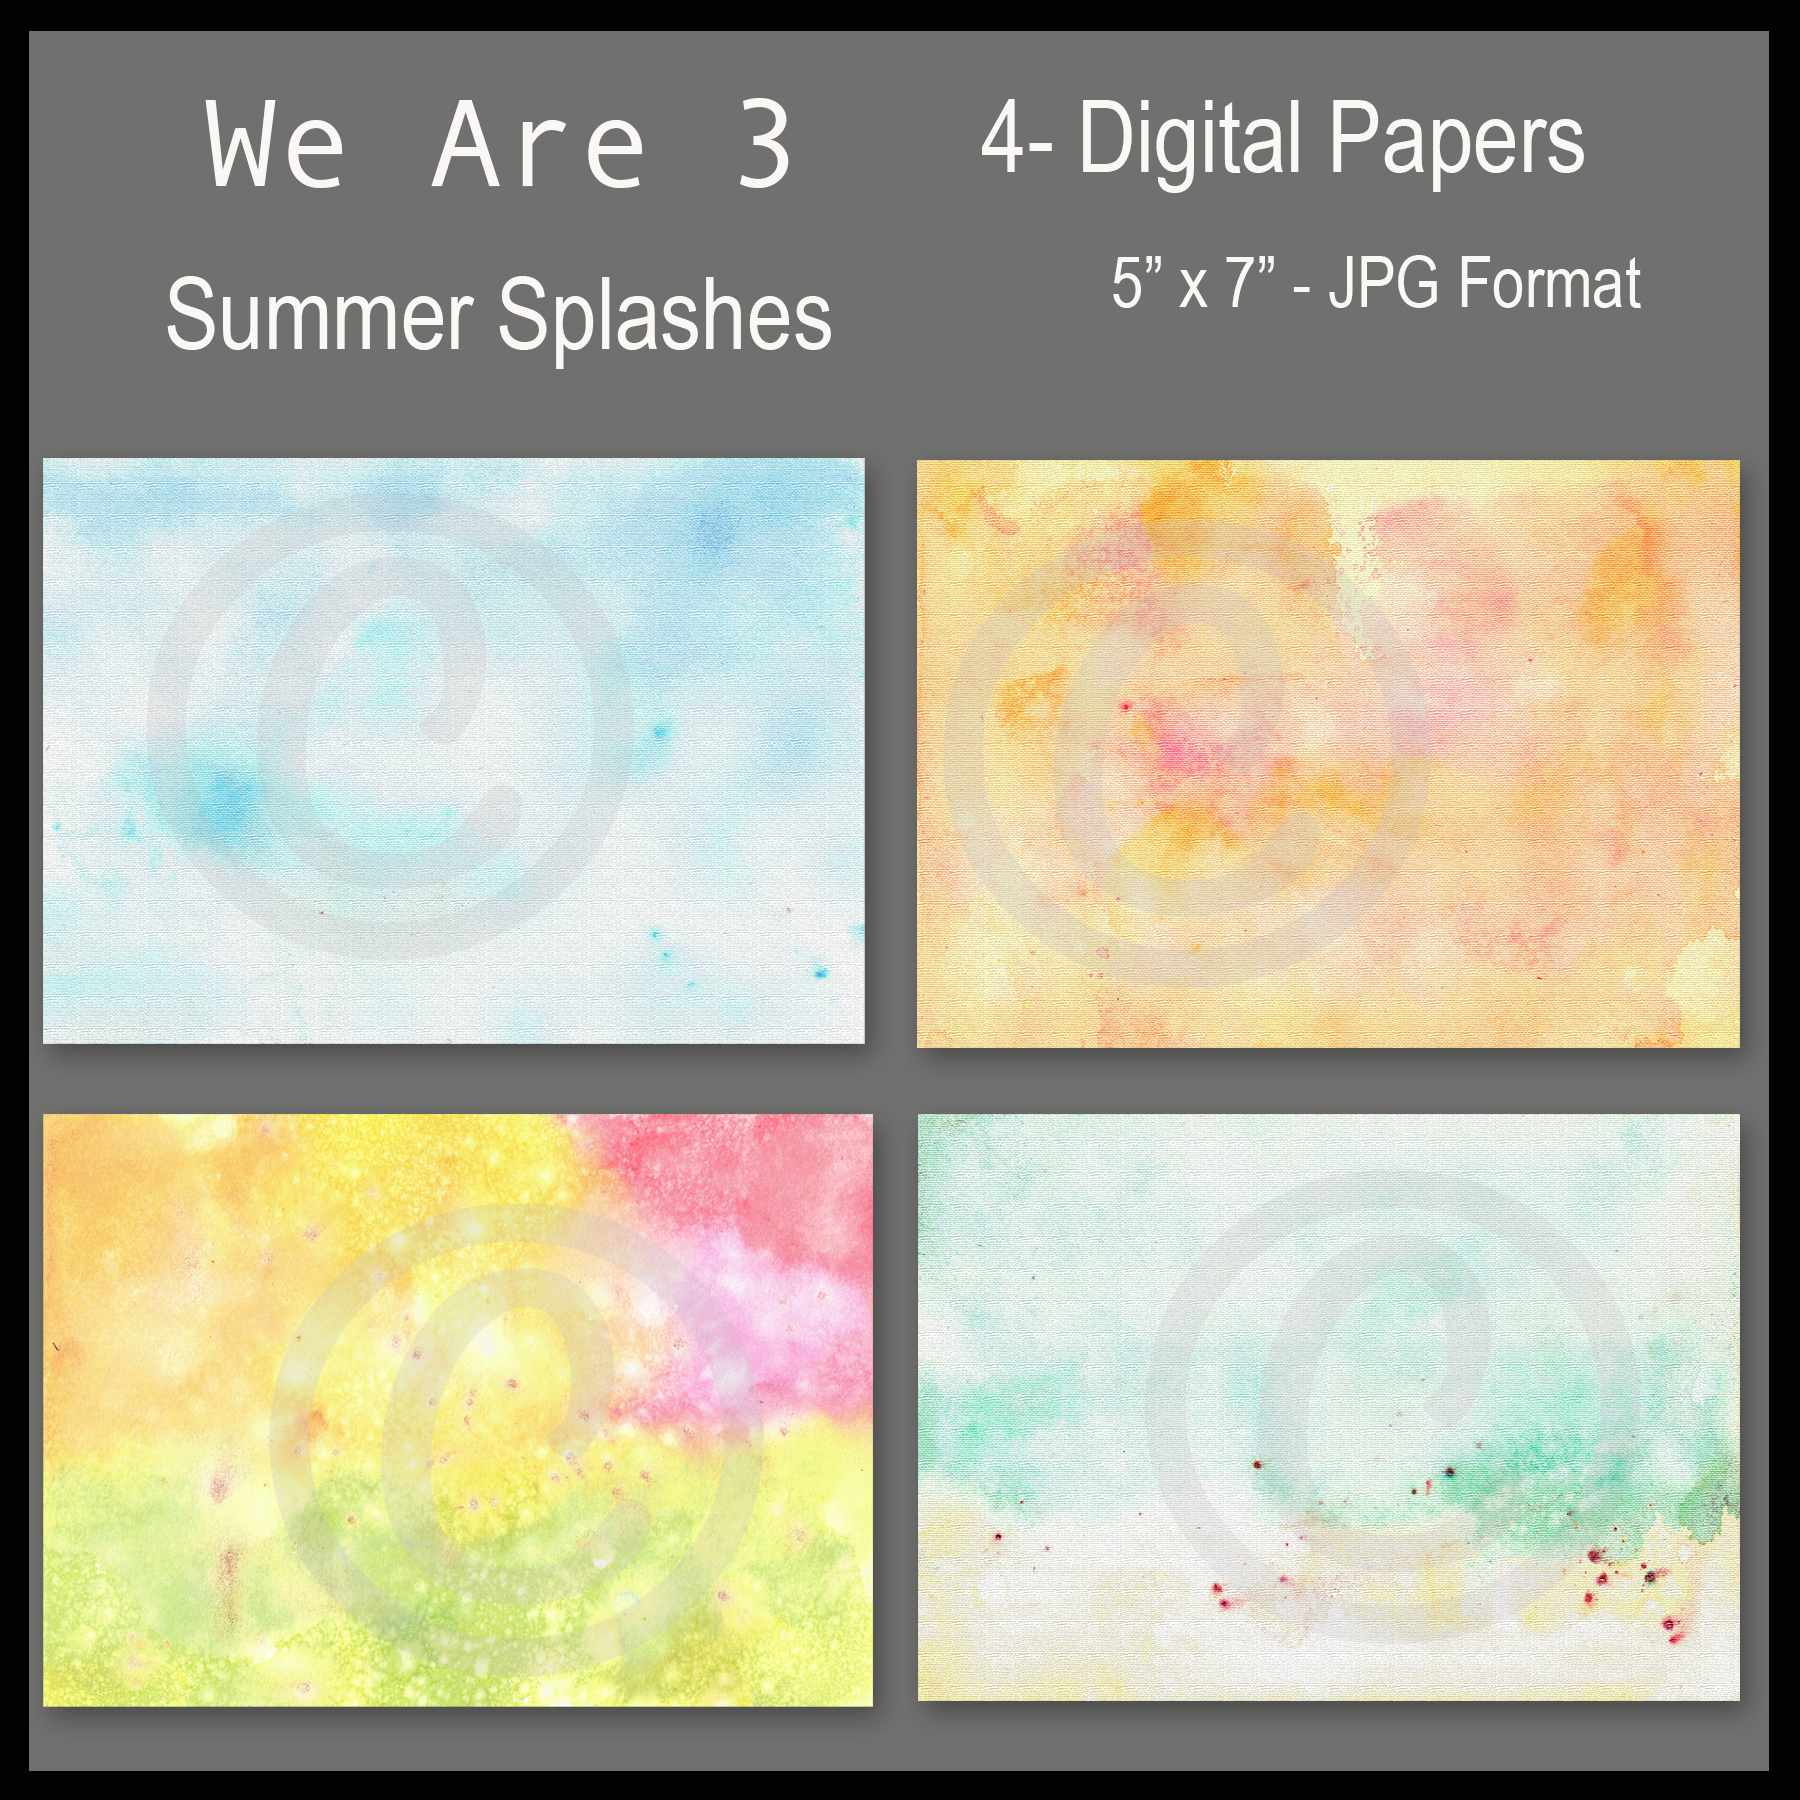
For this card, i used We Are 3 Digital Paper - Summer Splashes. Super easy.. just print off one of the papers and die cut the flowers 3 times to get the different colors.  Put some ribbon on a black background. (i did dry emboss the black paper) Next place the black card on top of the first layer that you die cut the flowers out of (this covers up the cut out area and saves paper).  Now glue on the flowers and make a bow and you are done!

I have used:

Be sure to visit Tutti Designs
for LOTS more fabulous dies and
come back again for more Tutti Designs inspiration!

Here are some Tutti Designs quick links:

Also used:


Saturday, April 16, 2022

Tutti Designs - Happy Easter Dove Egg - rainbow colors!

Hello!  Let's see what you can create with Tutti Designs today!

For this card, the digital paper i used helped me make this card quickly. The background layers are 
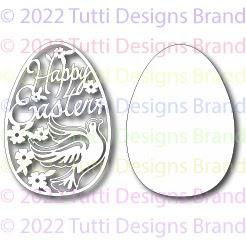
We Are 3 Digital Paper - Pastel Burlap. Next i cut out the egg layered shape from We Are 3 Digital Paper - Painted Canvas (rainbow paper). Next i cute out Tutti Designs - 741 Bell Flowers and Tutti Designs - 733 Happy Easter Dove Egg out of white cardstock.  For the butterflies i did a bit of "snipping"..i cut out just the butterflies from Tutti Designs - 101 Butterfly Oval from same rainbow digital paper and cleaned up the edges to make them look full.  I added a ribbon and bow and some gems!

I have used:


Be sure to visit Tutti Designs
for LOTS more fabulous dies and
come back again for more Tutti Designs inspiration!

Here are some Tutti Designs quick links:

Also used:


Friday, April 15, 2022

Tutti Designs - Happy Easter Dove Egg

Hello!  Let's see what you can create with Tutti Designs today!


This was an easy card to create using some digital paper.
I love that this die has a background die the shape of the egg.
To start, i layered the gingham paper in the background. Next i cut out Tutti Hugs -636 Floral Heart Frame out of digital paper and layered that on to gold mirror paper and a cream paper.  Next i cut out Tutti designs 741 - Bell Flowers from a digital paper, being selective as to what part of the paper i used to get the yellow and purple/blue flowers. I cut out Tutti Designs - 733 Happy Easter Dove using an antique white paper.   I glued that to the digital paper i used for the flowers and hand cut around that. Next i framed the egg in a mirrored gold paper.  I positioned the flowers around the egg and glued the flowers down and then used double sided foam tape to place the mirrored framed egg down.  To finish the card, i added gems to the flowers on the egg and made a cream bow.

I have used:


Be sure to visit Tutti Designs
for LOTS more fabulous dies and
come back again for more Tutti Designs inspiration!

Here are some Tutti Designs quick links:

Also used:

We Are 3 Digital Paper - Floral Expressions (used for Floral Heart Frame)