Pages

Showing posts with label Fairy Hugs - Moon Dust. Show all posts

Monday, May 15, 2023

Fairy Hugs - Teapot Cottage with Magnolia Branch

Hello Monday!

Let's see what we can make using supplies from Fairy Hugs Store 

I am using Fairy Hugs - Teapot Cottage with Magnolia Branch


For this card,  i am sharing a photo tutorial.  You will see how things evolved differently than originally planned! 
To start with i wanted to make a half circle stamped design.  So i cut out a large circle and and smaller circle i didn't use the large circle itself.. i wanted the large circle outline so that i could put a circle inside of it, leaving a donut space to stamp into.  Masking paper would have been perfect for this but i didn't want to waste the large sheets for this project so i used computer paper.

You can see how the outside and the circle made the "mask".

Before i removed the "mask" i also added some Distress Oxide Ink - Tumbled Glass and Broken China.

Next i masked off the strip to stamp the words and i also had the circle shown with that strip mask, but didn't take a photo of that. 
What you are seeing is the circle mask left in place so that i can make a halo for the moon.


And this is where things started to change.  First, you can see i added a strip of foliage along side of the stamped words.. they don't show up in the end.  I didn't like that i didn't use the moon mask at the very start of my masking when i made the "tube" mask because the edge of the tube masking showed up in the moon.  So i die cut out a circle the size of the moon i wanted to use and replaced it (inset it) in the die cut" with another moon  that i had inked up.  I could have just layered it on top.. but i didn't.  So the next mishap was when i took off the moon mask i pulled some of the paper off.  So i made a second moon to cover that up.  Now it is starting to look really magical with 2 moons. 

I decided to add some star swirls.  This stamp is Fairy Hugs - Moon Dust (i have two of these stamps because i cut one apart so i could stamp the "swirls" without the moon)


I planned all along to stamp Fairy Hugs - Teapot Cottage w/ Fairy Hugs Steam as one stamp and then hand cut it out to place on top of the background design.  My first attempt was to color the entire cottage, but it just didn't work with the background, so i stamped it again and just colored in the door.
As you can see with the end result, the words didn't show up except at the top and bottom.  I totally didn't like just seeing the "Sweet Jasmine" unfinished at the top, so i covered it up with a banner that i stamped out the words "With Love"  from Fairy Hugs - Love at Christmas, again a stamp i cut apart to make a new sentiment. 

Fairy Hugs Store Supplies:


Fairy Hugs - Tea Collage (not shown in the end result)


Like us on Facebook
Follow us on Instagram: Fairy Hugs Store
 Join our Fairy Hugs Facebook Group here
 Don't forget to include #FairyHugsStore on your projects and tag us at @FairyHugstore so we can be sure to see and comment on your projects!

Sign up to receive Fairy Hugs Newsletters at the Fairy Hugs store.

Fairy Hugs Retailers:
 
Thanks for stopping by!

Thursday, September 15, 2022

Fairy Hugs 2nd Anniversary - Sneak Peek! Fairy Hugs - Awyn and Fairy Hugs Dancing Frogs

 Hello everyone and Happy Thursday!! 

Fairy Hugs will be having a 2nd Anniversary Release on September 20th

The release will be shown on Create and Craft TV at 7am and 11am
and at 1pm on Craft Extra. (2am, 7am on Create and Craft and 9amEST on Craft Extra)

I am a DT for Fairy Stamper Hugs!
It is the #1 USA Retailer for Fairy Hugs Stamps
Check out the store here!!
 

For this card, i started with Fairy Hugs Craft Papers - PetalShimmer. 
Next i stamped all of the images with VersaFine Clair - Nocturne and colored them in with Prismacolor pencils and highlighted them with Pentel Sparkly Gold gel pen.  I added a mask to make a moon halo.

Fairy Stamper Store Supplies:
Fairy Hugs - Awyn

Fairy Hugs - Dancing Frogs

FairyHugs - Spoolwood Mushrooms

Fairy Hugs - Moon Dust (i have two stamp sets..and one is cut apart so i can use just the sparkle dust)

Fairy Hugs - Woodland Flight

Fairy Hugs Craft Papers - PetalShimmer

Like us on Facebook
Follow us on Instagram: Fairy Stamper Hugs
Join our NEW Fairy Stamper Hugs Facebook Group here

 Don't forget to include #fairystamperhugs on your projects and tag us at @FairyStamperHugs so we can be sure to see and comment on your projects!

Sign up to receive Fairy Stamper Newsletters at the Fairy Stamper store.

Tuesday, August 30, 2022

Fairy Hugs - Pumpkin Stack.. Halloween Night!

Save the Date - September 1

Fairy Hugs will be on Create and Craft TV

3pm & 7pm (UK time) 10am & 2pm EST

Let's see what we can make using supplies from Fairy Hugs Store 


I am using Fairy Hugs Enchanted Dies - Magical Hollow

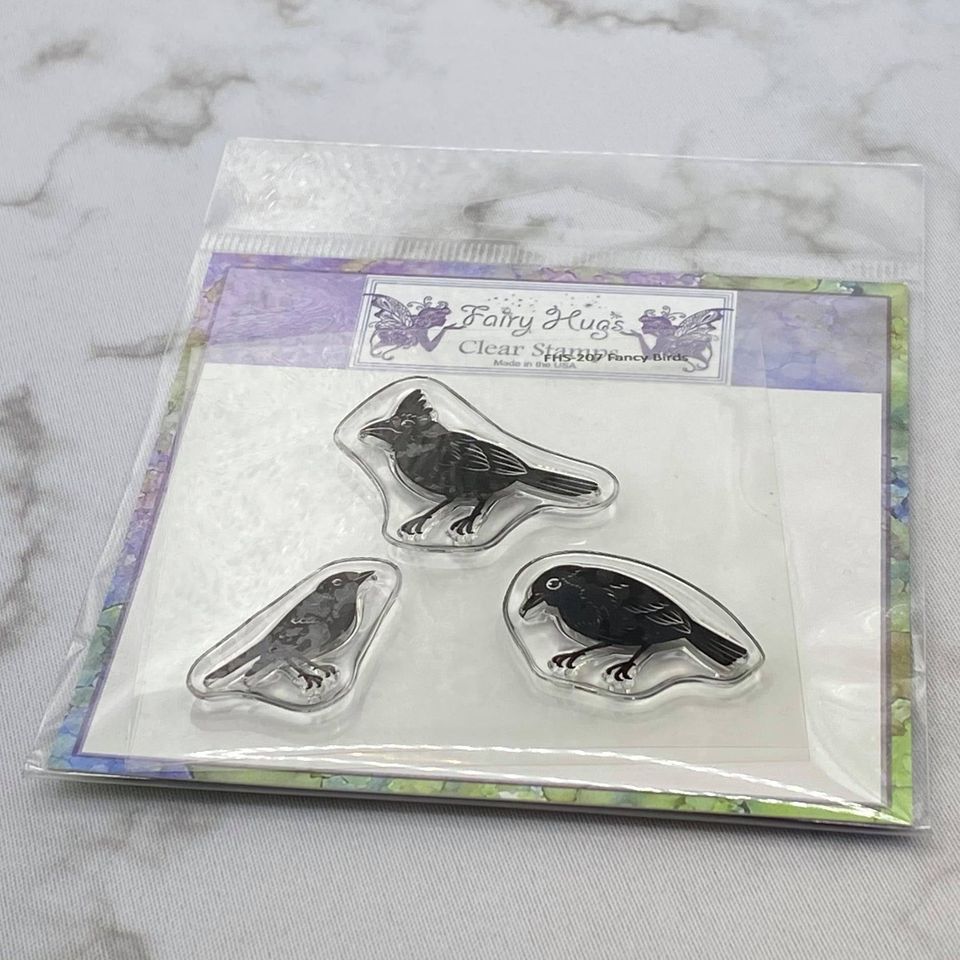
For this card,  i started with Fairy Hugs Craft Paper - RainbowDance.  I diecut Fairy Hugs Enchanted dies - Magical Hollow and positioned it on the paper.  Next i stamped Fairy Hugs - Pumpkin Stack on a separate piece of paper, colored them with Prismacolor pencils and hand cut them out.  I positioned the pumpkins so i would know where to stamp Fairy Hugs - Fancy Birds (one bird).  I also stamped Moon Dust. I colored in the stars with a gel pen.  The bats are from Fairy Hugs Sentiment - Halloween Hello.  So i glued down the die and used foam tape for the pumpkins.  Next i added black gems to the bats to complete my card. 

Fairy Hugs Store Supplies:


Like us on Facebook
Follow us on Instagram: Fairy Hugs Store
 Join our Fairy Hugs Facebook Group here

 Don't forget to include #FairyHugsStore on your projects and tag us at @FairyHugstore so we can be sure to see and comment on your projects!

Sign up to receive Fairy Hugs Newsletters at the Fairy Hugs store.

 
Thanks for stopping by!

Monday, August 22, 2022

New project, Fairy Hugs Calendar

 Happy Monday!

Let's see what we can make using supplies from Fairy Hugs Store 

I am using Fairy Hugs - Bunnies

For this project, i have been wanting to make my own Fairy Hugs calendar for some time and created this idea last year.  I have used a We Are 3 Digital - Calendar Kit. It comes with a calendar grid and month names.  You have to write in your own numbers.  I did that so that the calendar can be used for any year.  This calendar isn't bound.  I chose to make a coaster calendar which also allows me to use this at any time because i used clips at the top so i can change out the month.  I treated the designs like i would for making a card, except i added the calendar digitally to digital paper and then i stamped the Fairy Hugs on top after i printed it off the calendar.   So to layer your calendar digitally you would treat it like you would if you added your watermarks to your card.  The "photo" would be the background paper and your calendar would be like your watermark.
The month words were cut out, but again they could be digitally layered as well. 

Fairy Hugs Store Supplies:


Fairy Hugs - Moon Dust (only dust part stamped)


Like us on Facebook
Follow us on Instagram: Fairy Hugs Store
 Join our Fairy Hugs Facebook Group here

 Don't forget to include #FairyHugsStore on your projects and tag us at @FairyHugstore so we can be sure to see and comment on your projects!

Sign up to receive Fairy Hugs Newsletters at the Fairy Hugs store.

 
Thanks for stopping by!


Also used:

Monday, February 14, 2022

Tutti Designs - 553 Mini Fairies Set

Hello!  Let's see what you can create with Tutti Designs today!


For this card, i combined Tutti Designs dies and Fairy Hugs stamps!
I started with We Are 3 Digital Paper - Canvas Scenes. I figured out the placement of the stamps and dies by using the acetate from the stamps.  I then cut out a circle die to use as a mask for my moon. I used some ink to make the "halo" using the circle die as a mask. Then i started stamping, i stamped the toadstools in the background with VersaFine Clair - Morning Mist because it was a faded gray look to make them appear to be in the background.  Now i stamped the bunny and ink capped mushrooms. I added the die cut fairy and then i stamped the fairy dust (i used just the sparkle dust from the stamp)  coming off her wand and i stamped the sentiment.  Next i added several "coral" die cuts to look like foliage.  I added some ink to the edges of the card and adhered that to the card base.  Last, i added a few teeny tiny sparkle gems to the fairy dust and the end of the wand.

I have used:

Be sure to visit Tutti Designs
for LOTS more fabulous dies and
come back again for more Tutti Designs inspiration!

Here are some Tutti Designs quick links:

Also used:


Sunday, April 25, 2021

Fairy Hugs - Angela

   Hello everyone and Happy Sunday!!   I am catching up on some blogging!

Let's see what we can make using Fairy Hugs Store supplies! 

 I love this New Fairy Hugs stamp called Angela
 
The Craft Store logo was my card inspiration.  I thought the colors and shapes would be fun to try.
I used some card stock for my "stencil" lines.   Then i picked out some Distress Oxide Ink that matched the colors in the logo.  Mermaid Lagoon, Faded Jeans, Picked Raspberry, Wilted Violet and  Squeezed Lemonade. Then i used the same ink colors for the Fairy Hugs Stencil - Pebble Beach.
Next i stamped Fairy Hugs - Angela, Whimsical Flowers, Star Dust and Flower Vines in VersaFine Clair Nocturne.  They were all embossed with clear embossing powder.  I outlined all the stamps but Angel with a white gel pen.  I colored in Angela's wings with a white gel pen and a gold gel pen.
Like us on Facebook
Follow us on Instagram: Fairy Hugs Store
 Join our Fairy Hugs Facebook Group here

 Don't forget to include #FairyHugsStore on your projects and tag us at @FairyHugstore so we can be sure to see and comment on your projects!

Sign up to receive Fairy Hugs Newsletters at the Fairy Hugs store.

 
Thanks for stopping by!