Pages

Thursday, May 12, 2022

Fairy Hugs - Teacup Condo tag card

 Hello everyone and Happy Thursday!! 

I am a DT for Fairy Stamper Hugs!
It is the #1 USA Retailer for Fairy Hugs Stamps
Check out the store here!!
 

For this card, i wanted to go with a tea bag shape.  So i cut the top corners at a diagonal.  I then found out i had a Tutti Designs die called, Stitched Nesting Tags that matched perfectly with the card base.
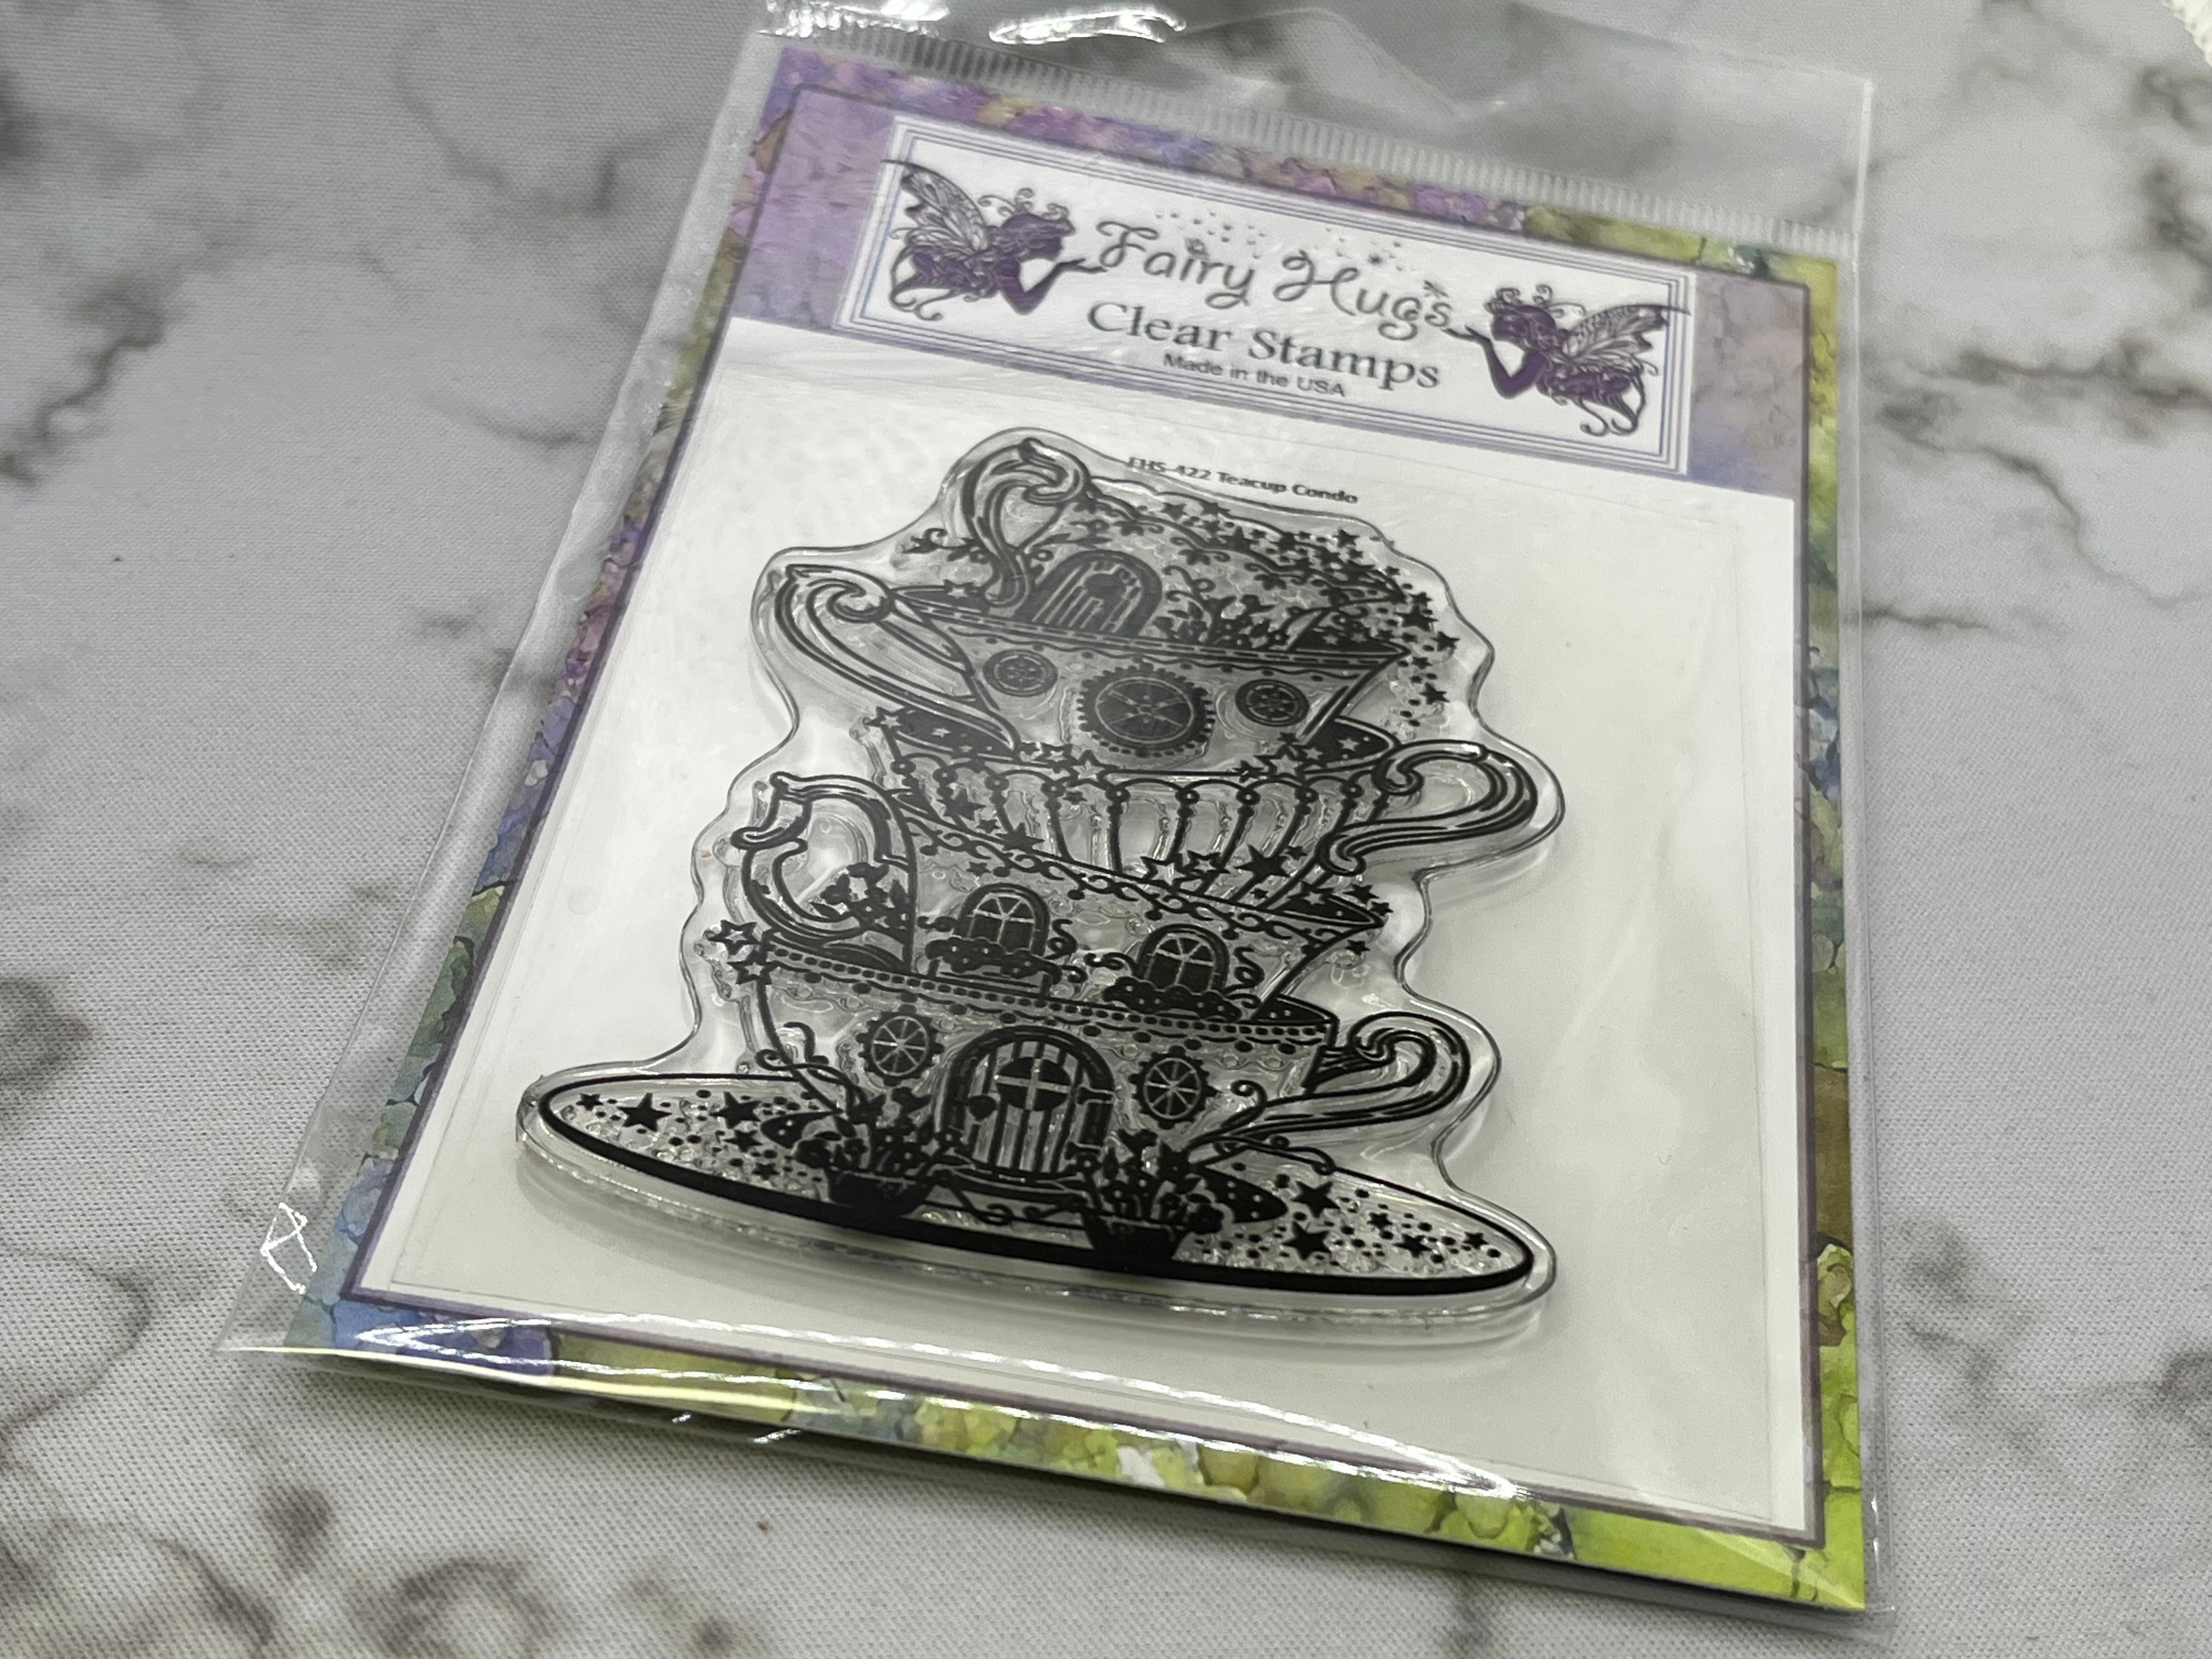
I used Fairy Hugs Craft Paper - Thunderglow for the tag.   The first paper i used was from We Are 3 Digital Shop called,  Loving Winter. (lace paper) I printed off the paper and stamped Fairy Hugs - Ginkgo Branches.  The branches were colored in with Prismacolor pencils to match the colors on the tag. Next i stamped the tag with Fairy Hugs - Teacup Condo and with Fairy Hugs - Fairy Dwellers. I colored in the Teacup Condo and the wings of the fairies.  I added a hole to the top of the tag and put some iridescent threads in it.  I also hole punched the ginkgo stamped layer and added two ribbons to that as well.  Now, i can put it all together.  Ginkgo layer was adhered, then i added double sided foam tape to the tag.  

Fairy Stamper Store Supplies:


Like us on Facebook
Follow us on Instagram: Fairy Stamper Hugs
Join our NEW Fairy Stamper Hugs Facebook Group here

 Don't forget to include #fairystamperhugs on your projects and tag us at @FairyStamperHugs so we can be sure to see and comment on your projects!

Sign up to receive Fairy Stamper Newsletters at the Fairy Stamper store.

Wednesday, May 11, 2022

It is spring time! Tutti Designs - 738 Spring Trunks

Hello!  Let's see what you can create with Tutti Designs today!


For this card i started with a 5 x 7" background and did some inking with torn paper and a diecut circle template. This card is a really easy card to make once you have inked your background.
I die cut Tutti Designs - 738 Spring Trunks from black cardstock.  I wasn't able to capture the wonderful details of this die in my photo.  Please check out the photo of the die below.  It's such a pretty die and works wonderfully with other dies and stamps! I also inked up some more paper using the same color pink to stamp my sentiment on. I die cut the sentiment and circle matting it from Tutti Designs - 415 Dotted Nesting Circles.   I matted the inked background in mirror/metallic card.  Then i adhered that to the card base.  Last, i adhered the trees and sentiment to the top of the card!

I have used:


Be sure to visit Tutti Designs
for LOTS more fabulous dies and
come back again for more Tutti Designs inspiration!

Here are some Tutti Designs quick links:

Also used:


Monday, May 9, 2022

Fairy Hugs - Woodland Treat Cart - Floral style!

Hello everyone and happy Monday!! 
It’s time for a new Fairy Stamper YouTube featuring Fairy Hugs stamps.
      
Every week you will see 
Fairy Stamper YouTube Tutorial Videos by the Fairy Stamper Design Team

Please subscribe so you won't miss a video!

You are viewing 2 different cards.. that have been created in the "same" way.  
No 2 cards will be alike using these techniques shown in the YouTube Card Tutorial!


To see how i created this card please watch my YouTube tutorial:


Fairy Stamper Products Used 


 Store ** Facebook Challenge ** Facebook** Instagram ** YouTube

Like us on Facebook
Follow us on Instagram: Fairy Stamper

Saturday, May 7, 2022

Kerst Christmas Facebook Challenge featuring Sheepski Designs - Christmas Box

I love seeing Christmas cards every day, do you?

Kerst Christmas Facebook Group has a challenge monthly.
You can share ANY Christmas cards and have a chance to win prizes, too!

Kerst Christmas Facebook Sponsors this month

Here is my DT card using - Sheepski Designs - Christmas Box

Dies used
Tutti Designs - Stitched Nesting Banners
Sizzix Tim Holtz - Christmas 2021 (sentiment)


Please visit us at Kerst Christmas Facebook Group here
 

I am the owner of We Are 3 Digital Shop 
and would love to invite you to We Are 3 Digital Shop Facebook Group!

Challenges:

Friday, May 6, 2022

Tutti Designs - 739 Dragon Moon

Hello!  Let's see what you can create with Tutti Designs today!


For this card, I started out with digital paper from We Are 3 Digital Shop.
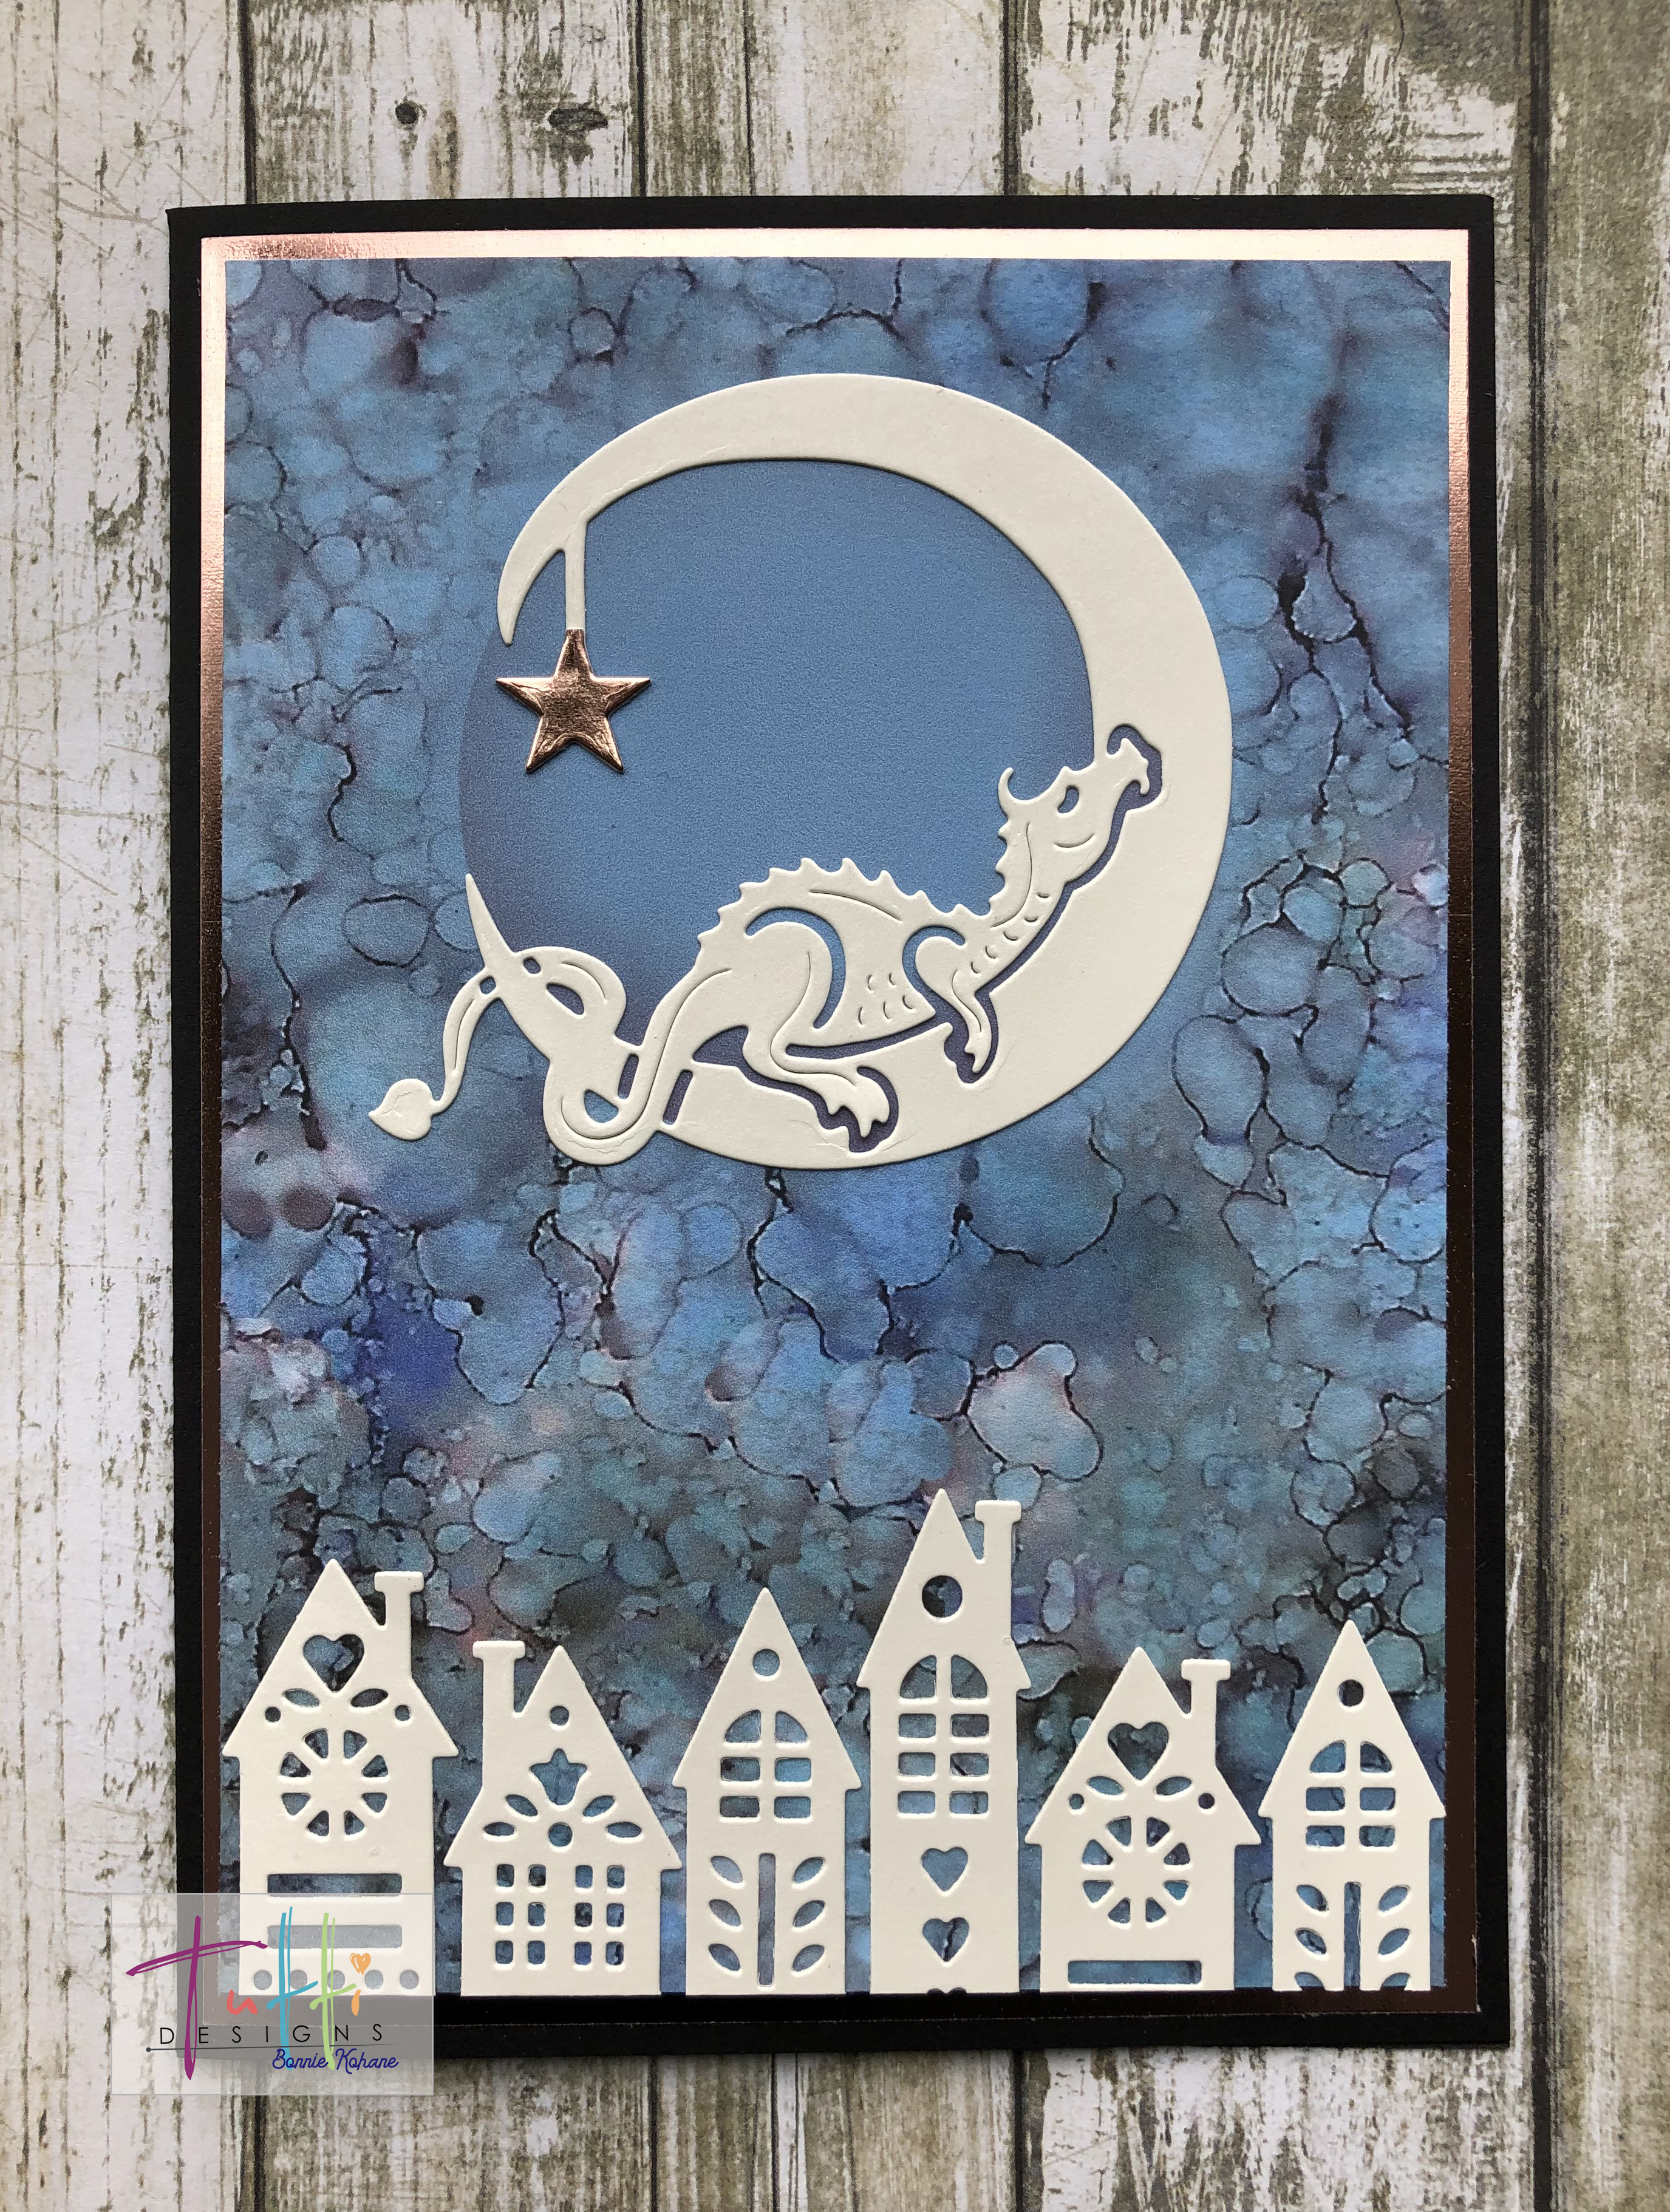
The rest of the card was pretty simple. I die cut Tutti Designs - Dragon Moon from an off white cardstock.  The i used a tiny scrap of rose gold metallic (mirror) card stock to cut out the star.  I did have to cut the top point by hand. Next, i used Tutti Designs - Snow Village and just die cut the row of houses.  You can see i cut some of the houses twice.  You can "fussy" die cut the houses.  Before i attached the card to the metallic/mirror mat, I arranged the houses at the bottom of the card and cut off the access hanging over the bottom.

I have used:

Be sure to visit Tutti Designs
for LOTS more fabulous dies and
come back again for more Tutti Designs inspiration!

Here are some Tutti Designs quick links:

Also used:

Thursday, May 5, 2022

Fairy Hugs - Bathing Thomas and "tea time".

 Hello everyone and Happy Thursday!! 

I am a DT for Fairy Stamper Hugs!
It is the #1 USA Retailer for Fairy Hugs Stamps
Check out the store here!!
 

  For this card i wanted to go with a teabag type theme for the card base.  So i made a card and cut the corners at an angle and then i cut a piece to fit at the top to look like the top of a teabag. The paper i used for the card is from Fairy Hugs Craft Papers - Thunderglow.
 One more thing was to add a teabag too!  This is how i made the hanging teabag.  I cut a piece of coffee filter into a rectangle and stamped it with the Fairy Hugs Sentiment - Tea Word Collage.  I folded it in half lengthwise and then again horizontally.  At the bottom i made another fold like an old fashioned teabag. At the top i folded in the sides and hole punched it so i could add a string.  The end of the string got stapled to the piece at the top of the card before i attached it.
Next i needed to cut a piece to fit on the front of the card.  Once i did that i stamped Fairy Hugs - Bathing Thomas with VersaFine Clair Ink - Nocturne.  I also added Fairy Hugs - Steam to the cup.  I stamped out Fairy Hugs - Tea Word Collage one more time and fussy cut the sentiment within the collage "Tea is like a hug in a mug" and matted it with a blue glitter paper.  For fun i die cut a small heart from the blue glitter paper as well.  Last thing, i did was color in the stamped image with Prismacolor pencils.  To put the card together, i just added the colored image layer and then i added the "tea bag" flap at the top with double sided foam tape and then i positioned the handmade teabag and glued that down.

Fairy Stamper Store Supplies:


Like us on Facebook
Follow us on Instagram: Fairy Stamper Hugs
Join our NEW Fairy Stamper Hugs Facebook Group here

 Don't forget to include #fairystamperhugs on your projects and tag us at @FairyStamperHugs so we can be sure to see and comment on your projects!

Sign up to receive Fairy Stamper Newsletters at the Fairy Stamper store.

Monday, May 2, 2022

Fairy Hugs - Ann Marie with Fairy Teacup

  Hello everyone and Happy Monday! 

Let's see what we can make using Fairy Hugs Store supplies! 

I am using Fairy Hugs - Ann Marie!

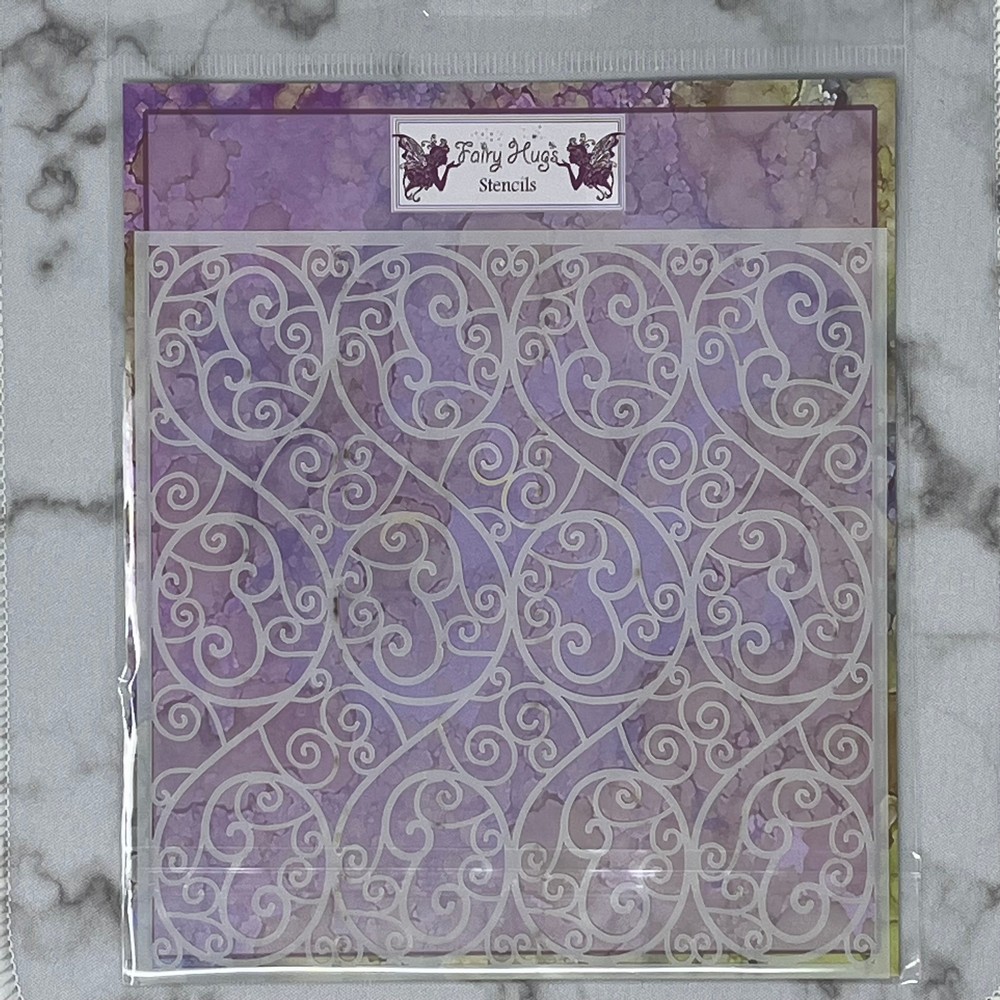
For this card,  I used Fairy Hugs Craft Paper - Bumbletwinkle.  First thing i did was use the Fairy Hugs Stencil - Spirals with molding paste and embossing glitter.  I heat set that after i allowed the paste to dry slightly.  I also stamped the Fairy Hugs Sentiment - Coffee Word Collage in VersaFine Clair - Pinecone. Then i made a mask of Fairy Hugs - Ann Marie.  Next, i stamped Fairy Hugs - Ann Marie with VersaFine Clair - Nocturne.  I put the Ann Marie mask on top of Ann Marie, so that i could stamp the Fairy Hugs - Fairy Teacup to make it look like she was sitting on top of the cup but with her legs to the side.  Because Ann Marie's hands are raised slightly, i decided to use Fairy Hugs - Steam to make it look like she is warming her hands.  I did stamp Fairy Hugs - Coffee Word Collage one more time out of VersaFine Clair - Pinecone onto a cream paper and hand cut the one line out as another sentiment for under the cup.  I matted the sentiment in a black cardstock.  Last thing i did was color in the images with Prismacolor Pencils. 

Fairy Hugs Store Supplies:


Like us on Facebook
Follow us on Instagram: Fairy Hugs Store
 Join our Fairy Hugs Facebook Group here

 Don't forget to include #FairyHugsStore on your projects and tag us at @FairyHugstore so we can be sure to see and comment on your projects!

Sign up to receive Fairy Hugs Newsletters at the Fairy Hugs store.

 
Thanks for stopping by!