Pages

Saturday, November 12, 2022

Sizzix - Tim Holtz - Once in a Blue Moon project with Otis, Pumpkin Duo and Mischievous Kitties!

 Hello!  I have been working on a Sizzix - Tim Holtz project and i finished it this week. 

I am calling it my "Once in a Blue Moon" project. 
I fell in love with Sizzix - Tim Holtz - Otis and wanted him to be blue. So i created a YouTube Video showing how i made Otis blue.  Here is that link: https://youtu.be/Zb2X4tDGq6w


Next i knew i wanted to add Sizzix -Tim Holtz - Pumpkin Duo to my project, so i made a few pumpkins..including a "buffalo" print set for one of my daughters. You can see that YouTube video here:


Oh but now i needed those cute kitties.. Sizzix - Tim Holtz - Mischievous dies.  I decided to add some whiskers and i show how i did that in this video on YouTube: 


Now it's time to put it altogether to make my project.  I was so excited that my daughter from CO came to visit and helped put everything together.   In the end i just added a bit more embellishments.
Oh yet another thing happened.. my daughter made on for herself and helped put her sister's project together as well!  I do not have a photo of my daughter's project from CO because she didn't finish hers before she went home.. but her project is this wonderful green and she put glow in the dark embossing powder on her moon!! 

Here is the final YouTube Video showing the 2 finished projects and a tiny demo showing how we used Tim Holtz watercolor pencils!


Here are the same photos in the video:


Friday, November 11, 2022

Fairy Hugs - Dancing Penguins..in the moonlight!

Happy Friday Afternoon!

Let's see what we can make using supplies from Fairy Hugs Store 

I am using Fairy Hugs - Fairy Igloo

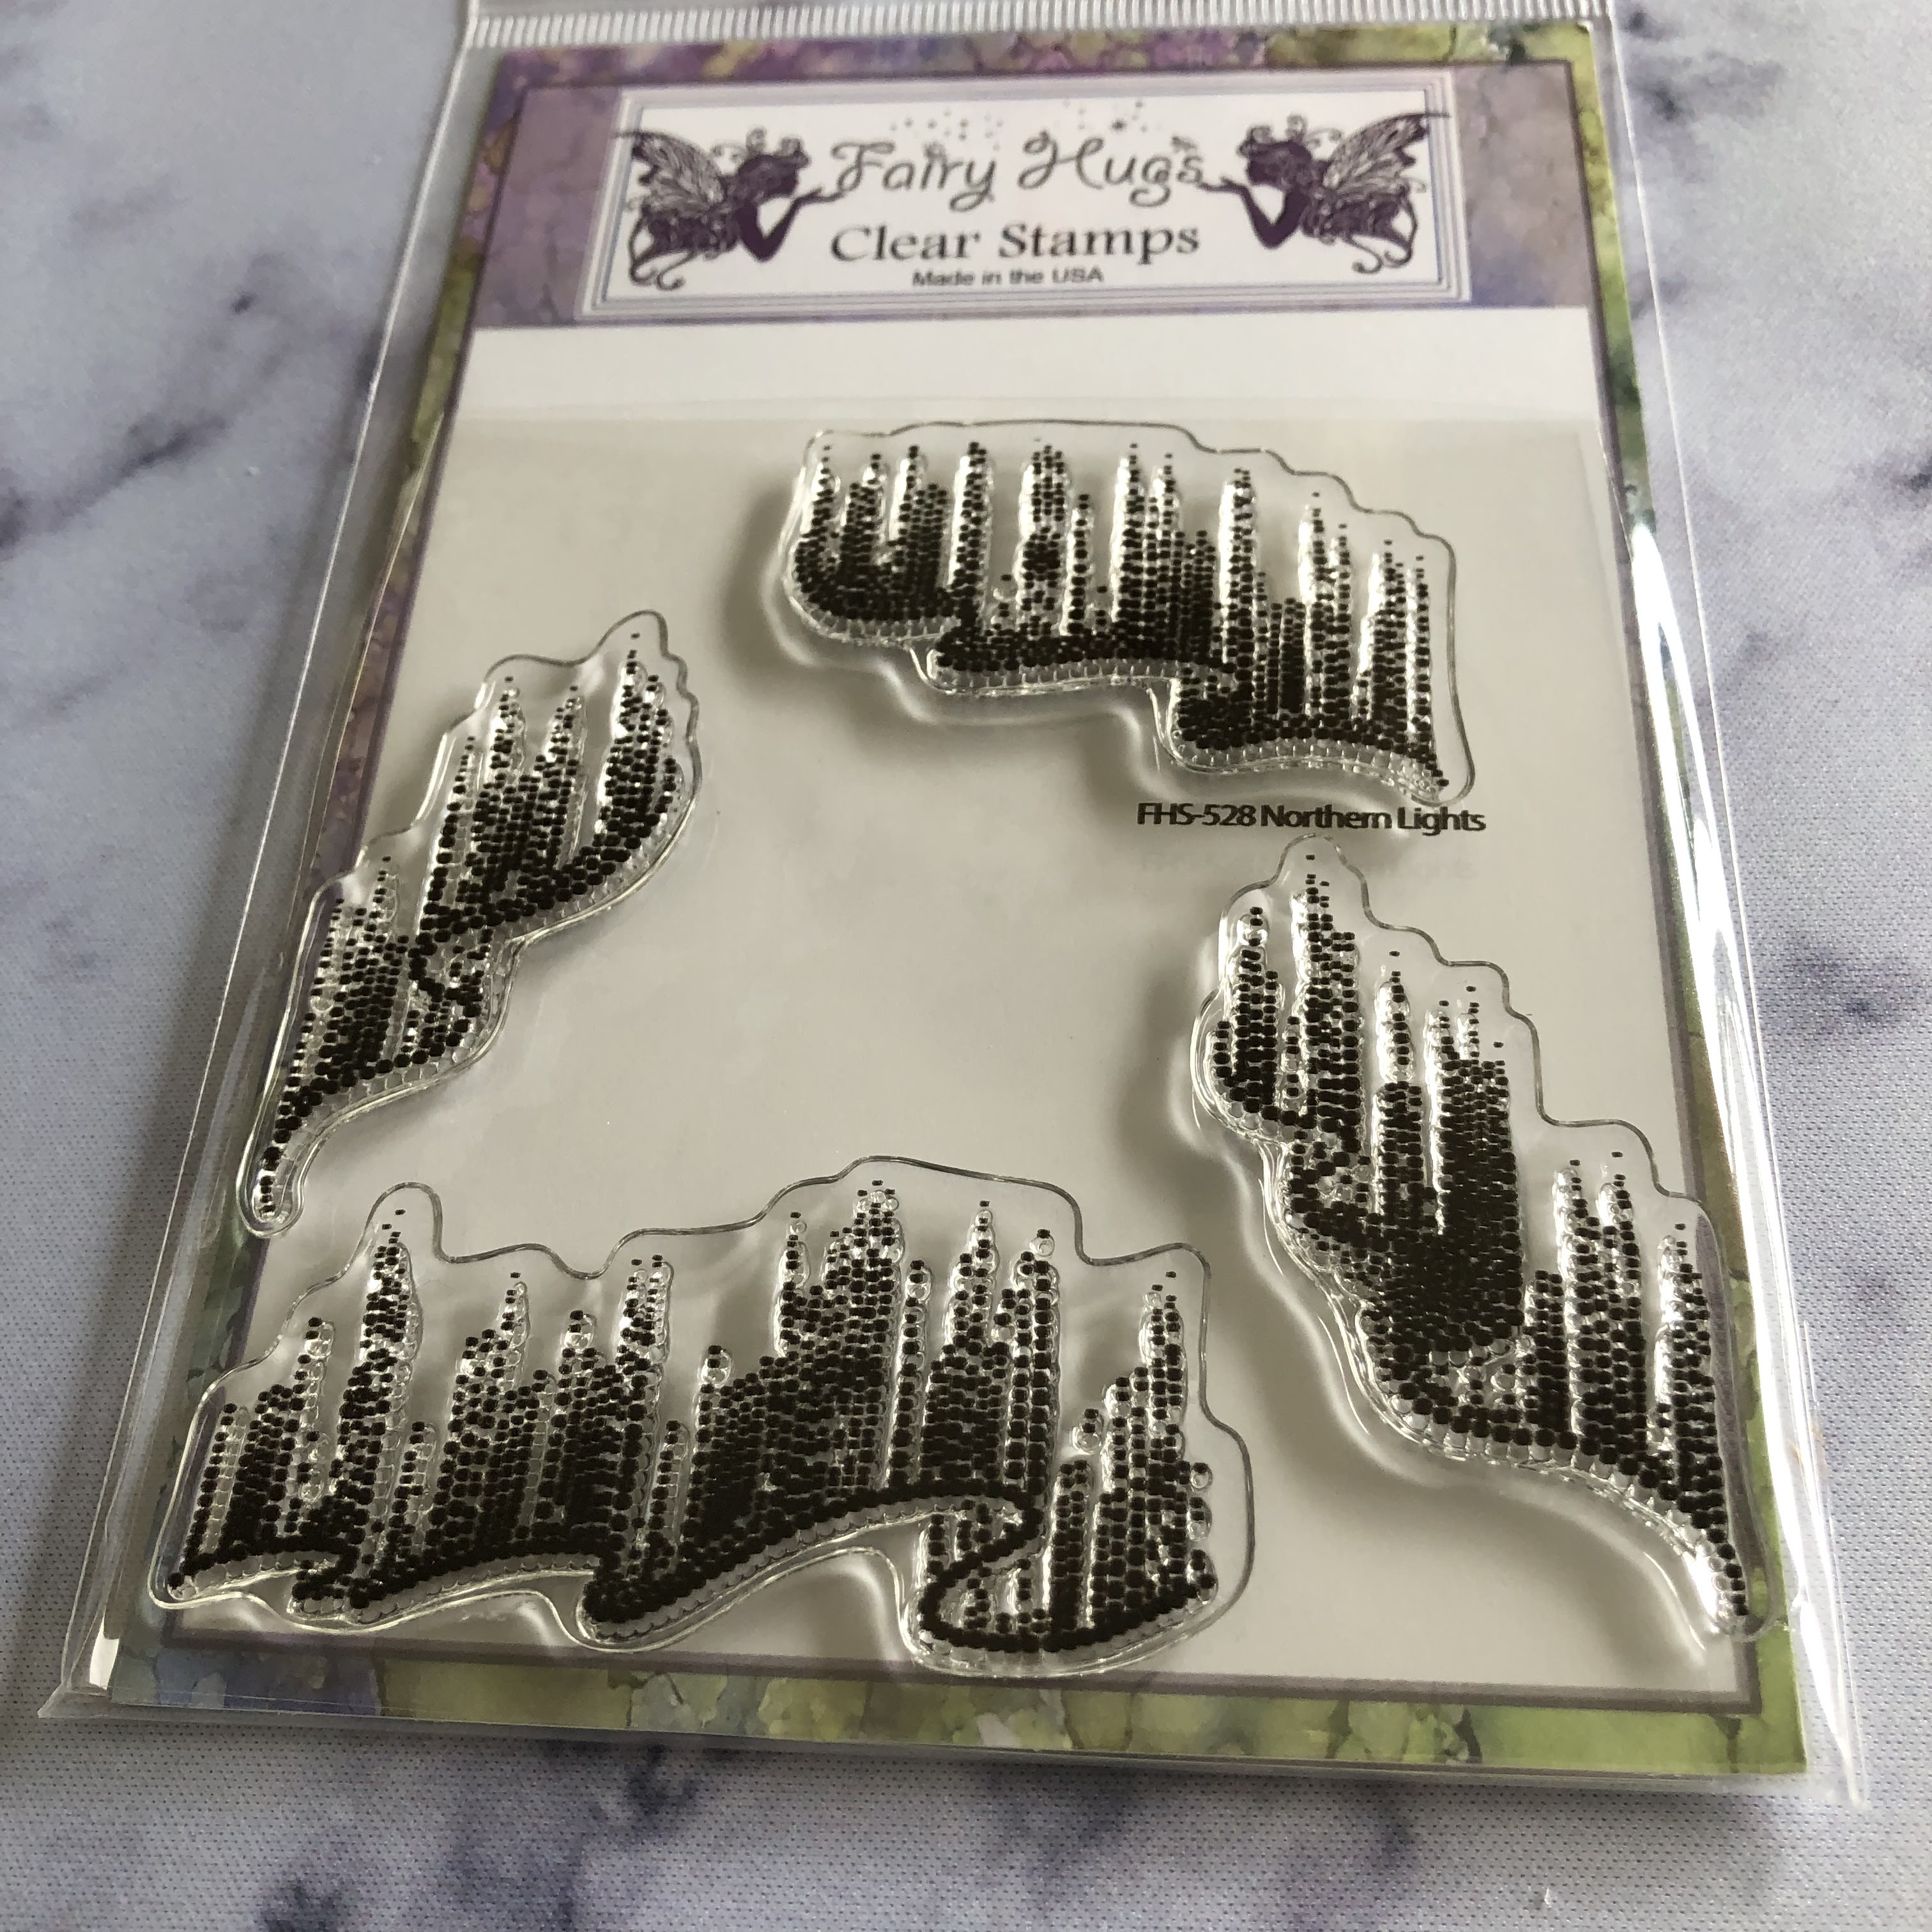
For this card,  I made a Fairy Hugs - Dancing Penguin party card!  This card would also be great for New Years Eve! I started with a sheet of paper from Fairy Hugs Craft Papers - FrostFlight.  I wanted the Fairy Igloo in the background and the penguins in the front with a bit of Northern Lights on the side!  So, after figuring the placement, i started with stamping Fairy Hugs - Fairy Igloo and Fairy Hugs - Ice Cubes with VersaFine Ink - Bluebell.  Next i added Fairy Hugs - Dancing Penguins.. (there are 5 penguins..but the other one is inside of the igloo sleeping. :) Now i stamped Fairy Hugs - Northern Lights with VersaFine Clair Ink - Charming Pink and used Ranger Embossing Tinsel Embossing Powder. I used Distress Oxide Ink - Chipped Sapphire over the Northern Lights and wiped back the ink with a wet q-tip (cotton swab).  I colored in the fairy igloo, ice cubes and the penguins with Prismacolor pencils.  Last thing, i did was distress inked the edges with Distress Oxide Ink - Chipped Sapphire.

Fairy Hugs Store Supplies:


Like us on Facebook
Follow us on Instagram: Fairy Hugs Store
 Join our Fairy Hugs Facebook Group here

 Don't forget to include #FairyHugsStore on your projects and tag us at @FairyHugstore so we can be sure to see and comment on your projects!

Sign up to receive Fairy Hugs Newsletters at the Fairy Hugs store.

 
Thanks for stopping by!

Tutti Designs - 714 Holly Ornament

Hello!  Let's see what you can create with Tutti Designs today!


I did some snipping on Tutti Designs - 714 Holly Ornament to create a whole new look to the ornament. I cut out the diamond shapes from under the poinsettia and then i replaced it with a solid shape by making a template.  Once i made the template i could use anything to fill in the area.  For this card, i had hand drawn this scene and cut it to fit. Next, i diecut the outside layer that comes with the die from vellum and pasted that to the back of the die with the scene. Now i can paper pieced the poinsettia with a red scrap of paper.  I used a snowflake embossing folder for the background and added a bit of Distress Oxide Ink (red) to the bottom of the card. I glued Tutti Designs - 648 Cones and Branches to the card base leaving the needles without glue. I tucked in the ornament between the two branches with double sided foam tape.

I have used:


Be sure to visit Tutti Designs
for LOTS more fabulous dies and
come back again for more Tutti Designs inspiration!

Here are some Tutti Designs quick links:

Also used:

Fairy Hugs - Northern Lights show

Happy Friday!

Let's see what we can make using supplies from Fairy Hugs Store 

I am using Fairy Hugs - Crystal

For this card,  i really wanted to showcase Fairy Hugs - Northern Lights.  So what i did was select the background paper with some color right where i wanted to stamp the northern lights. Next i stamped them with VersaMark Clear Ink and heat embossed with clear embossing powder.  Next i went over the stamps with Distress Ink - Black Soot.  I wiped back the ink on top of the stamped images..but i didn't get the brightness i wanted so i came back in with my colored pencils because the "roughness" from the embossed ink on the "dotted" stamp clung to the embossing powder once it was heat set. I still wanted a bit more going on so i sprayed some water on the black and heat set that. And i came in with a snow stencil and a white pencil to get more dots. 
Next i stamped Fairy Hugs - Crystal and a Polar Bear from Fairy Hugs - Polar Bear Family with VersaFine Ink - Nocturne and colored both of those in with Prismacolor pencils. I added hologram paint to the fairies wings and snowflake skirt..and a bit of the paint on top of the bear.  I also added a moon halo using a circle diecut and Distress Oxide Ink - Chipped Sapphire.

Fairy Hugs Store Supplies:


Like us on Facebook
Follow us on Instagram: Fairy Hugs Store
 Join our Fairy Hugs Facebook Group here

 Don't forget to include #FairyHugsStore on your projects and tag us at @FairyHugstore so we can be sure to see and comment on your projects!

Sign up to receive Fairy Hugs Newsletters at the Fairy Hugs store.

 
Thanks for stopping by!

Thursday, November 10, 2022

Winter Wonderland with Fairy Hugs - Dancing Penguins

 Hello everyone and Happy Thursday!! 

Another card to share with you today!

I am a DT for Fairy Stamper Hugs!
It is the #1 USA Retailer for Fairy Hugs Stamps
Check out the store here!!
 

Absolutely love this card.  I have been wanting to use this die i had in my stash and it pairs perfectly with Fairy Hugs - Dancing Penguins!  To start i used a white card stock base and swipped some Distress Oxide - Pumice Stone across the back using my blending brush that was misted with water.  I cut out the Creative Expressions Paper Cut die from Fairy Hugs Craft Paper - WaterShine and tore the bottom for a "snow" affect. I didn't adhere the die until i knew the placement of each penguin.  The penguins were all stamped with VersaFine Clair Ink - Nocturne.  They were colored with Prismacolor pencils. Now i added the die and added some gems to the snowflakes.  At the top of the card, i used Fairy Hugs Stencil - Fairy Snowflakes and Texture Paste with added Fairy Hugs Confetti Glitter Translucent - Pixie Dust. You can seal in the glitter by using - Tim Holtz Collage Medium.  I attached the die with glue and distressed the edges of the card with Distress Oxide - Chipped Sapphire. 
 
Fairy Stamper Store Supplies:


Creative Expressions Paper Cut - Winter Wonderland
 
Like us on Facebook
Follow us on Instagram: Fairy Stamper Hugs
Join our NEW Fairy Stamper Hugs Facebook Group here

 Don't forget to include #fairystamperhugs on your projects and tag us at @FairyStamperHugs so we can be sure to see and comment on your projects!

Sign up to receive Fairy Stamper Newsletters at the Fairy Stamper store.

Fairy Hugs - Woodland Door at the North Pole!

 Hello everyone and Happy Thursday!! 

I am a DT for Fairy Stamper Hugs!
It is the #1 USA Retailer for Fairy Hugs Stamps
Check out the store here!!
 

To start creating this card i started with an 8" x 5" card base.  Next i pulled out all of the acetate/clear pictures of the stamps (comes with each stamp) and "auditioned" them on my card to get an idea of how i wanted to stamp my card.  So first, i stamped Fairy Hugs - Woodland Door as it is my focus for the card. Next, i stamped Fairy Hugs - Fairy Gate, Mini Wooden Path, Lamp Post Cane, Pine Cluster and Mini Hares.  On a separate piece of white card stock i stamped Fairy Hugs - Acorn Corner Post and the holly cluster from Fairy Hugs - Wreath Builder. Everything was stamped using VersaFine Clair - Nocturne except for the "faded" Pine Clusters towards the back.. they were stamped with VersaFine Clair - Morning Mist and also stamped in second generation. Next, i colored the stamps as shown in the photo.  So i needed to add the background before i went further.  I used a circle die to make my moon halo and then i used a torn piece of paper to make the clouds and ground. I used Distress Oxide Ink - Hickory Smoke.  Once that was done, I fussy cut the holly cluster and the Acorn Corner Post that i had colored.  For the Acorn Corner Post, i wanted two arrows going the same way so i fussy cut the bottom and cut off the middle arrow and used the top arrow by fussy cutting it.  I did leave a bit of the bottom arrow post on the top so i could join the two together.  I used my copic liner to write the words, Santa's Work Shop. Both the holly cluster and the post were glued in place. I used Pentel Sparkly Gold gel pen for the gold highlights on the door and lamppost.

Fairy Stamper Store Supplies:


Like us on Facebook
Follow us on Instagram: Fairy Stamper Hugs
Join our NEW Fairy Stamper Hugs Facebook Group here

 Don't forget to include #fairystamperhugs on your projects and tag us at @FairyStamperHugs so we can be sure to see and comment on your projects!

Sign up to receive Fairy Stamper Newsletters at the Fairy Stamper store.

Wednesday, November 9, 2022

Tutti Designs - 658 Holiday Van

Hello!  Let's see what you can create with Tutti Designs today!


In a previous blog post, i made another card using this Tutti Designs - Holiday Van die. When i cut this die i used the die and saved the negative parts for the previous card i made.  I am kind of showing this process backwards.  i placed the die on a dark navy card stock and cut around it by hand. Next i added some gems to the head lights and to the snowflakes. I inked the card under the van to look like a road.

I have used:

Be sure to visit Tutti Designs
for LOTS more fabulous dies and
come back again for more Tutti Designs inspiration!

Here are some Tutti Designs quick links:

Also used: