Pages

Thursday, December 8, 2022

New technique background - Linen Texture using Fairy Hugs - Becka's Sunflowers

Hello everyone and Happy Thursday!! 

I am a DT for Fairy Stamper Hugs!
It is the #1 USA Retailer for Fairy Hugs Stamps
Check out the store here!!
 

I was inspired to make this card because of my friend, Julia Watts. She created this linen background on her YouTube channel and i wanted to make a card using her inspirational tutoral.
Here is her YouTube tutorial:

I used the instructions from this video to make my card.  First i started with some Photo paper i had.  I needed something glossy and i had that in my stash.  I had issues with the stamp "sticking" to the paper if it wasn't inked up first. I couldn't position the un-inked stamp on the glossy paper without it sticking on the paper and moving the paper.  So i learned to ink it and then hand place the stamp on the glossy paper.  I still used the platform because once i placed the stamp on the glossy paper i could lift it up with the lid and i could stamp again if i needed to.  As mentioned in the video a perfect stamped image isn't necessary because you will be sanding it.  I used Becka's Sunflower (large bloom) for the background. I used VersaFine Clair Ink - Glamourous.  Once the ink dried, I followed the instructions and started sanding the whole paper going vertically across the paper and then horizontally.  Next, i added Distress Ink (not oxide) Tumbled Glass, and i used Mermaid Lagoon. I followed the process in the video.  I then distressed the edges.  Next, i did some stamping.  I used the entire set of Becka's Sunflower.  First i stamped the flowers with VersaFine Clair - Morning Mist and heat embossed with a white embossing powder. Next, i stamped Becka and embossed her with black embossing powder. Last, i used Fairy Hugs Stencil - Fairy Snowflakes and texture paste adding Fairy Hugs - Confetti Pixie Dust (glitter).  I adhered this to a card base. 

Fairy Stamper Store Supplies:


Like us on Facebook
Follow us on Instagram: Fairy Stamper Hugs
Join our NEW Fairy Stamper Hugs Facebook Group here

 Don't forget to include #fairystamperhugs on your projects and tag us at @FairyStamperHugs so we can be sure to see and comment on your projects!

Sign up to receive Fairy Stamper Newsletters at the Fairy Stamper store.

Monday, December 5, 2022

Fairy Hugs - Christmas Wreath Card Tutorial

Hello everyone and happy Monday!! 
It’s time for a new Fairy Stamper YouTube featuring Fairy Hugs stamps.
      
Every week you will see 
Fairy Stamper YouTube Tutorial Videos by the Fairy Stamper Design Team

Please subscribe so you won't miss a video!


Layout without bow or coloring the berry branches

You can see how i created this card by watching this YouTube Tutorial:


Fairy Stamper Store Supplies:

 Store ** Facebook Challenge ** Facebook** Instagram ** YouTube

Like us on Facebook
Follow us on Instagram: Fairy Stamper

Saturday, December 3, 2022

We Are 3 Digital Shop - Chris Mouse sponsoring Kerst Christmas Facebook Group Challenge

I love seeing Christmas cards every day, do you?

Kerst Christmas Facebook Group has a challenge monthly.
You can share ANY Christmas cards and have a chance to win prizes, too!

Kerst Christmas Facebook Sponsor this month
We Are 3 Digital Shop
Tutti Designs

Here is my DT card using We Are 3 Digital Shop - Chris Mouse
For this card, i used the PNG version of We Are 3 Digital Shop - Chris Mouse and layered him and We Are 3 Digital Sentiment - More Christmas on top of We Are 3 Digital Paper - Frosty Days. Next i colored the image in with Prismacolor pencils.  I matted the design on to white card stock and used an old Fiskars Scissors tool to make the edge design.  I layered that on top of the background paper with foam tape.  Next, i used Tutti Designs - for the corner and i cut out another corner just using the stars (fussy cut those out)

Dies used


Please visit us at Kerst Christmas Facebook Group here

Thursday, December 1, 2022

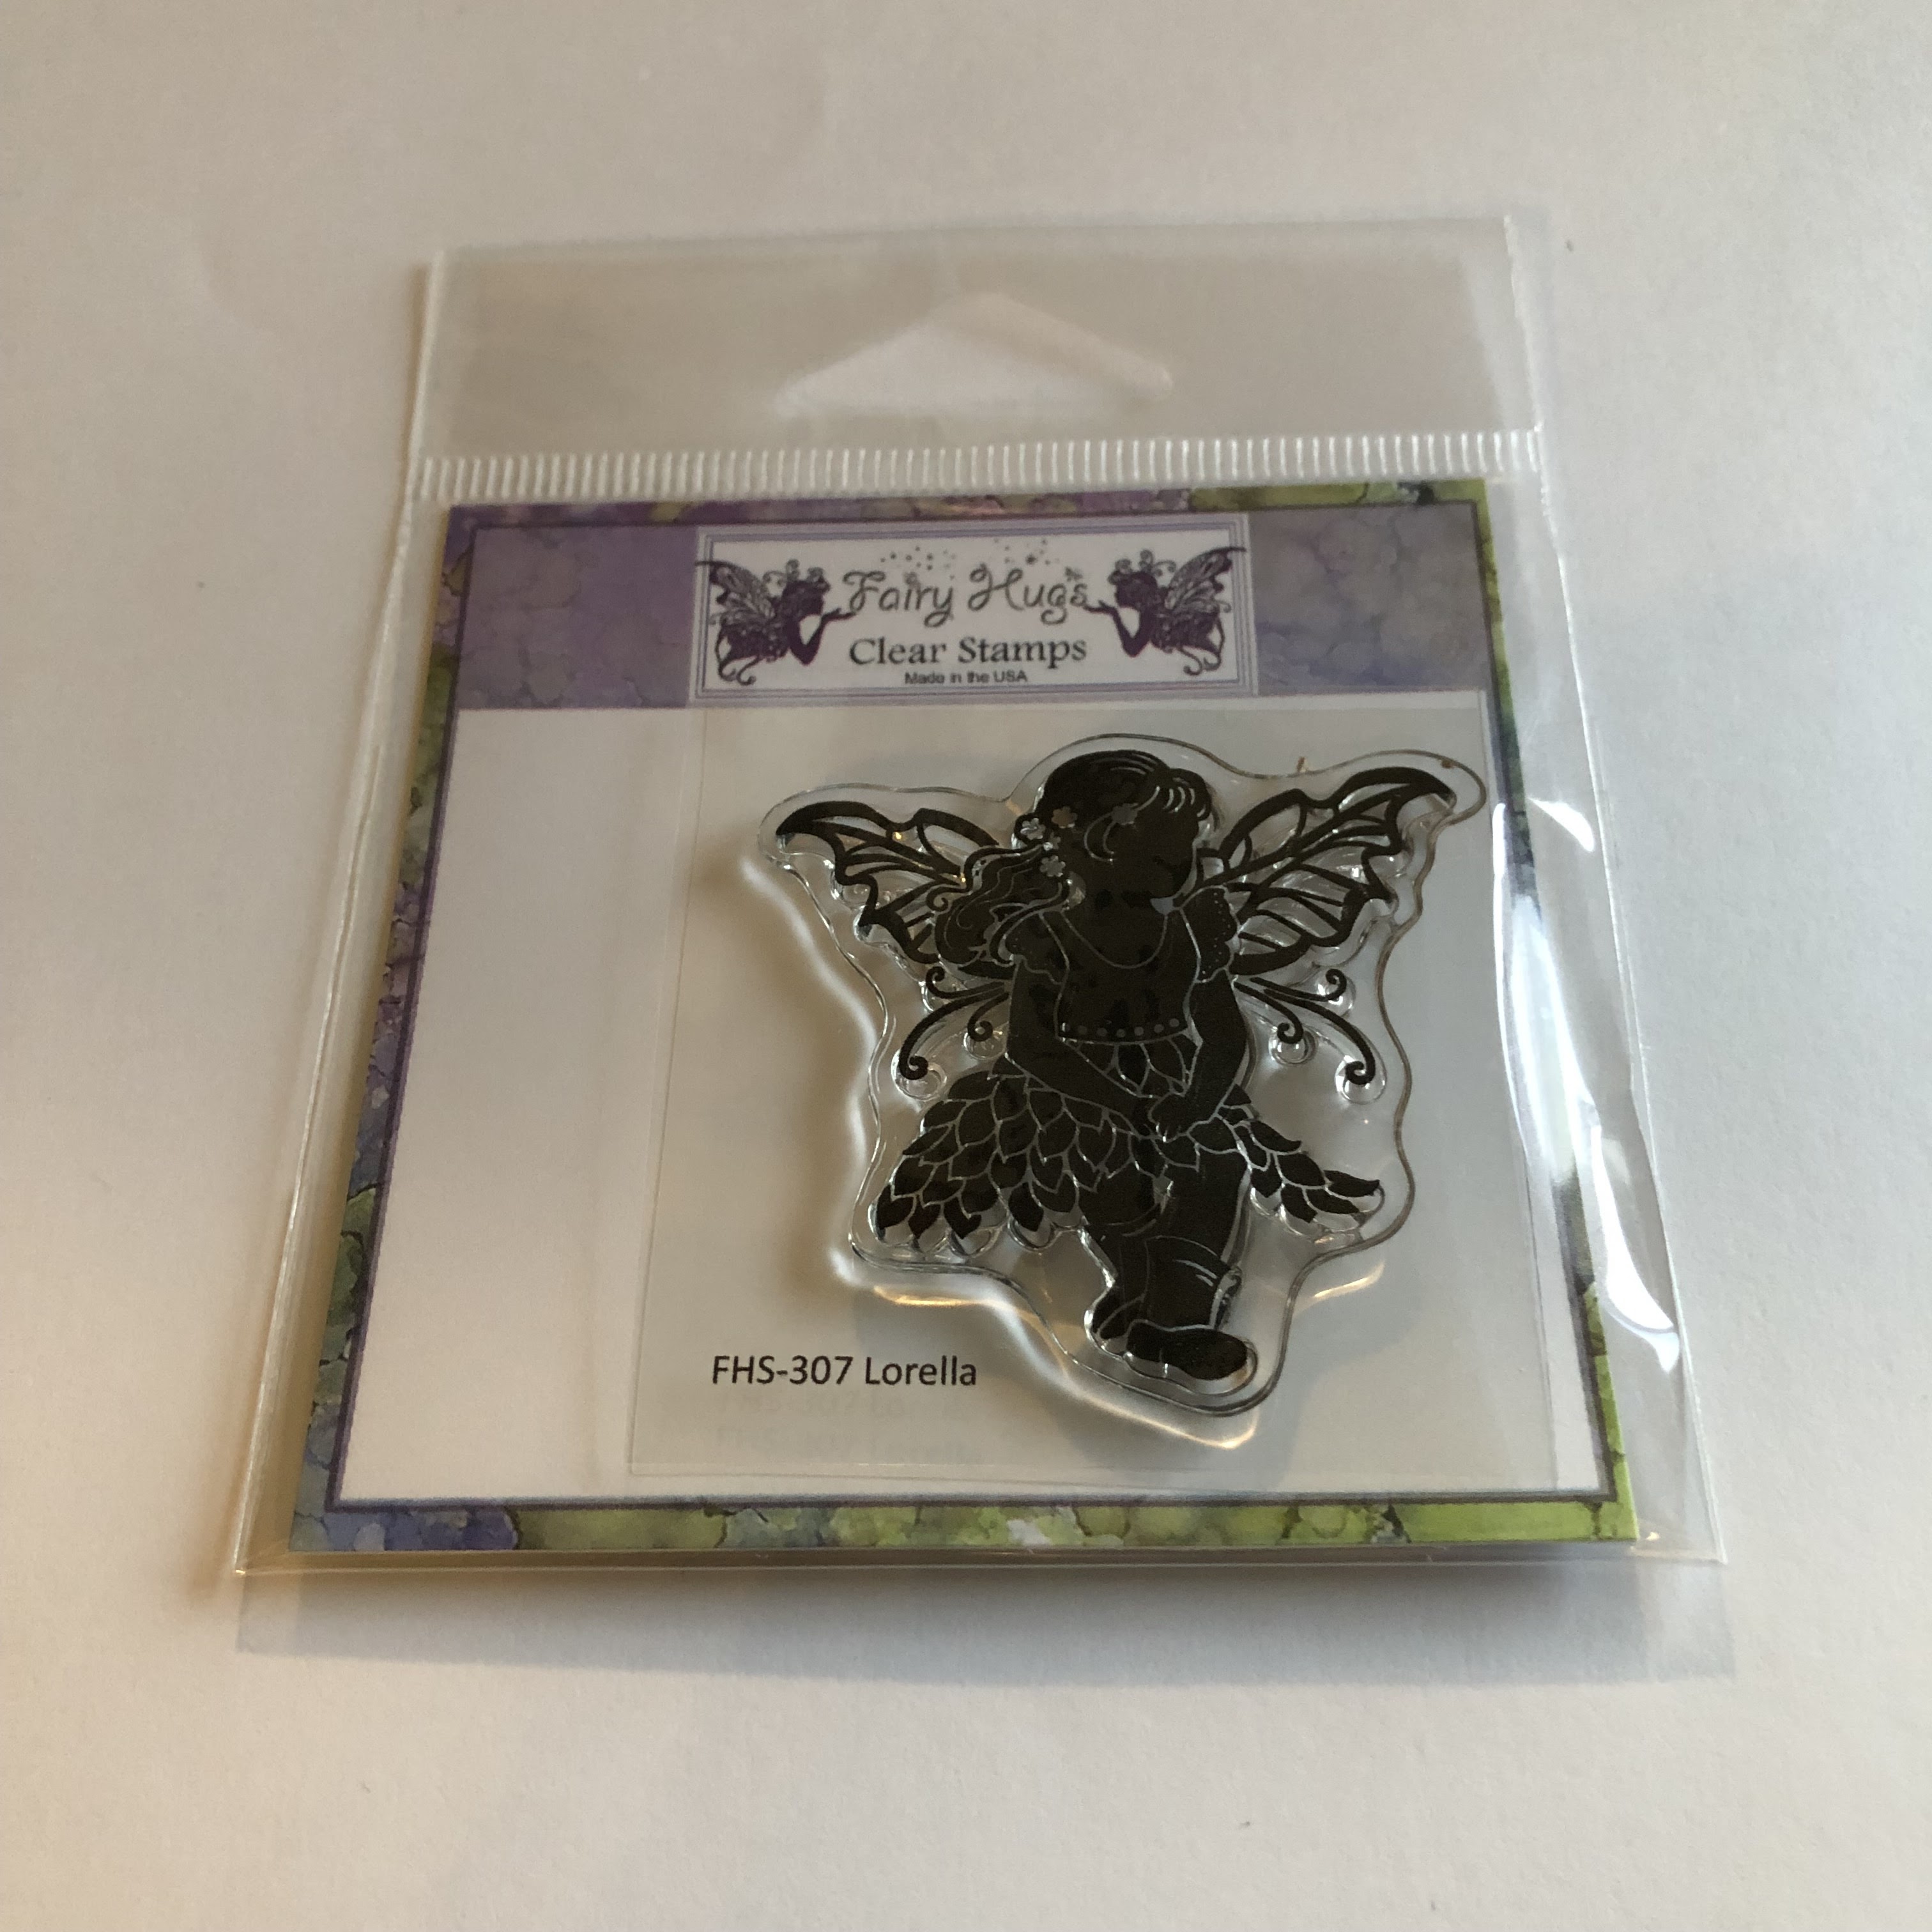
Fairy Hugs - Lorella and Rindo

 Hello everyone and Happy Thursday!! 

I am a DT for Fairy Stamper Hugs!
It is the #1 USA Retailer for Fairy Hugs Stamps
Check out the store here!!
 

To create this card, i started with Fairy Hugs Craft Papers - MoltenRidge.  I love that this paper has the hillside/land on it.  I stamped Fairy Hugs - Dancing Mushrooms with VersaFine Clair Ink - Morning Mist. Fairy Hugs - Lorella, Rindo and the Woodland Mushrooms were all stamped with VersaFine Clair - Nocturne.  I colored the images with Prismacolor pencils.  I highlighted the images with a sparkly gold gel pen, white gel pen and a blue gel pen. The fairy wings and the top of the mushrooms were painted with acrylic hologram paint. Last thing i did was make a circle mask from card stock and made a "halo" for a moon using Distress Oxide Ink - Chipped Sapphire.

Fairy Stamper Store Supplies:


Like us on Facebook
Follow us on Instagram: Fairy Stamper Hugs
Join our NEW Fairy Stamper Hugs Facebook Group here

 Don't forget to include #fairystamperhugs on your projects and tag us at @FairyStamperHugs so we can be sure to see and comment on your projects!

Sign up to receive Fairy Stamper Newsletters at the Fairy Stamper store.

Wednesday, November 30, 2022

Tutti Designs - Leafy Menorah

Hello!  Let's see what you can create with Tutti Designs today!


This is such a beautiful die.  It was created for Hanukkah.  This die comes with the tree of life base and one candle. The base can also be used for  a Halloween candelabra and the candles can be used for birthday cards.  So simple to create this design, i started with Fairy Hugs Craft Papers - WinkleBush for the background paper. Next i cut out the Tutti Designs - Leafy Menorah from white card stock.  I cut out 9 candles.  I adhered that to the paper and added gems and sequins at the bottom.

I have used:

Be sure to visit Tutti Designs
for LOTS more fabulous dies and
come back again for more Tutti Designs inspiration!

Here are some Tutti Designs quick links:

Also used:

Monday, November 28, 2022

Tutti Designs - 718 Swirly Deer

Hello!  Let's see what you can create with Tutti Designs today!


Simple card today.. if you need a quick card it starts with a pretty background paper.
I started with Fairy Hugs Craft Papers - PetalShimmer. Next, i added a moon using a circle die as a mask and i inked around the edges to make a halo using Distress Oxide Ink - Chipped Sapphire and a blending brush.  Next i die cut Tutti Designs - 718 Swirly Deer, Snow Flurries and "Merry Christmas" from 769 Christmas Star Frame out of white card stock.  I adhered those die cuts as shown and added red gems.  Last thing i did was use Fairy Hugs Stencil - Fairy Swirls and Distress Oxide Ink - Chipped Sapphire.

I have used:

Be sure to visit Tutti Designs
for LOTS more fabulous dies and
come back again for more Tutti Designs inspiration!

Here are some Tutti Designs quick links:

Also used:


Sending all my love - Fairy Hugs - Ciana

Happy Monday!

Let's see what we can make using supplies from Fairy Hugs Store 

I am using Fairy Hugs - Ciana

For this card,  i started with two different papers.  The outside paper is Fairy Hugs Craft Papers - WaterShine, the inside heart is Fairy Hugs Craft Papers - WinkleBush.  I diecut out the heart from the top layer and saved it for another card. I then cut out the heart from WinkleBush and saved the outside layer for another card as well.  I stamped the heart using Fairy Hugs - Ciana and Fairy Hugs Butterflies with VersaFine Clair Ink - Nocturne. I colored in both images with Prismacolor Pencils, gold gel pen, acrylic hologram paint and a white gel pen. I layerd the pieces back together on the card base using double sided foam tape for the "frame". 

Fairy Hugs Store Supplies:


Like us on Facebook
Follow us on Instagram: Fairy Hugs Store
 Join our Fairy Hugs Facebook Group here

 Don't forget to include #FairyHugsStore on your projects and tag us at @FairyHugstore so we can be sure to see and comment on your projects!

Sign up to receive Fairy Hugs Newsletters at the Fairy Hugs store.

 
Thanks for stopping by!