Pages

Showing posts with label Fairy Hugs Sentiment - Magic in the Air. Show all posts

Friday, September 16, 2022

Fairy Hugs - Ezith the wizard

Happy Friday!

Fairy Hugs will be having a 2nd Anniversary Release on September 20th

The release will be shown on Create and Craft TV at 7am and 11am
and at 1pm on Craft Extra. (2am, 7am on Create and Craft and 9amEST on Craft Extra)

Let's see what we can make using supplies from Fairy Hugs Store 

I am using Fairy Hugs - Ezith

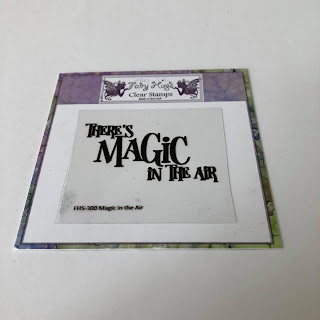
For this card,  I started with Fairy Hugs Craft Paper - PetalShimmer.  Next i used a Creative Expressions die to create the teabag starburst from a gold shimmer paper. i saved all of the fall out stars and used a few around the teabag starburst. Next, i made a mini inky background about 2" square using Distress Oxides that matched the background paper.  Next i stamped Fairy Hugs - Ezith in VersaFine Clair - Nocturne, Fairy Hugs - Ezith staff in VersaFine Clair - Acorn and Fairy Hugs - Wizard Lightning in Golden Meadow.  I clear embossed the Wizard Lightning and it showed up better. I used a white gel pen to highlight the lightning.  I also stamped a few birds from Fairy Hugs - Woodland Flight in VersaFine Clair - Nocturne.  The last thing i stamped was Fairy Hugs Sentiment - Magic in the Air.

Fairy Hugs Store Supplies:
Fairy Hugs - Exith (available Sept. 20)

Fairy Hugs - Wizard Lightning (available Sept. 20)


Like us on Facebook
Follow us on Instagram: Fairy Hugs Store
 Join our Fairy Hugs Facebook Group here

 Don't forget to include #FairyHugsStore on your projects and tag us at @FairyHugstore so we can be sure to see and comment on your projects!

Sign up to receive Fairy Hugs Newsletters at the Fairy Hugs store.

 
Thanks for stopping by!

Friday, August 26, 2022

Save the Date - Fairy Hugs - Halloween Returns - September 1

 Happy Friday!

Save the Date!  Fairy Hugs will be on Create and Craft TV
Sept 1 - 3pm and 7pm UK time
Let's see what we can make using supplies from Fairy Hugs Store 

I am using Fairy Hugs - Abbie

For this card,  I started out using Fairy Hugs Craft Paper - MeadowSparkle.
First i stamped randomly over the entire paper using Fairy Hugs - Web Background.  Next, i diecut and rectangle out of the center of the stamped webbed paper.  Then i cut another rectangle "wonky frame" from the rectangle i cut out.  But wait i also saved the rest to use to mat the sentiment too!
Next i used another paper but from Fairy Hugs Craft Paper - WinkleBush and stamped Fairy Hugs Abbie and Fairy Hugs - Stone Stage on a rectangle large enough to go behind the rectangle opening from the webbed paper.  (**save a large enough scrap to back the toadstools you will be diecutting later and for stamping the sentiment on) I colored in the stone stage and Abbie and adhered that to the back of the webbed paper.  Then i put the "wonky frame" on top of that.  Now i die cut Fairy Hugs - Magical Hollow and NighGlow Toadstools from black card stock. i glued the Magical Hollow around the framed witch.  So now i glued the toadstools to the scrap paper left over from stamping Abbie.  Then i hand cut it out and used double sided foam tape to add that in place as shown above.   So hopefully you have another scrap leftover from stamping Abbie that you can stamp the sentiment.  I also used the rectangle"scrap" left from the webbed rectangle to mat the sentiment. 

Fairy Hugs Store Supplies:


Like us on Facebook
Follow us on Instagram: Fairy Hugs Store
 Join our Fairy Hugs Facebook Group here

 Don't forget to include #FairyHugsStore on your projects and tag us at @FairyHugstore so we can be sure to see and comment on your projects!

Sign up to receive Fairy Hugs Newsletters at the Fairy Hugs store.

 
Thanks for stopping by!

Thursday, October 21, 2021

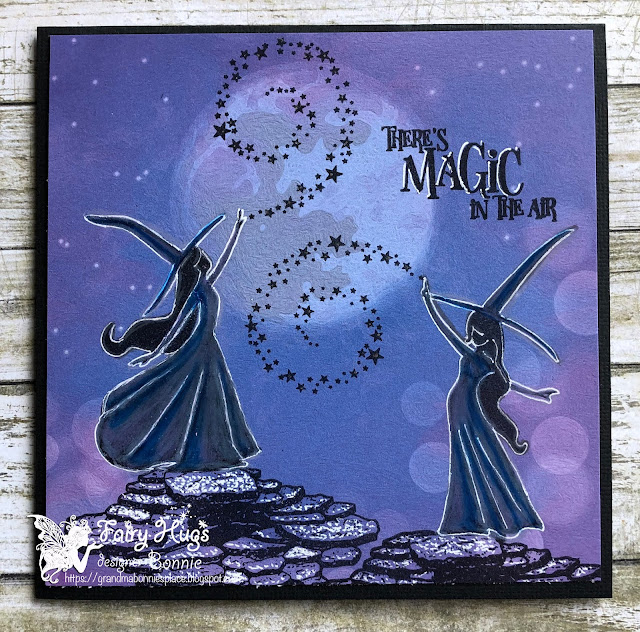
Fairy Hugs - Raven and Topaz

  Hello everyone and Happy Thursday!! 

Let's see what we can make using Fairy Hugs Store supplies! 

I am using Fairy Hugs - Raven and Topaz

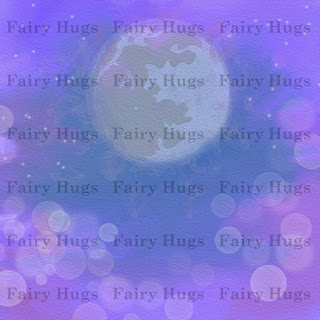
Very fun and simple card! If you'd like to create this card you will need Fairy Hugs paper - Dreamy Sky.
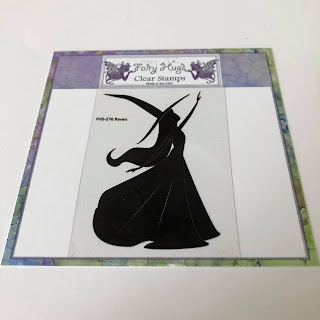
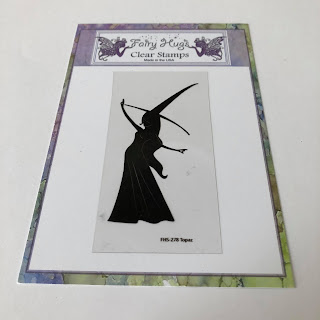
Next you will position the stamps on the paper using the acetate photos from the stamp packaging.
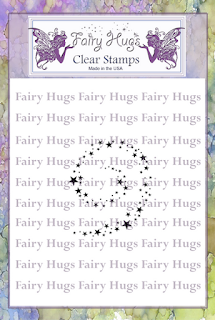
I stamped the Fairy Hugs - Stone Stages first.  Then i stamped Fairy Hugs - Raven and Topaz on top of the Stone Stages. I wanted Raven up higher so i stamped the stone stage up a bit higher.  Using the acetate from the packaging allows me to see how the stamps will fit on the paper so i have enough room. The next stamp i stamped was Fairy Hugs - StardustLast i stamped Fairy Hugs sentiment - Magic in the Air.
I decided to color in the witches with Prismacolor Pencils and white gel pen.  I used the white gel pen on the stone stage and highlighted the sentiment too.
 
Fairy Hugs Store Supplies:


Like us on Facebook
Follow us on Instagram: Fairy Hugs Store
 Join our Fairy Hugs Facebook Group here

 Don't forget to include #FairyHugsStore on your projects and tag us at @FairyHugstore so we can be sure to see and comment on your projects!

Sign up to receive Fairy Hugs Newsletters at the Fairy Hugs store.

 
Thanks for stopping by!