Pages

Showing posts with label Fairy Hugs - Stardust. Show all posts

Thursday, October 21, 2021

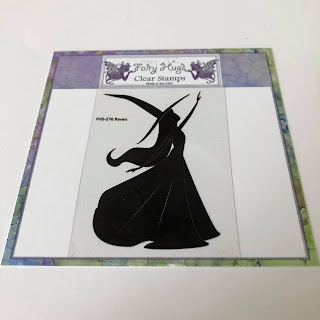
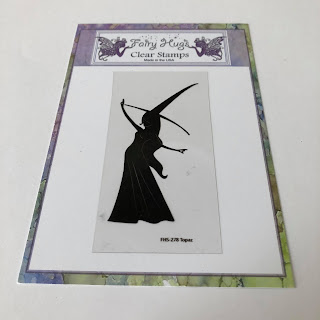
Fairy Hugs - Raven and Topaz

  Hello everyone and Happy Thursday!! 

Let's see what we can make using Fairy Hugs Store supplies! 

I am using Fairy Hugs - Raven and Topaz
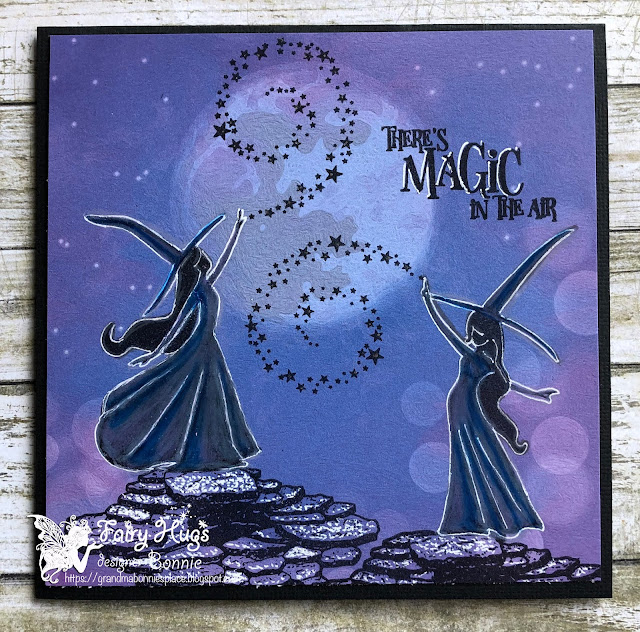
Very fun and simple card! If you'd like to create this card you will need Fairy Hugs paper - Dreamy Sky.
Next you will position the stamps on the paper using the acetate photos from the stamp packaging.
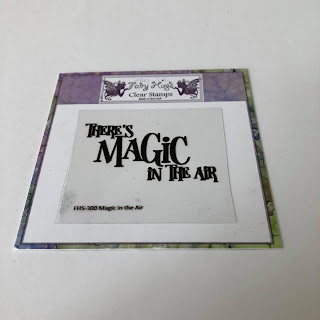
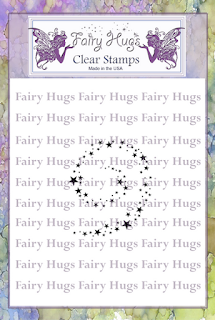
I stamped the Fairy Hugs - Stone Stages first.  Then i stamped Fairy Hugs - Raven and Topaz on top of the Stone Stages. I wanted Raven up higher so i stamped the stone stage up a bit higher.  Using the acetate from the packaging allows me to see how the stamps will fit on the paper so i have enough room. The next stamp i stamped was Fairy Hugs - StardustLast i stamped Fairy Hugs sentiment - Magic in the Air.
I decided to color in the witches with Prismacolor Pencils and white gel pen.  I used the white gel pen on the stone stage and highlighted the sentiment too.
 
Fairy Hugs Store Supplies:


Like us on Facebook
Follow us on Instagram: Fairy Hugs Store
 Join our Fairy Hugs Facebook Group here

 Don't forget to include #FairyHugsStore on your projects and tag us at @FairyHugstore so we can be sure to see and comment on your projects!

Sign up to receive Fairy Hugs Newsletters at the Fairy Hugs store.

 
Thanks for stopping by!

Wednesday, September 29, 2021

Fairy Hugs - NEW Halloween Release! Fairy Hugs - Raven

 Hello everyone!  I have some exciting NEWS!
There is a brand new Fairy Hugs release ..... Halloween!!

Look what you can make using Fairy Hugs Halloween Release!

Let's make a Trick or Treat bag!

I am using a Kraft gift bag 5.5" x 4.5".  The paper is Fairy Hugs Slim Line - Warm Glow.
I cut the slim line paper to fit the length of the bag.  (**save the cut off scrap for the tag) The paper wasn't as wide as the bag, so i added a black mat with a bit centering the slim line paper so that one side was wider so that i could punch some notebook holes for interest.  I stamped, Fairy Hugs - Raven, Fairy Hugs Sentiment - There is Magic in the Air and and older Fairy Hugs stamp - Stardust.  Now using the cut off **scrap, i die cut a tag.  I used Tutti Designs - 213 Stitched Nesting Tags.  I stamped one of the Fairy Hugs - Spiders and Webs to the top of the tag..and then i hole punched the top so i could add it to the bag.

Fairy Hugs Store Supplies:


Like us on Facebook
Follow us on Instagram: Fairy Hugs Store
 Join our Fairy Hugs Facebook Group here

 Don't forget to include #FairyHugsStore on your projects and tag us at @FairyHugstore so we can be sure to see and comment on your projects!

Sign up to receive Fairy Hugs Newsletters at the Fairy Hugs store.

 
Thanks for stopping by!

Monday, February 22, 2021

Fairy Hugs - Kissing Fairy.... Is he a prince?

  Hello everyone and Happy Monday!! 

 Super excited to share with you that I am a DT for a NEW store called, Fairy Stamper!
It is the #1 USA Retailer for Fairy Hugs Stamps
Check out the store here!!
 
Is he a prince or just a cute frog?
This is a really fun and pretty easy card to make.
First you would need the Fairy Hugs Background paper - Full Moon.
Then you would stamp the main stamps, Fairy Hugs - Kissing Fairy and Fairy Hugs - Tree Stump.
Next you would stamp Fairy Hugs - Stardust.  Now you can stamp the Fairy Hugs - Ivy Corner.  I usually heat emboss all of my stamped images with clear embossing powder.  It allows me to color in the crevises and not on top of the stamped image.
I stamped Fairy Hugs - Mini Frog on white card stock, heat embossed him with clear embossing powder, colored his spots with a copper gel pen and hand cut him out.
I attached him with double sided foam tape. 
Next i inked up a small  piece of card stock with VersaMark ink and embossed it with Ranger's Copper embossing powder.  Then i pulled out one of my crown dies (Spellbinder) and die cut the crown out of the embossed copper paper.  It worked best for me to get the impressions in the crown to do it this way.
I attached the crown on top of the stardust swirl with foam tape.
Now for the fun pencil coloring.  I colored in the wings, hair on he fairy.  I colored in the lines on the tree trunk and the corner ivy.  I added a bit of copper gel pen around the ivy.
 
Fairy Stamper Store Supplies:
 
Like us on Facebook
Follow us on Instagram: Fairy Stamper
Join our NEW Fairy Stamper Hugs Facebook Group here

 Don't forget to include #FairyStamper on your projects and tag us at @FairyStamperStore so we can be sure to see and comment on your projects!

Sign up to receive Fairy Stamper Newsletters at the Fairy Stamper store.

Friday, December 25, 2020

Fairy Hugs - Starla wishes you a Happy Holiday!

 Fairy Hugs Store  carries Stamps, Paper, Glitter & Stencils!

Happy Holidays to you!

I have started this project using some digital paper from We Are 3 Digital Shop.
Next, i used some Distress Oxide - Tumbled Glass to create some clouds in the background.
I stamped Fairy Hugs - Fairy Branches with Distress Oxide - Tumbled Glass. The stamp towards the front was also embossed with clear embossing powder. 
I have also stamped, Fairy Hugs - Starla with VersaFine Clair - Nocturne and clear embossed her.
I used stamped Fairy Hugs - Stardust inside the circle several times rotating it as i stamped.
I used a white pen and starburst pen to embellish the sentiment circle.
I also drew around the Fairy Branches with a white pen.
Happy Holidays sentiment is a retired Inkadinkadoo wooden stamp.

I have used the following Fairy Hugs Products:
Fairy Hugs - Starla


Please come and visit us at Fairy Hugs Store Facebook Group!